Insérer des images dans le corps du message
Introduction
Voulez-vous discuter de nouveaux modèles de produits sur le forum office en ligne? Ou vous avez besoin d'ajouter quelques images pour améliorer votre histoire sur le blog?
Veuillez lire ces instructions pour insérer une image directement dans votre message.
Êtape 1. Sélectionner un message ou créer un nouveau billet de blog
Vous pouvez insérer une image lors de la création ou de l'édition d'un message sur le portail ONLYOFFICE: actualités et annonces, histoires de blog, forums de discussion, commentaires ou discussions d'un projet. Si vous avez besoin des conseils sur la création des messages, suivez les liens ci-dessous:
- Partager des événements;
- Gérer un blog;
- Tenir des discussions sur le forum;
- Tenir des discussions sur le projet;
Pour modifier un élément, ouvrez-le et cliquez sur l'icône ![]() à droite du titre du message et sélectionnez l'option Modifier depuis la liste déroulante..
à droite du titre du message et sélectionnez l'option Modifier depuis la liste déroulante..
Êtape 2. Insérer une image depuis le web
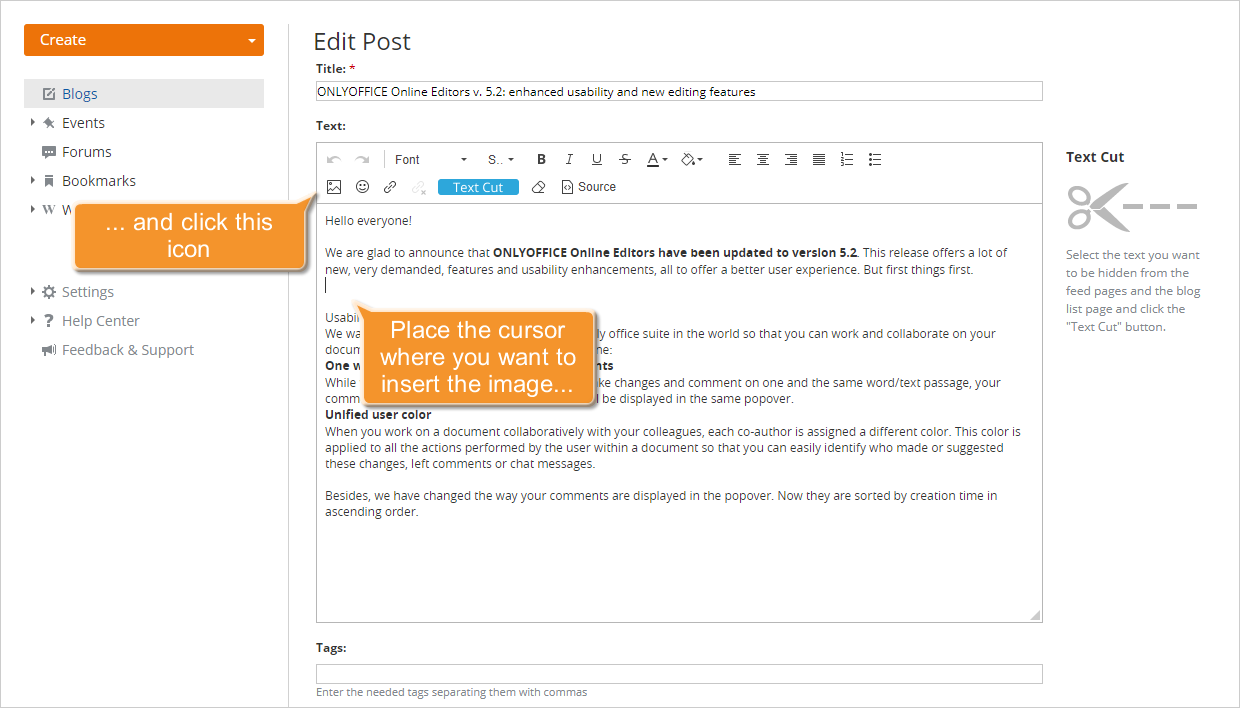
Une fois que le message créé, placez le curseur de la souris là où vous souhaitez insérer votre image et cliquez sur l'icône Image  sur la Barre d'outils de mise en forme.
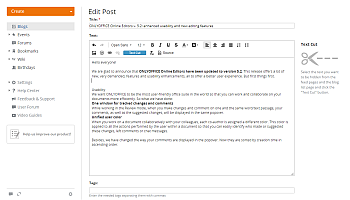
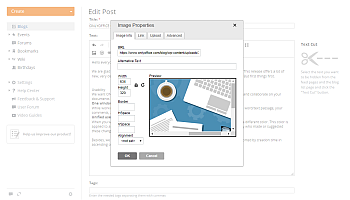
La fenêtre Propriétés de l'image s'ouvre avec l'onglet Information sur l'image activé.
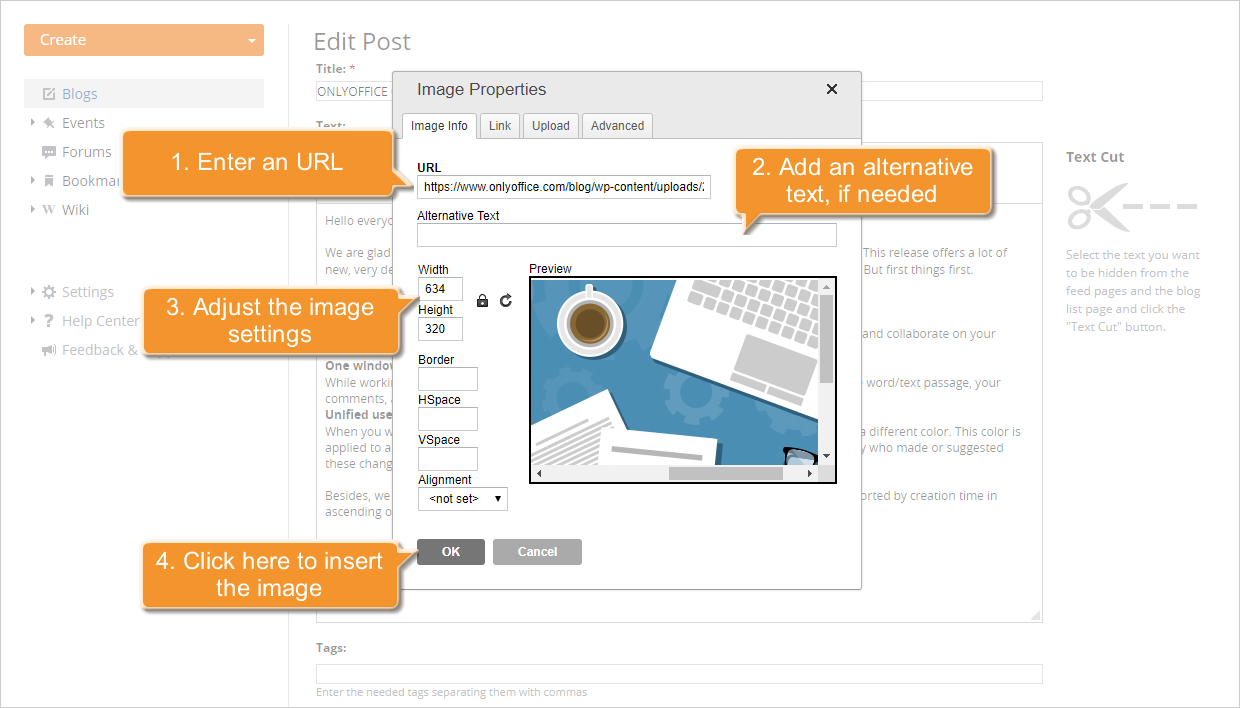
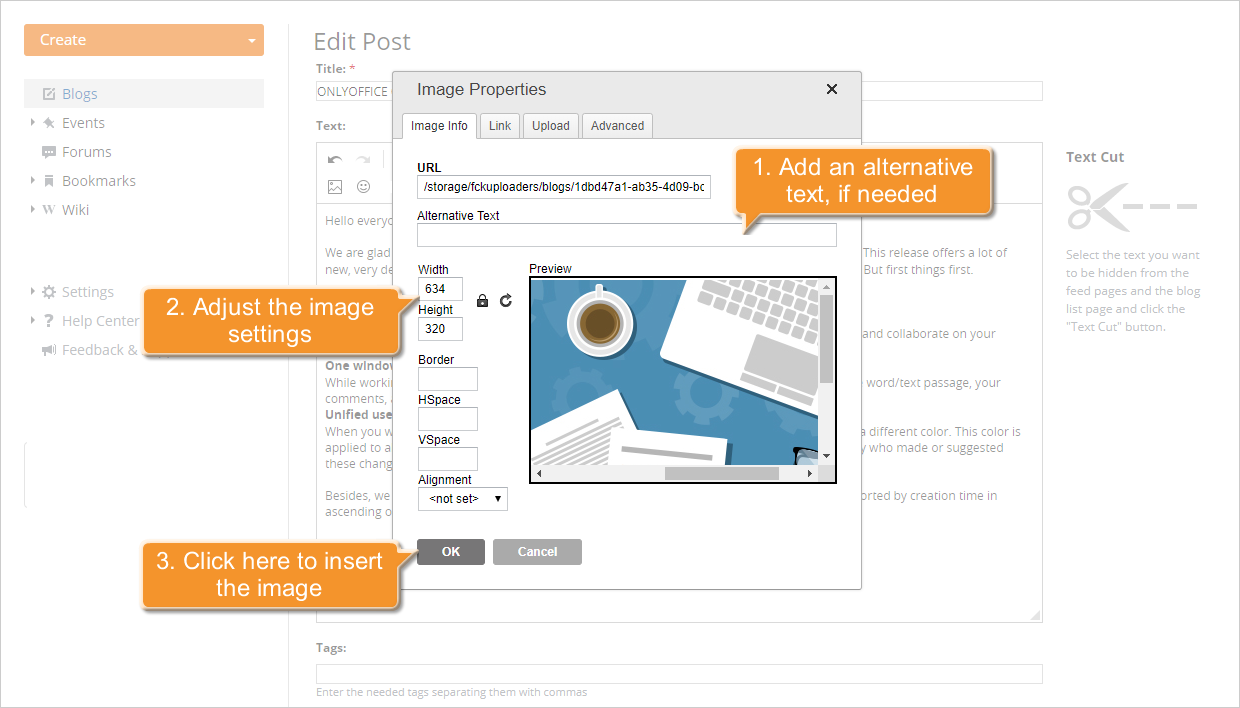
Copiez et collez l'URL de l'image que vous voulez insérer dans le champ approprié. Saisissez le Texte de remplacement qui s'affiche quand l'image insérée n'est pas disponible aux lecteurs (par exemple, pour les navigateurs dont l'affichage des images est désactivé) et réglez les paramètres de l'image:
- Réglez la taille de l'image en spécifiant le paramètre Largeur ou Hauteur. Par défaut le deuxième paramètre sera défini automatiquement, le rapport largeur/hauteur d'origine s'ajuste proportionnellement. Si vous avez besoin d'une image d'une taille particulière déverrouillez les proportions en cliquant sur le bouton
 . Gardez à l'esprit que dans ce cas les proportions de l'image peuvent être changées et l'image peut être déformée.
 - Définissez la taille de la Bordure en pixels ou laissez vide ce champ si vous ne voulez pas ajouter de bordures.
- Réglez la distance du haut (Espacement horizontal) et de la côté gauche (Espacement vertical) de l'image si vous l'alignez sur le côté gauche, ou la distance du haut (VSpace) et de la côté droite (HSpace) de l'image si vous l'alignez sur la côté droite.
- Sélectionnez l'une des options d'alignement disponibles: Gauche pour aligner l'image sur la côté gauche, ou Droite pour aligner l'image sur la côté droite.
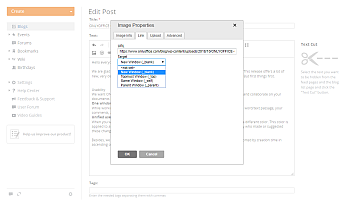
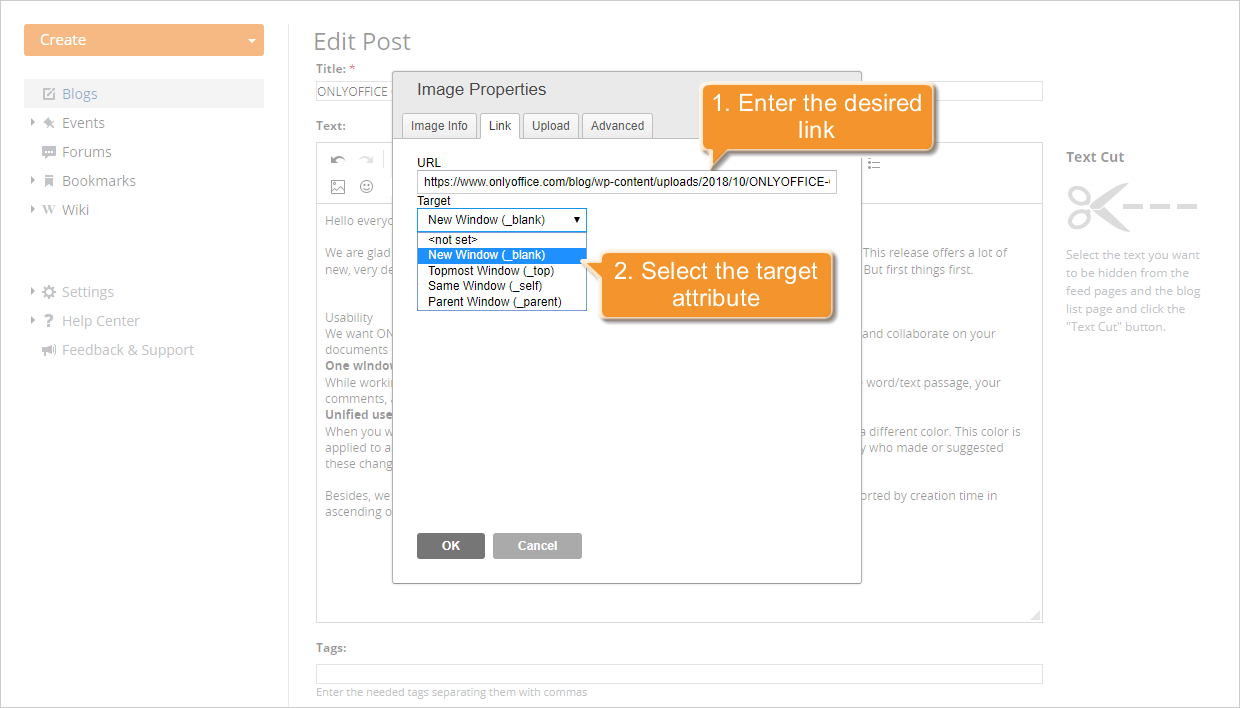
Si vous voulez spécifier l'adresse à laquelle vous serez redirigé après avoir cliqué sur l'image, ouvrez l'onglet Lien. Entrez l'URL et sélectionnez l'attribut cible du lien: Nouvelle fenêtre (_blank), Fenêtre supérieure (_top), Même fenêtre (_self), ou Fenêtre parent (_parent).
Pour régler les paramètres avancés de l'image ouvrez l'onglet Avancé. Ici vous pouvez spécifier:
- Id est l'identification de l'image ajoutée.
- Sens d'écriture est le sens d'écriture Gauche à droite (LTR) ou Droite à gauche (RTL).
- Code de langue est le code utilisé pour identifier la langue : de, en, es, fr, it, ru etc.
- URL de description longue est la description de la cible.
- Classe CSS est la classe CSS à laquelle cette image appartient.
- Titre consultatif est l'information provisoire de la cible.
- Style est le style de l'image ajoutée. Il inclut tous les paramètres définis dans l'onglet Information sur l'image.
Quand tous les paramètres sont définis cliquez sur le bouton OK pour ajouter l'image à votre message.
Êtape 3. Insérer une image depuis l'ordinateur
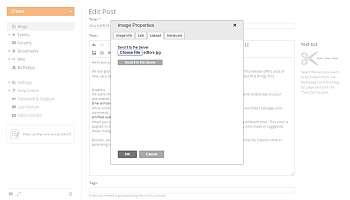
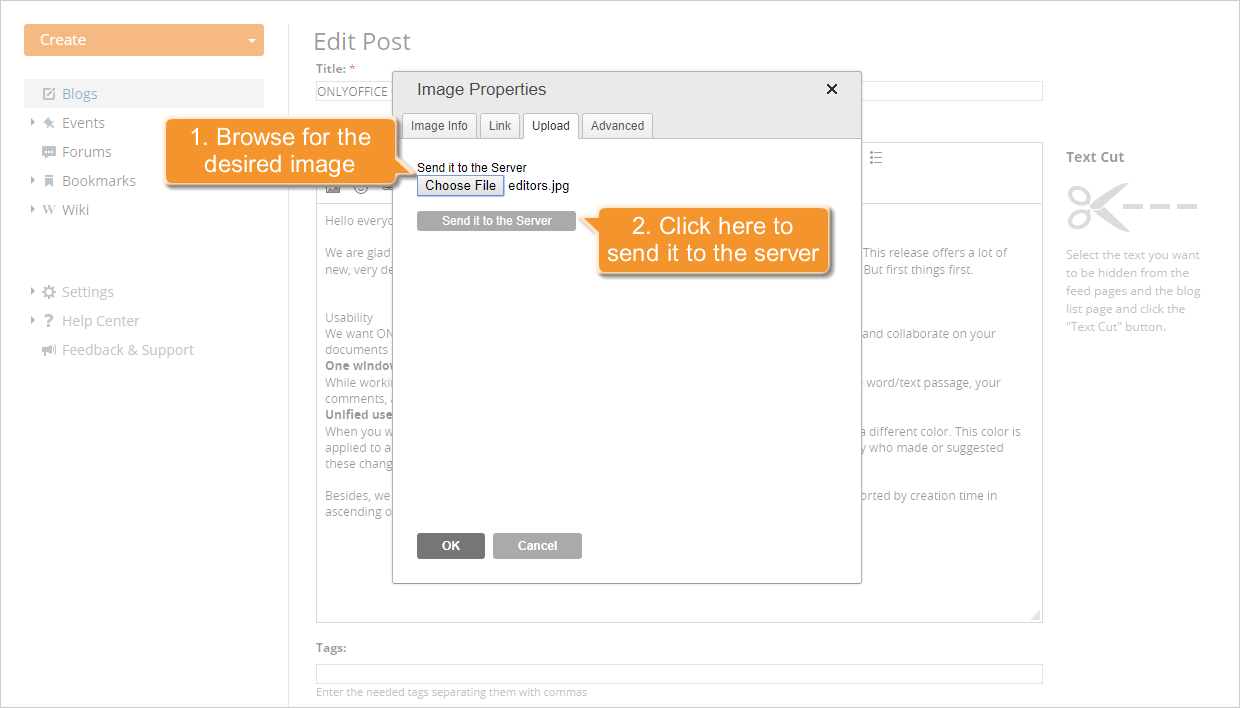
Si vous voulez ajouter une image stockée sur votre ordinateur, basculez vers l'onglet Télécharger dans la fenêtre Propriétés de l'image (voir l'étape 2). Cliquez sur le bouton Browse...(Parcourir), retrouvez l'image désirée sur le disque dur et cliquez sur le bouton Envoyer sur le serveur.
Une fois que l'image est envoyée sur le serveur, l'onglet Information se l'image s'ouvre. Vous verrez le lien vers l'image chargée dans le champ URL et la taille de l'image. Le cas échéant, saisissez un Texte de remplacement et réglez les paramètres en suivant les instructions ci-dessus (voir l'étape 2).
Lorsque tous les paramètres sont définis, cliquez sur le bouton OK. L'image sera insérée dans votre message là où le curseur se trouve.