Crear un evento de todo el día
Un evento de todo el día es un evento que dura un día completo o más. Por ejemplo, si planeas un seminario o una capacitación de dos días, puedes seleccionar una fecha de inicio y fin y marcar la opción de Evento de todo el día en lugar de ingresar la hora.
Esta guía te mostrará cómo crear un evento de todo el día en tu Calendario.
Acceder al Calendario
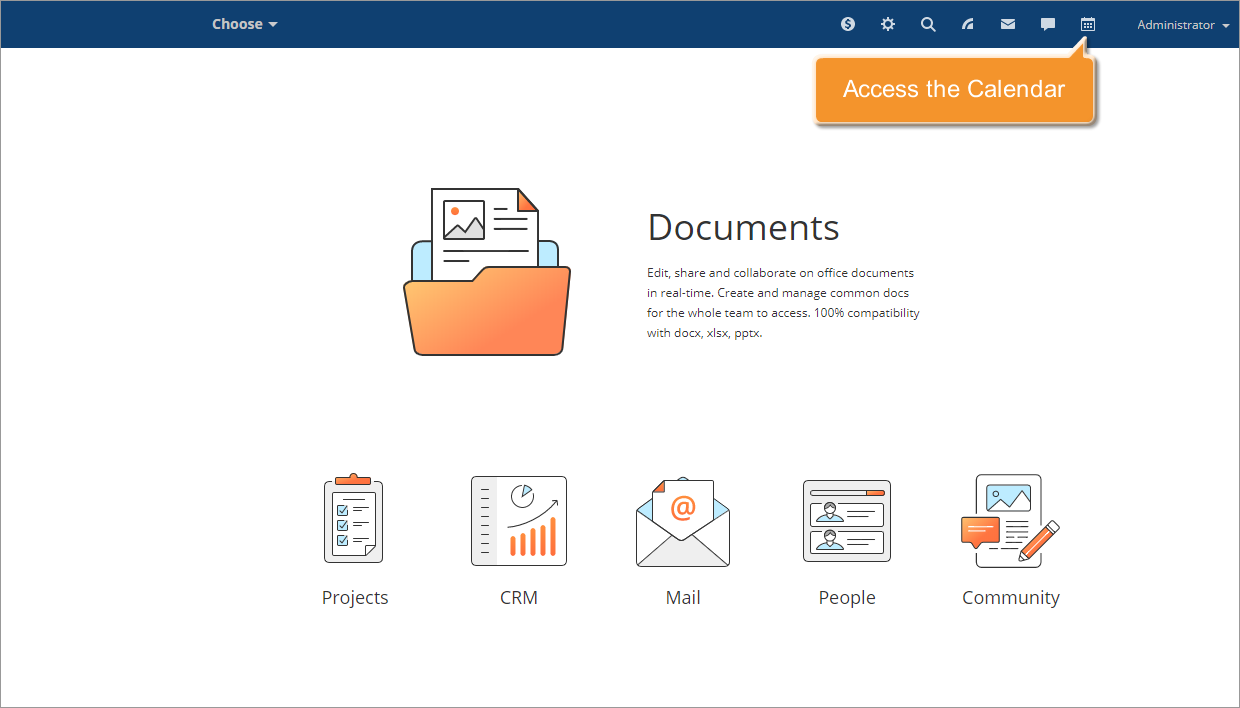
Ingresa a tu portal y haz clic en el icono de Calendario ![]() en la parte superior de la página.
en la parte superior de la página.
Añadir un nuevo evento
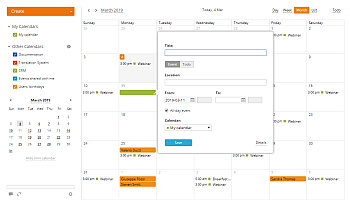
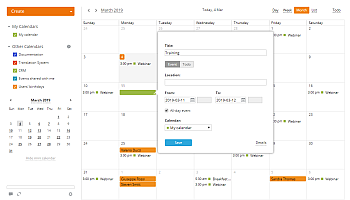
Haz clic con el botón izquierdo del ratón en el día necesario para crear rápidamente un nuevo evento de todo el día especificando información básica.
Configurar los ajustes de tu evento
Introduce tanta información como desees sobre tu evento. Escribe un título. Establece las fechas de inicio y fin de tu evento en los campos Desde: y Hasta:, respectivamente, usando el teclado o haciendo clic en el icono correspondiente  y seleccionando la fecha necesaria.
Asegúrate de que la opción Evento de todo el día esté marcada.
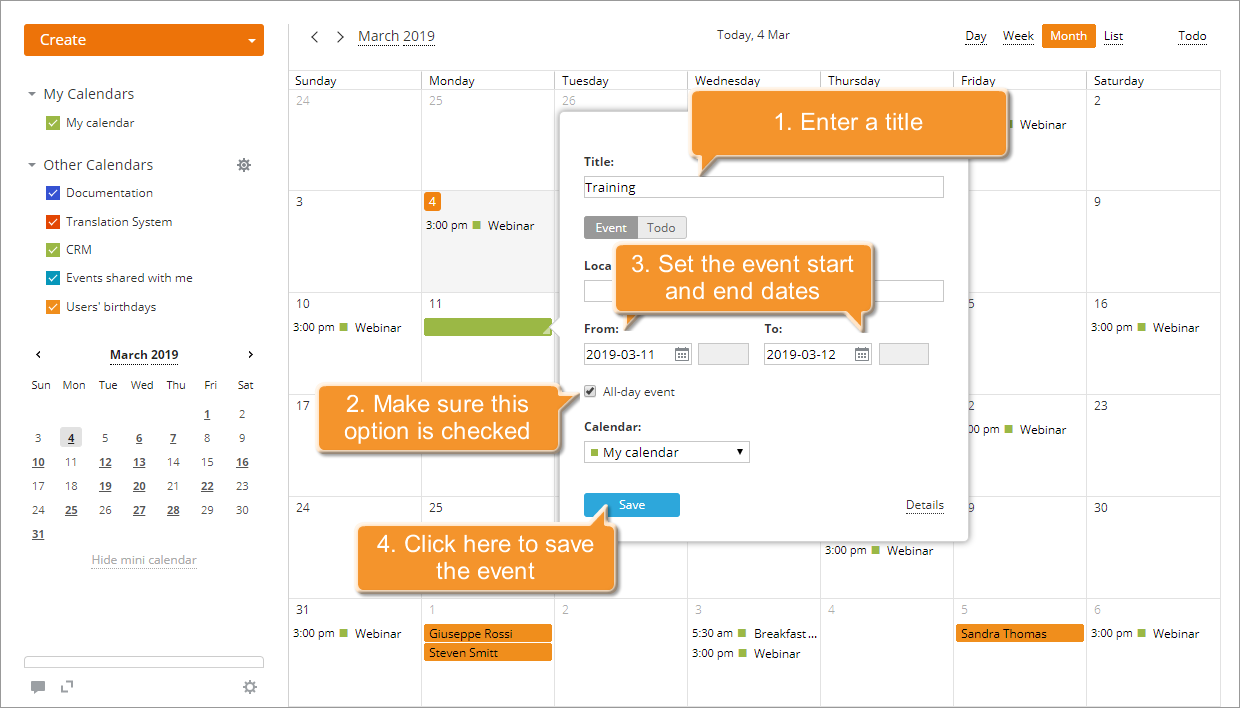
Si necesitas invitar a invitados, establecer un período de recurrencia, cambiar la configuración de recordatorios, compartir tu evento con colegas o agregar una descripción, puedes cambiar al modo avanzado haciendo clic en el enlace Detalles.
Para publicar tu evento, simplemente haz clic en el botón Guardar en la parte inferior de la ventana. El evento creado se añadirá inmediatamente a tu calendario.
Editar el evento de todo el día creado
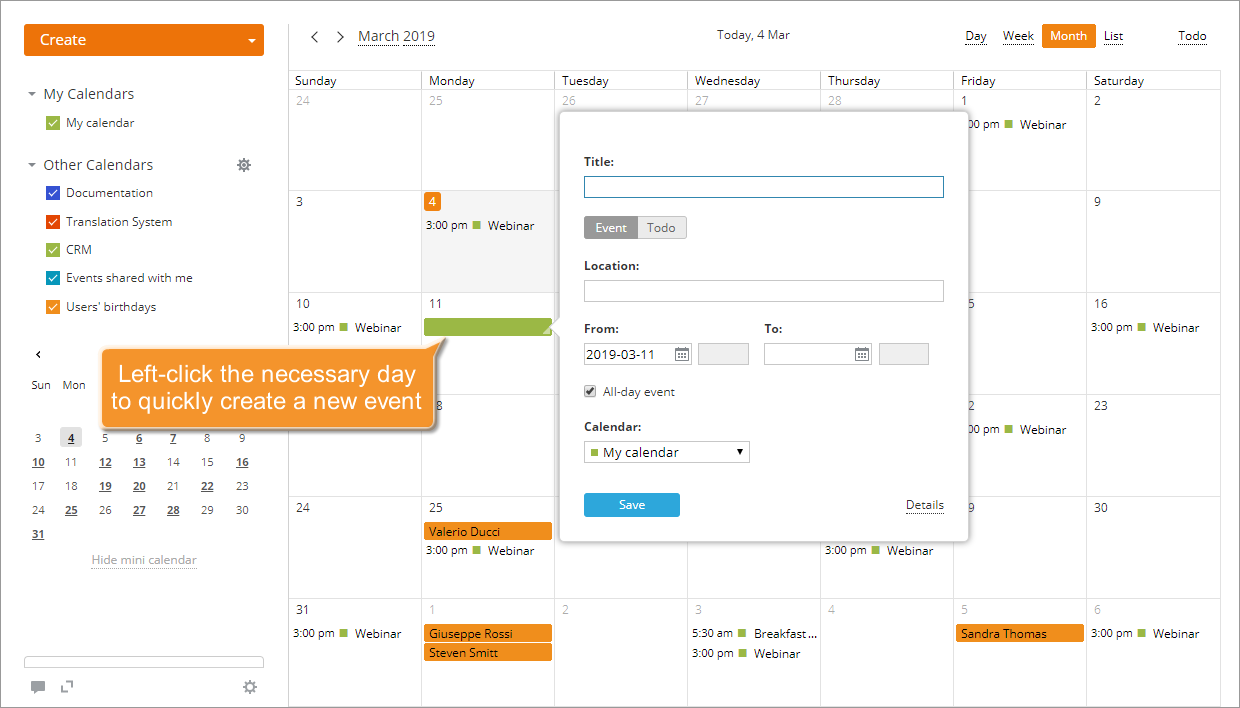
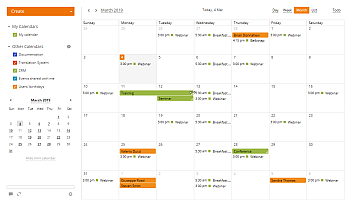
Los eventos de todo el día se muestran en la parte superior de cada día y se destacan con un color asociado con el calendario al que se añade el evento.
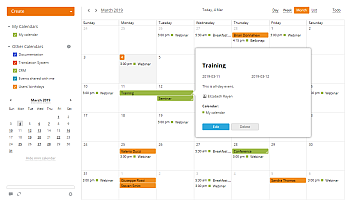
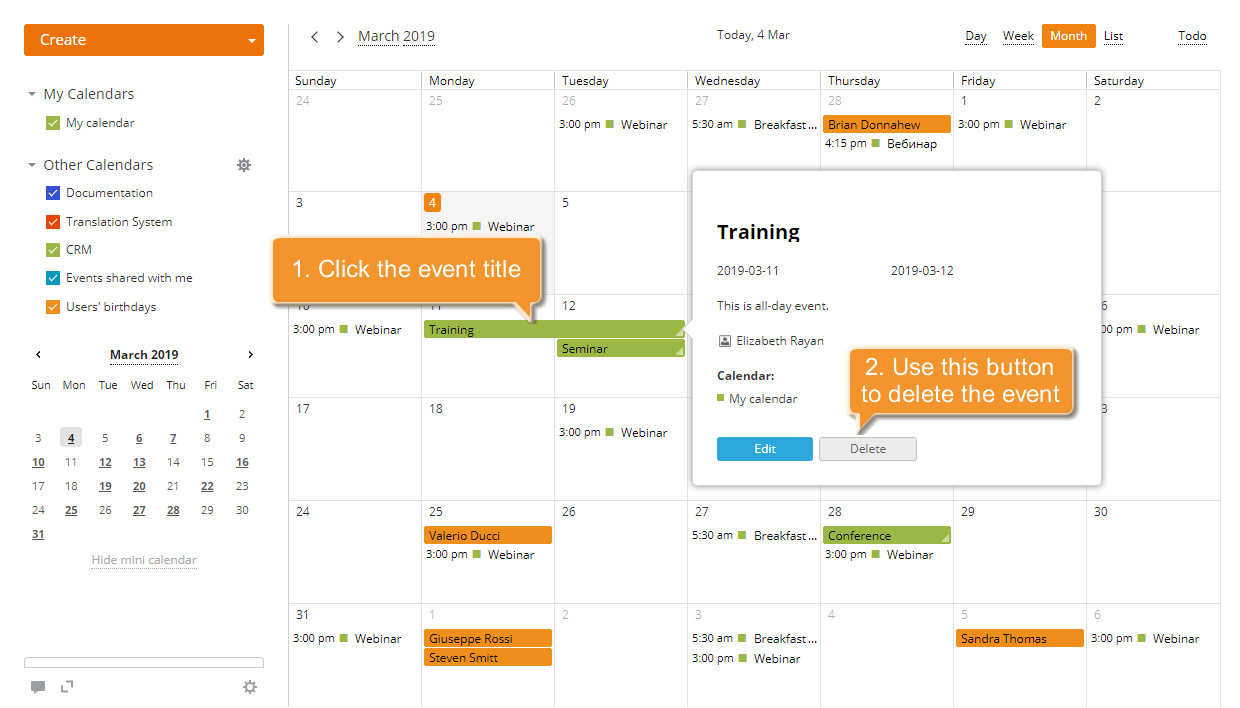
Para cambiar algunos ajustes del evento de todo el día, procede como para un evento único. Haz clic en el título del evento de todo el día y usa el botón Editar en la parte inferior de la ventana emergente para comenzar a editar.

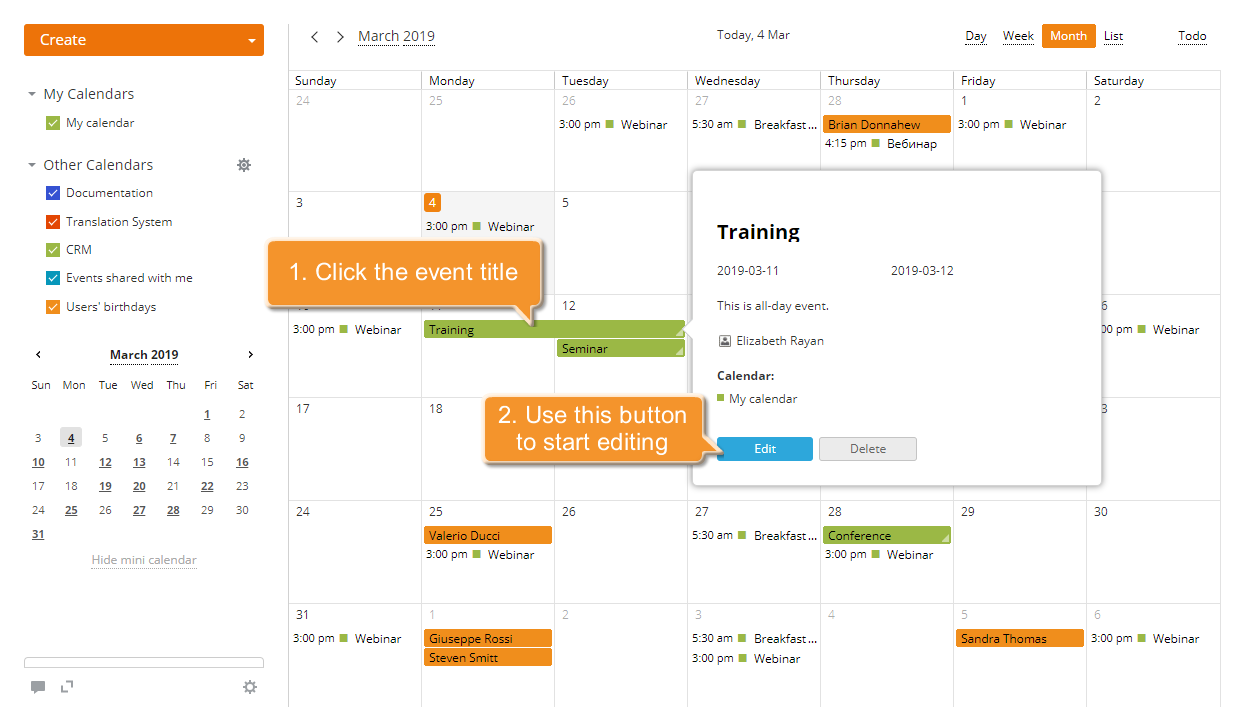
Para aplicar los cambios que realizaste, usa el botón Guardar.
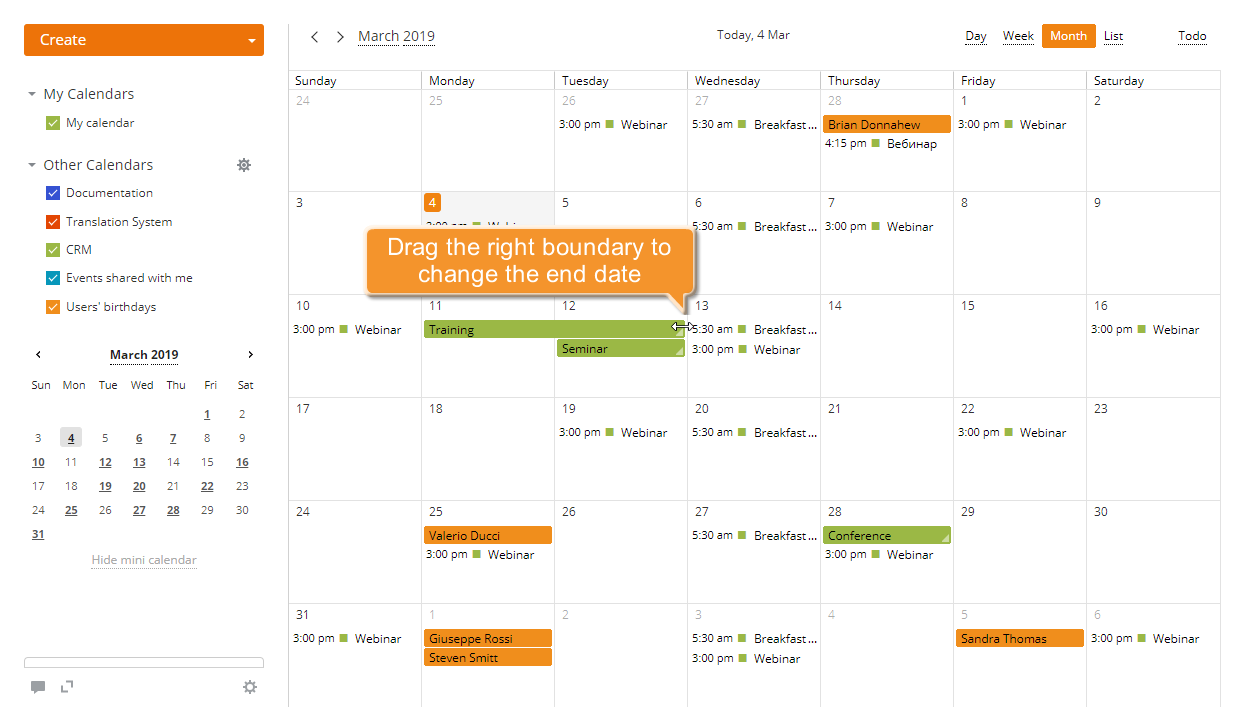
También puedes cambiar la fecha de fin del evento de todo el día directamente en tu calendario sin abrir la ventana de edición como se describe arriba.
Coloca el cursor del ratón en el límite derecho del cuadro del evento. El cursor se convertirá en una flecha bidireccional. Luego, sin soltar el botón del ratón, arrástralo para cambiar la fecha de fin del evento.
Eliminar un evento de todo el día
Para eliminar un evento de todo el día, procede como para uno único. Haz clic en el título del evento de todo el día y usa el botón Eliminar en la parte inferior de la ventana emergente.
El evento seleccionado será eliminado de tu calendario.