Instalación de ONLYOFFICE Workspace Community en Windows en un servidor local
Introducción
ONLYOFFICE Workspace Community es una versión gratuita del sistema colaborativo desarrollado para gestionar documentos, proyectos, relaciones con clientes y correspondencia por correo electrónico, todo en un solo lugar.
La instalación para Windows incluye los siguientes componentes: ONLYOFFICE Community Server, ONLYOFFICE Docs, ONLYOFFICE Talk y ONLYOFFICE Control Panel. Esta guía te mostrará cómo instalar todos estos componentes de ONLYOFFICE Workspace sin esfuerzo utilizando el archivo de instalación .exe.
Paso 1. Descarga el archivo de instalación de ONLYOFFICE Workspace Community
Para descargar el archivo de instalación de ONLYOFFICE Workspace Community, ve a la página de descargas.
Ve a la sección Para Windows y haz clic en el botón Descargar.
Espera hasta que la descarga se complete.
Paso 2. Instala los requisitos previos
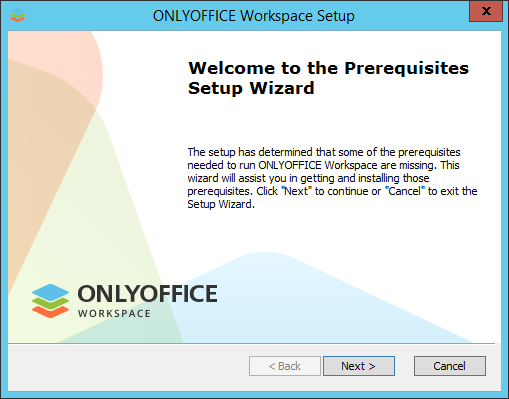
Haz doble clic en el archivo .exe que acabas de descargar: se iniciará el Asistente de Configuración de Requisitos Previos. Te ayudará a instalar algunos requisitos necesarios para ejecutar ONLYOFFICE Workspace Community. Haz clic en el botón Siguiente > para continuar.
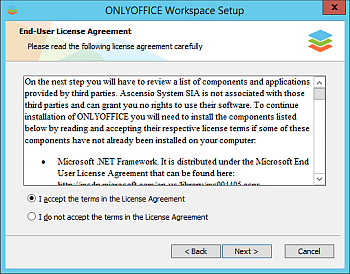
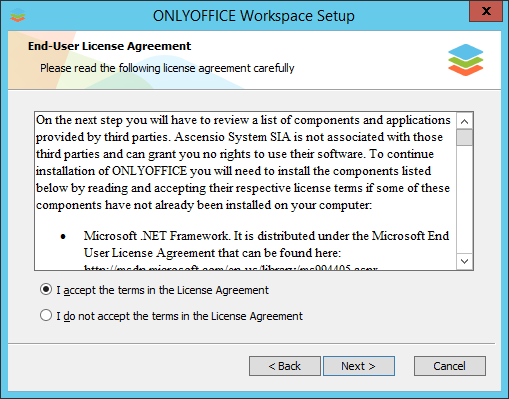
Lee atentamente el Acuerdo de Licencia de Usuario Final para los componentes y aplicaciones proporcionados por terceros. Marca la opción Acepto los términos del Acuerdo de Licencia si estás de acuerdo con ellos. Luego haz clic en el botón Siguiente >.
Se te pedirá que instales los siguientes componentes:
- .NET Framework 4.8 o superior,
- Visual C++ Redistributable para Visual Studio 2013 x86,
- Visual C++ Redistributable para Visual Studio 2013 x64,
- Visual C++ Redistributable para Visual Studio 2015-2019 x64,
- Visual C++ Redistributable para Visual Studio 2015-2019 x86,
- SharePoint Server 2013 Client Components SDK x64,
- MySQL Connector/ODBC 8.0 x86,
- MySQL Installer Community 8.0 x64,
- MySQL Installer Community 8.0 x64 Runner
- Node.js v.12.18 x86,
- PostgreSQL v.9.5 x64,
- Erlang v.20.3 x64,
- RabbitMQ v.3.7 x64,
- PostgreSQL ODBC Driver x64,
- Python 3.7 x64,
- Redis 3.0 x64,
- Java SE Runtime Environment 8u 171 x64,
- Elasticsearch v.7.4 x64,
- WinCertes v.1.2 x64.
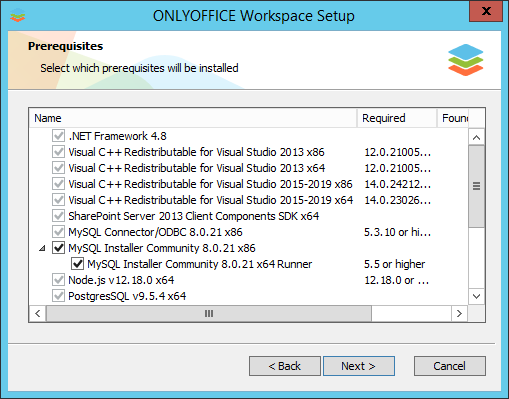
Haz clic en el botón Siguiente para instalar el software necesario. Este proceso puede tardar algunos minutos.
Paso 3. Instala ONLYOFFICE Workspace Community
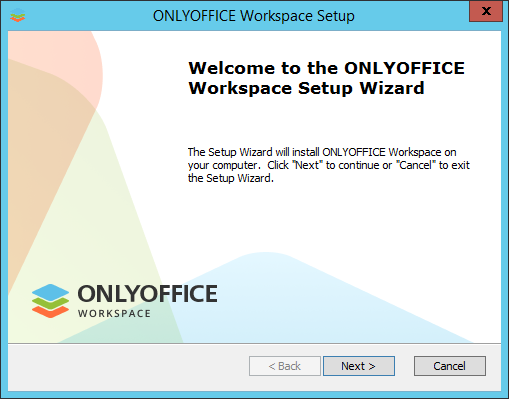
Una vez que todos los componentes estén instalados, puedes proceder a la instalación del programa principal. El Asistente de Configuración de ONLYOFFICE Workspace se iniciará automáticamente. Haz clic en el botón Siguiente > para continuar.
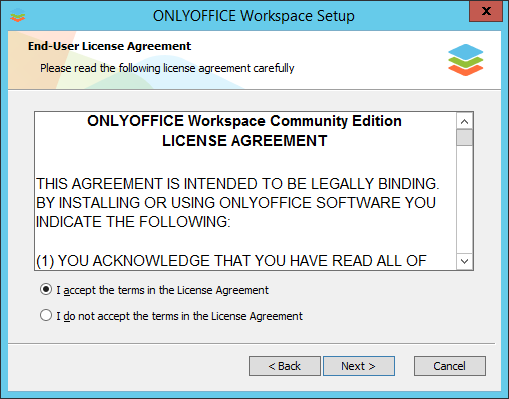
Lee atentamente el acuerdo de licencia de ONLYOFFICE Workspace Community y marca la opción Acepto los términos del Acuerdo de Licencia si estás de acuerdo con ellos. Luego haz clic en el botón Siguiente >.
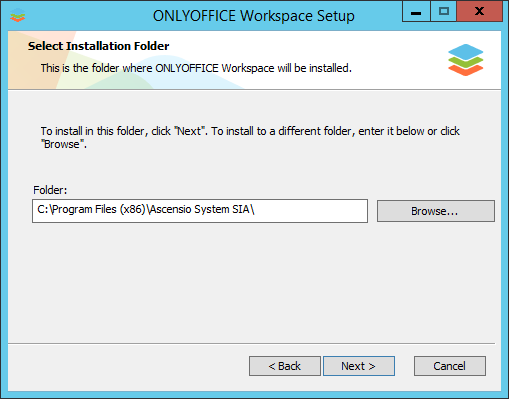
Por defecto, ONLYOFFICE Workspace Community se instalará en la siguiente carpeta: C:\Program Files (x86)\Ascensio System SIA\ONLYOFFICE Community Edition\. Si es necesario, puedes cambiarla haciendo clic en el botón Examinar y seleccionando la carpeta necesaria en tu computadora. Luego haz clic en el botón Siguiente >.
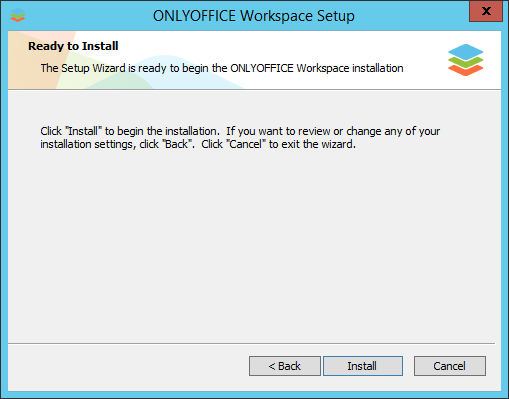
En la siguiente pantalla, haz clic en el botón Instalar para iniciar el proceso de instalación. Puede tardar varios minutos.
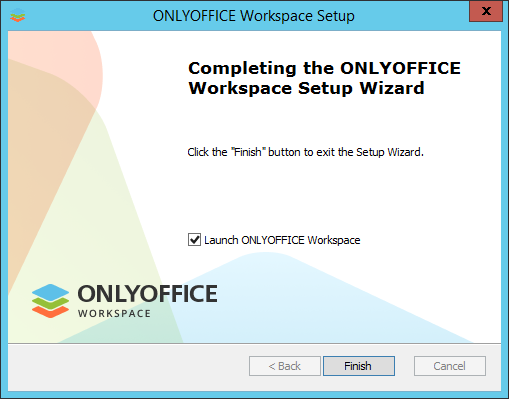
Una vez que el proceso de instalación se haya completado, haz clic en el botón Finalizar para salir del Asistente de Configuración y lanzar ONLYOFFICE Workspace Community.
Paso 4. Ejecuta ONLYOFFICE Workspace Community
La página de Configuración del Portal se abrirá en tu navegador predeterminado en la dirección http://localhost/wizard.aspx. Ahora necesitas realizar la configuración inicial del portal: especifica tu contraseña y correo electrónico y, opcionalmente, cambia el Idioma y la Zona Horaria del portal.
- Introduce una Contraseña que usarás para acceder a tu portal de ONLYOFFICE Workspace Community la próxima vez y confírmala. Por defecto, la contraseña debe tener al menos 8 caracteres, pero no más de 120.
Por razones de seguridad, el procedimiento de configuración de la contraseña DEBE realizarse.
- Especifica tu dirección de correo electrónico. Se enviará un mensaje de Activación de Correo Electrónico al correo especificado. Sigue el enlace proporcionado en este correo para completar el procedimiento de activación de tu correo electrónico.
- Acepta los términos del Acuerdo de Licencia marcando la casilla correspondiente (obligatorio). Opcionalmente, marca las casillas si deseas suscribirte al boletín de ONLYOFFICE y/o aceptar enviar datos de uso anónimos para mejorar ONLYOFFICE.
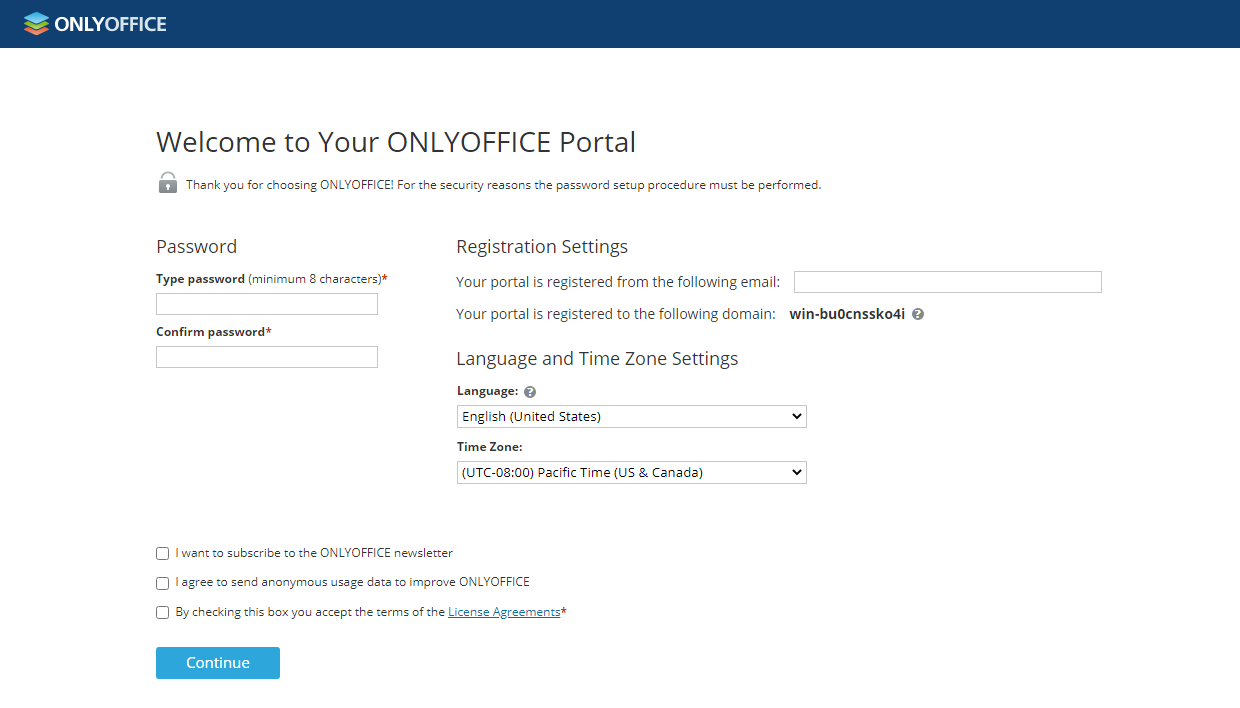
Si es necesario, también puedes:
- ver el dominio al que está registrado tu portal;
Más adelante puedes cambiar el nombre del dominio en la página de Configuración del portal. Para más información, consulta la sección de Configuración.
- desplegar la lista de Idiomas y seleccionar un idioma apropiado para mostrar todas las páginas del portal y notificaciones;
- establecer la zona horaria que corresponde a tu ubicación desde la lista desplegable de Zonas Horarias.
Cuando todos los parámetros estén configurados, haz clic en el botón Continuar.
Eso es todo. Tu portal está creado. Elige uno de los módulos disponibles para comenzar a explorar ONLYOFFICE Workspace Community.