Tracking work time efficiently
Regardless of the billing method you use (per hour or per project), tracking time is a great possibility to assess the productivity of your team and each of its members and make the necessary corrections to achieve the best result.
This article will show you how to track time and manage your time sheet using the Time Tracking feature offered by Projects.
Access the Projects
Enter your portal and click the Projects link.
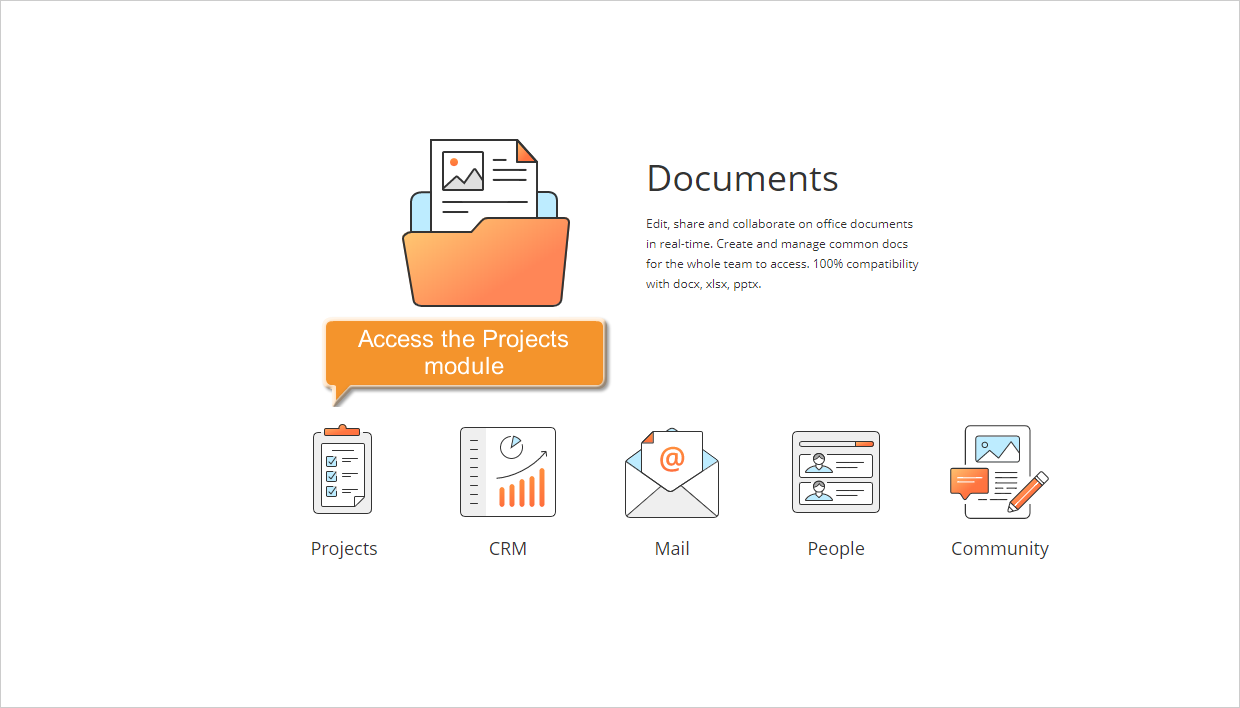
In case you have already logged in to the portal and been using it for some time, to access the Projects module from any portal page, use the drop-down list in the top left corner of the page and select the corresponding option.
Get a complete picture of the time spending
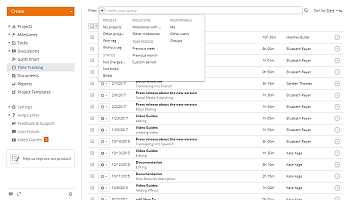
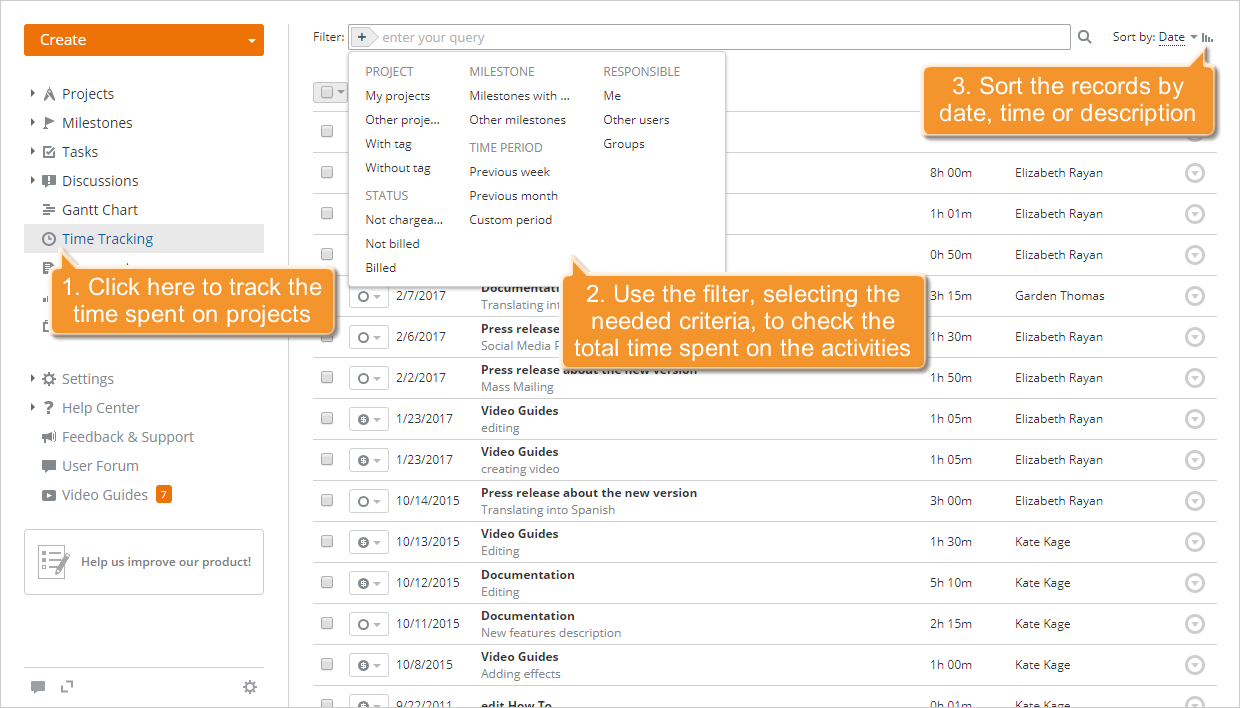
Click the Time Tracking link on the left-side panel. You will be presented with the whole list of the hours spent on your projects.
To see the total time spent on performing a certain task, on achieving a certain milestone, etc., or just to facilitate the monitoring process, make use of the Filter available at the top of the page. Click the  button and select one of the options:
use the PROJECT list to display the hours spent on your projects, on the projects you don't participate in, or on the projects with a specified tag/without tags,
use the MILESTONES list to display the hours spent on the tasks assigned to a specified milestone,
use the RESPONSIBLE list to display the hours spent on the tasks assigned to you, to a certain user or a group,
use the STATUS list to display the hours that are already billed, the hours that are not billed yet, or the hours that cannot be billed (not chargeable),
use the TIME PERIOD list to display the hours recorded during the previous week, the previous month, or a specified time period,
You can also enter the hour description, entirely or partially, in the field and press the Enter key to display the necessary ones.
By default, the records are sorted by date in descending order (earlier dates first). If necessary, you can sort them by Time or Description opening the Sort by drop-down list to the right of the Filter field and choosing the necessary option. To change the sorting order from Descending to Ascending, click the ![]() icon.
icon.
Edit the records, if necessary
Making the changes is an integral part of any process. While tracking time, you might need to correct some data (time, hours) or complete the description. To do that, click the  icon to the right of the record you need to edit and select the Edit option from the drop-down list. The Time Tracking window opens:
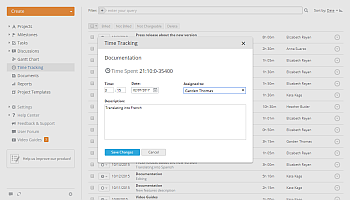
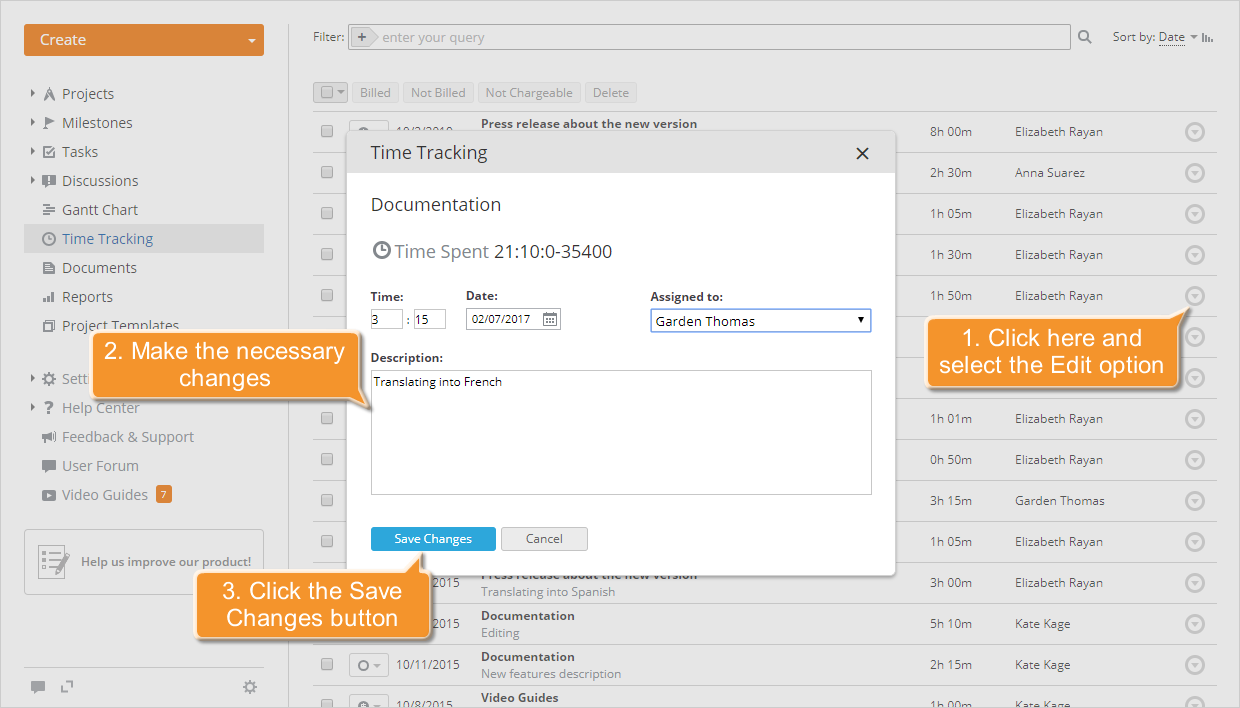
Here you can check the total time spent on this task and make some changes: change time and date, select another responsible person, and modify description.
To apply all the changes you made, click the Save Changes button.
To delete the record you don't need anymore, click the icon to the right and select the Delete option from the drop-down list.
Manage billable and not billable hours
The Billable time is the hours you are paid for spent on a client project. It can be billed or not billed. The Non Billable (Not Chargeable) time is the hours you are not paid for directly spent on performing administrative tasks.
Being a project manager or a Project administrator, you can easily set the payment status for each record/activity: Billed, Not Billed, Not Chargeable.
To do that, click the  button to the left of the necessary record/activity and choose the status you need from the drop-down list.
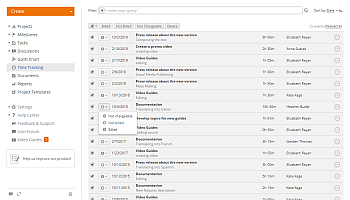
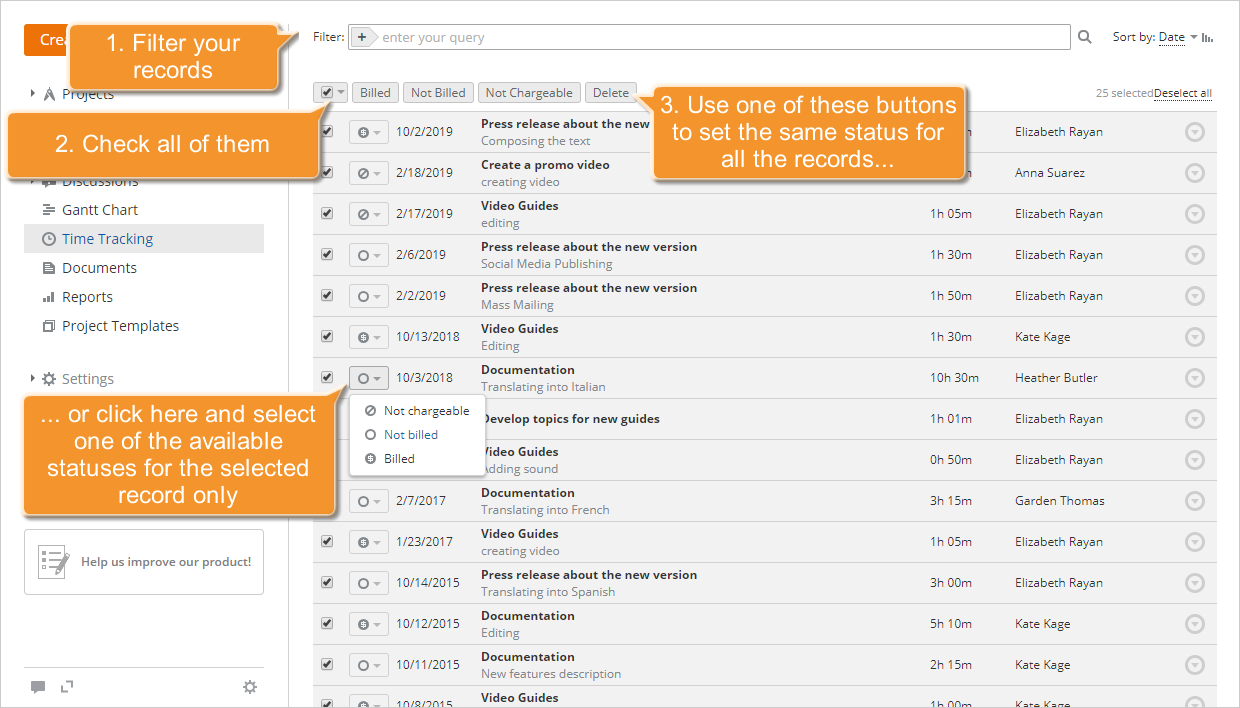
If you need to set the payment status for several records at once, select the records you need checking the boxes to the left and use one of the buttons at the top of the list.
You have been paid for the hours you spent on achieving a certain milestone. To quickly change the status of all the records/activities that belong to the tasks assigned to this milestone, first of all make use of the Filter. Click the button and select the necessary filter option: 'Milestones with my tasks' or 'Other milestones', then choose the milestone you need. All the records/activities matching this criterion will be displayed. Check all of them by clicking the very first checkbox to the left of the list and using the Billed button. The status of all the records will be set to Billed  .
.
Generate reports
To get a report of the time spent and assess the productivity, click the Reports link on the left-side panel and select the Time Tracking report type from the list that opens.
Now you need to specify what you wish to include to your report configuring the report parameters:
- select a Group or a User whose productivity you wish to assess,
- specify the Payment Status of the activities you wish to include in your report,
- set a necessary Time period,
- check the View by user tasks radiobutton if you wish to include the tasks and the project the user spent time on, or leave the View by user radiobutton checked, if you don't need any details about the spent time.
When all the parameters are set, click the Generate Report button.
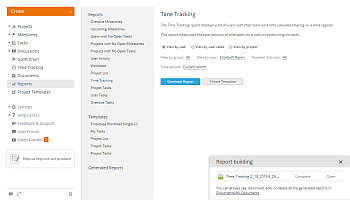

Once the report is generated, click the Open link at the bottom right corner to view the report. The file will open in the Spreadsheet Editor, and you will be able to edit, print or download it if necessary.
- To print the report, click the
 Print icon at the top toolbar.
 - To download the report, switch to the File tab at the top toolbar, select the Download as... option at the left sidebar, and choose the necessary file format.