Image Editor: viewing and editing images in DocSpace
ONLYOFFICE DocSpace provides you with an image-editor plugin that can view and edit images directly in DocSpace.
Configuring Image Editor
In ONLYOFFICE DocSpace, system plugins can be enabled by the owner and administrators. Once enabled, the plugins are available to all users.
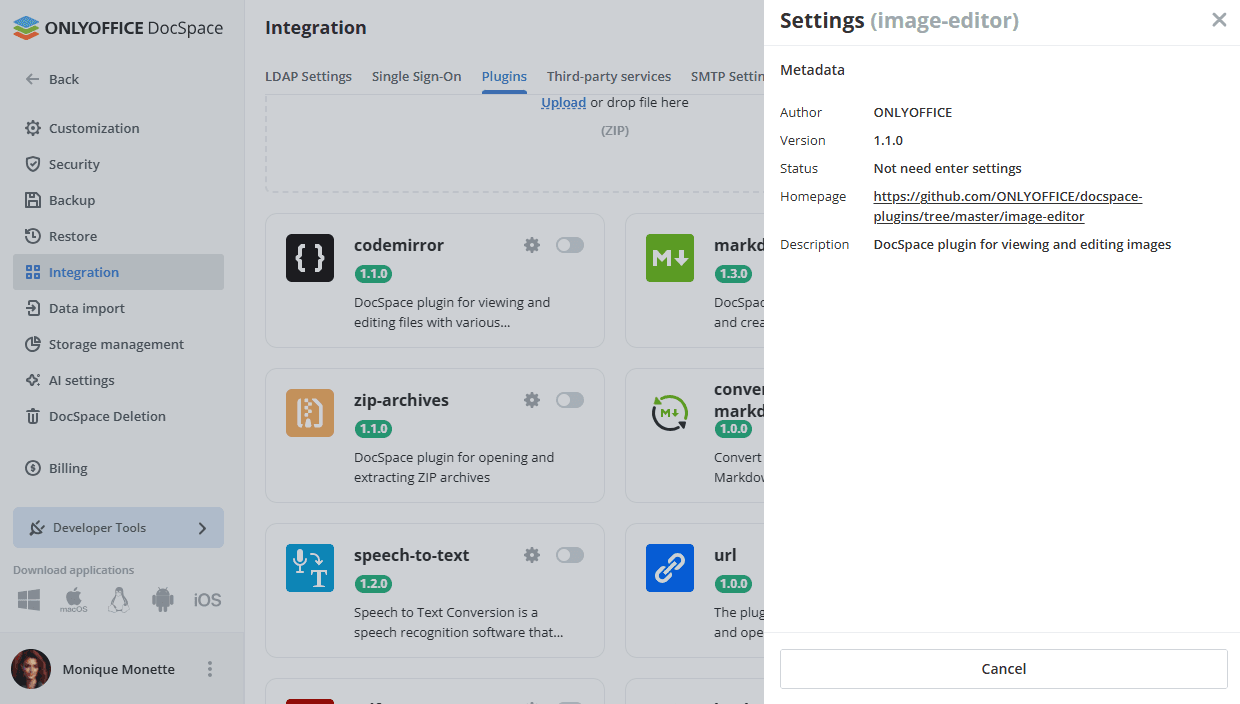
- Go to the DocSpace Settings -> Integration -> Plugins.
- Click the toggle next to the image-editor plugin to activate it.
To start working with the plugin, it is not needed to change the default settings. To view the plugin metadata, click on the gear symbol next to the image-editor plugin.
Using Image Editor
Editing images
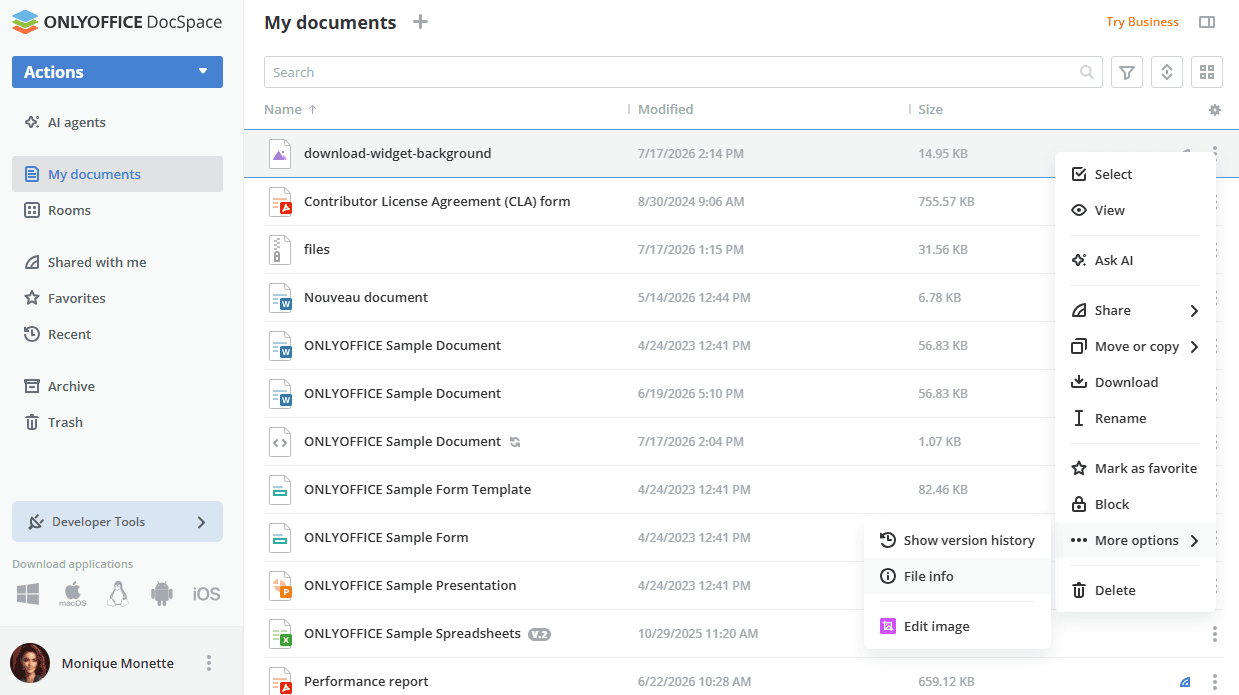
- The plugin is available via the context menu of image files in the Documents section or in the selected room.
- Open the context menu of the necessary image, navigate to More options, and select Edit image.
The supported formats are: .jpg, .jpeg, .png, .gif, .webp, .svg, .bmp, .tiff, .ico.
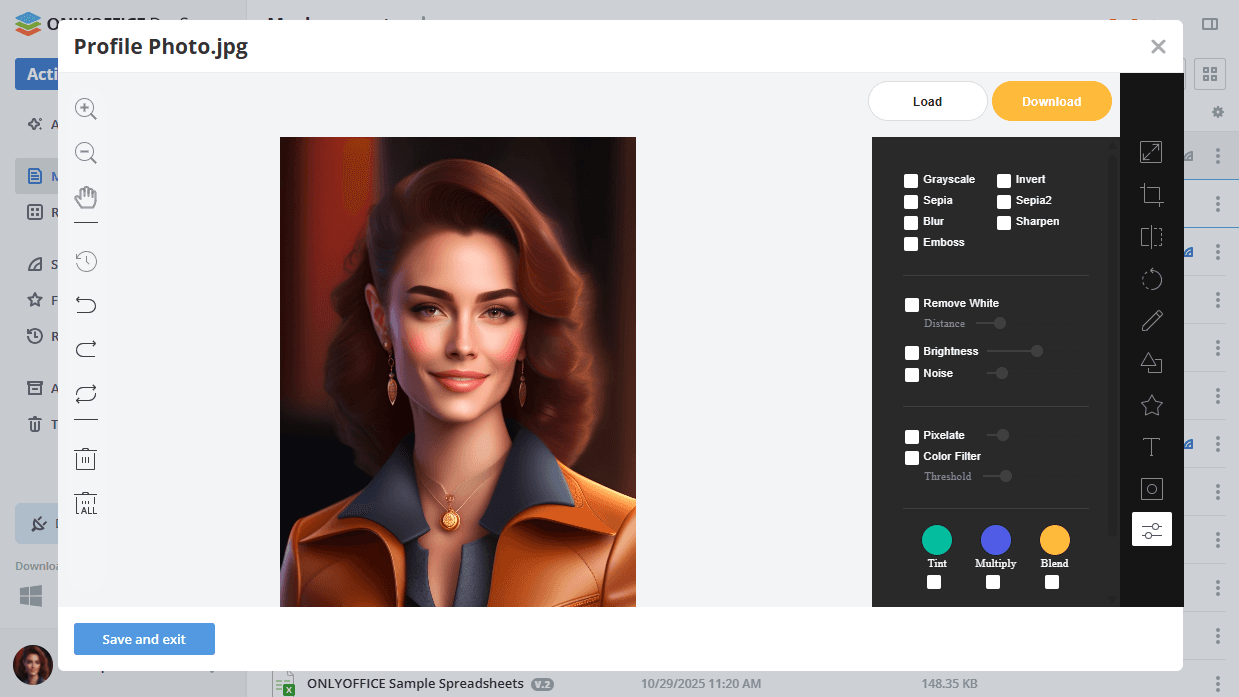
The image editor opens in a pop-up window, featuring a toolbar on the right with various tools, such as Resize, Crop, Flip, Rotate, Draw, Shape, Icon, Text, Mask, and Filter. Once you have made the necessary edits, click the Save and exit button at the bottom to apply the changes. You can also download the edited image to your computer using the Download button in the upper right corner, or use the Load button to browse your computer and open a new image in the editor.
After saving, a notification confirms the successful update, and a new version of the file is created. When you open the file using the standard image viewer in DocSpace, the latest version of the image is displayed.