AI assistants: setup and configuration
ONLYOFFICE empowers users to tailor AI tools to their unique workflows. The AI tab in the editors provides easy access to all AI features, allowing you to assign specific tasks to different models based on their capabilities.
Please note that by default, AI is not connected to editors for security reasons.
Step 1: Setup
- Go to the Plugins tab and click the Plugin Manager icon.
-
Find the AI plugin and click Install.
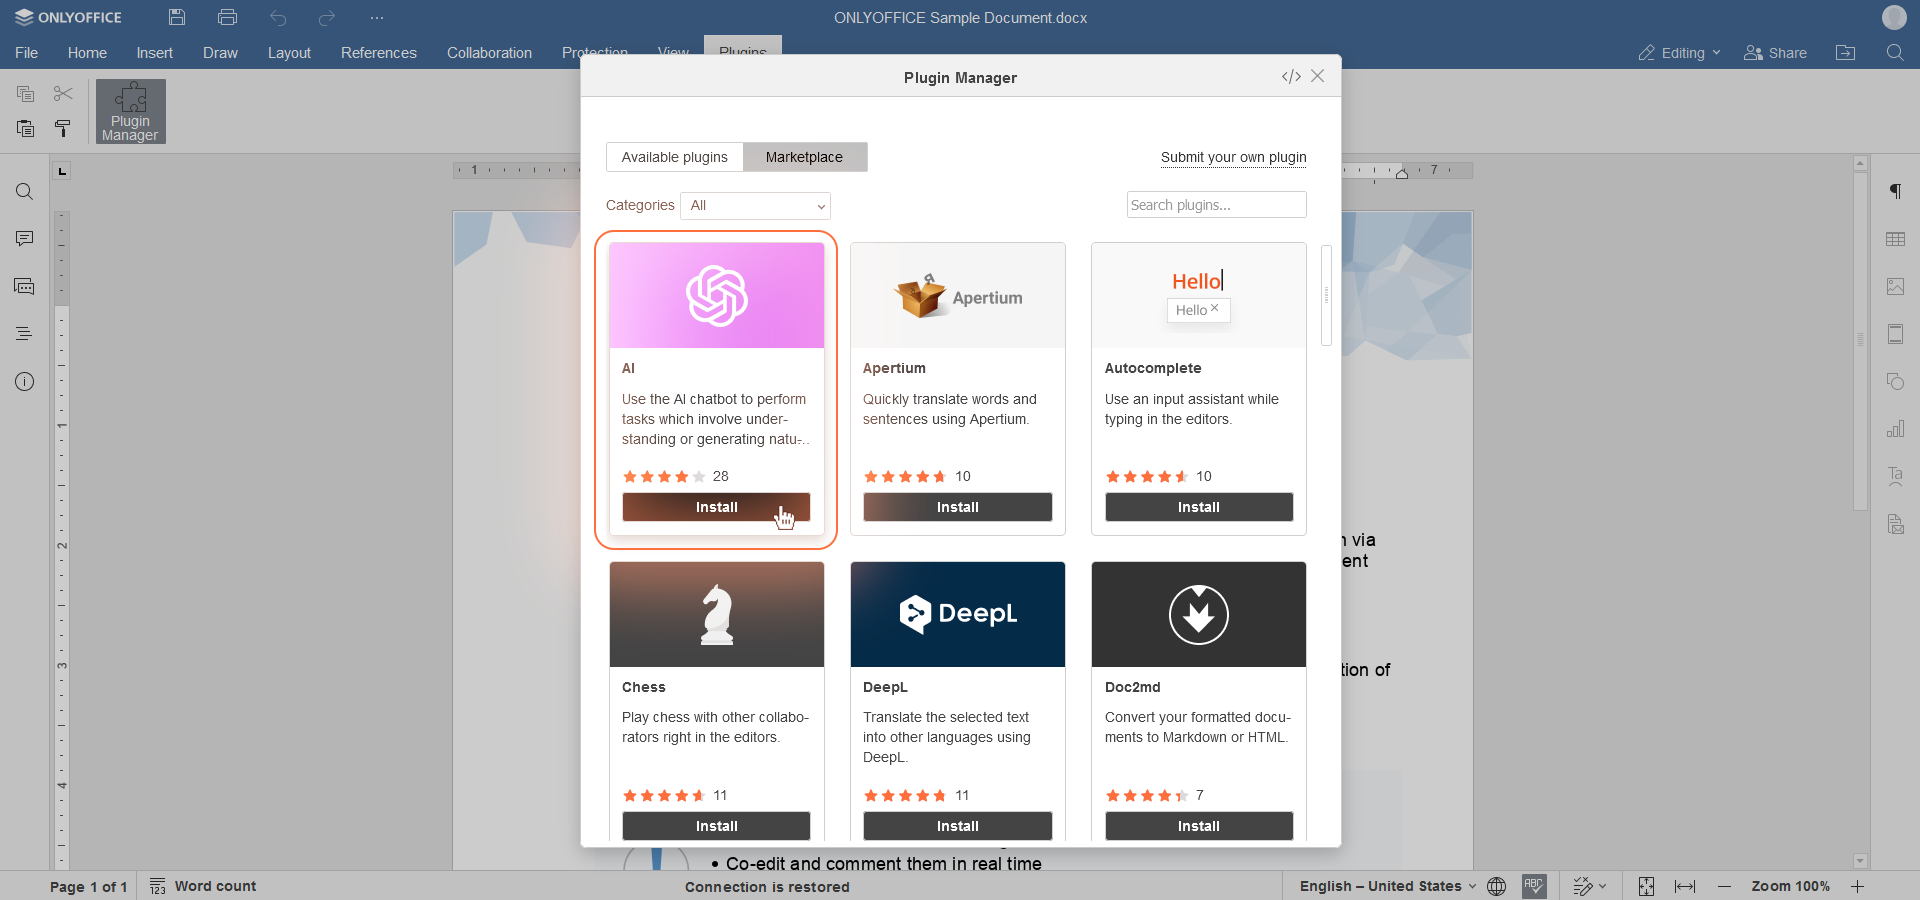
- After the installation is complete, close the Plugin Manager. Update the plugin if necessary by clicking the corresponding button.
-
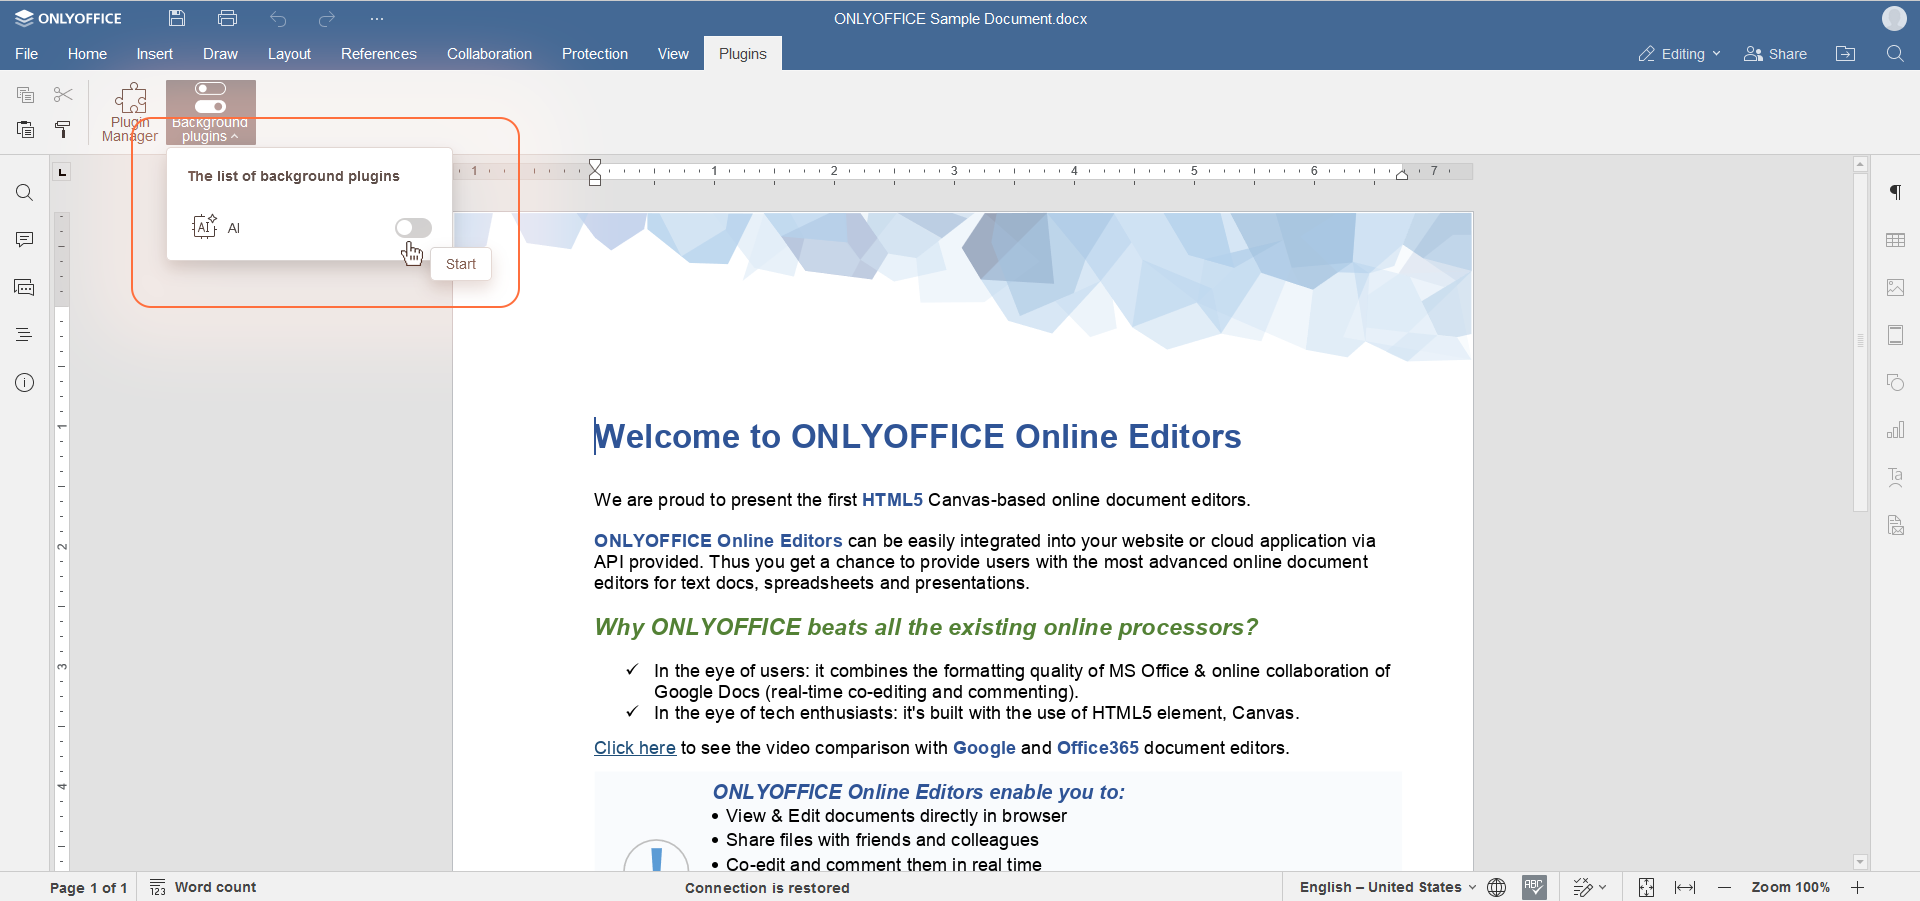
Click the Background Plugins button in the same Plugins tab and activate the AI switch.
If you already have the ChatGPT plugin installed, we recommend you re-install/update it via the Plugin Manager to get the new AI plugin.
Step 2: Configuration
-
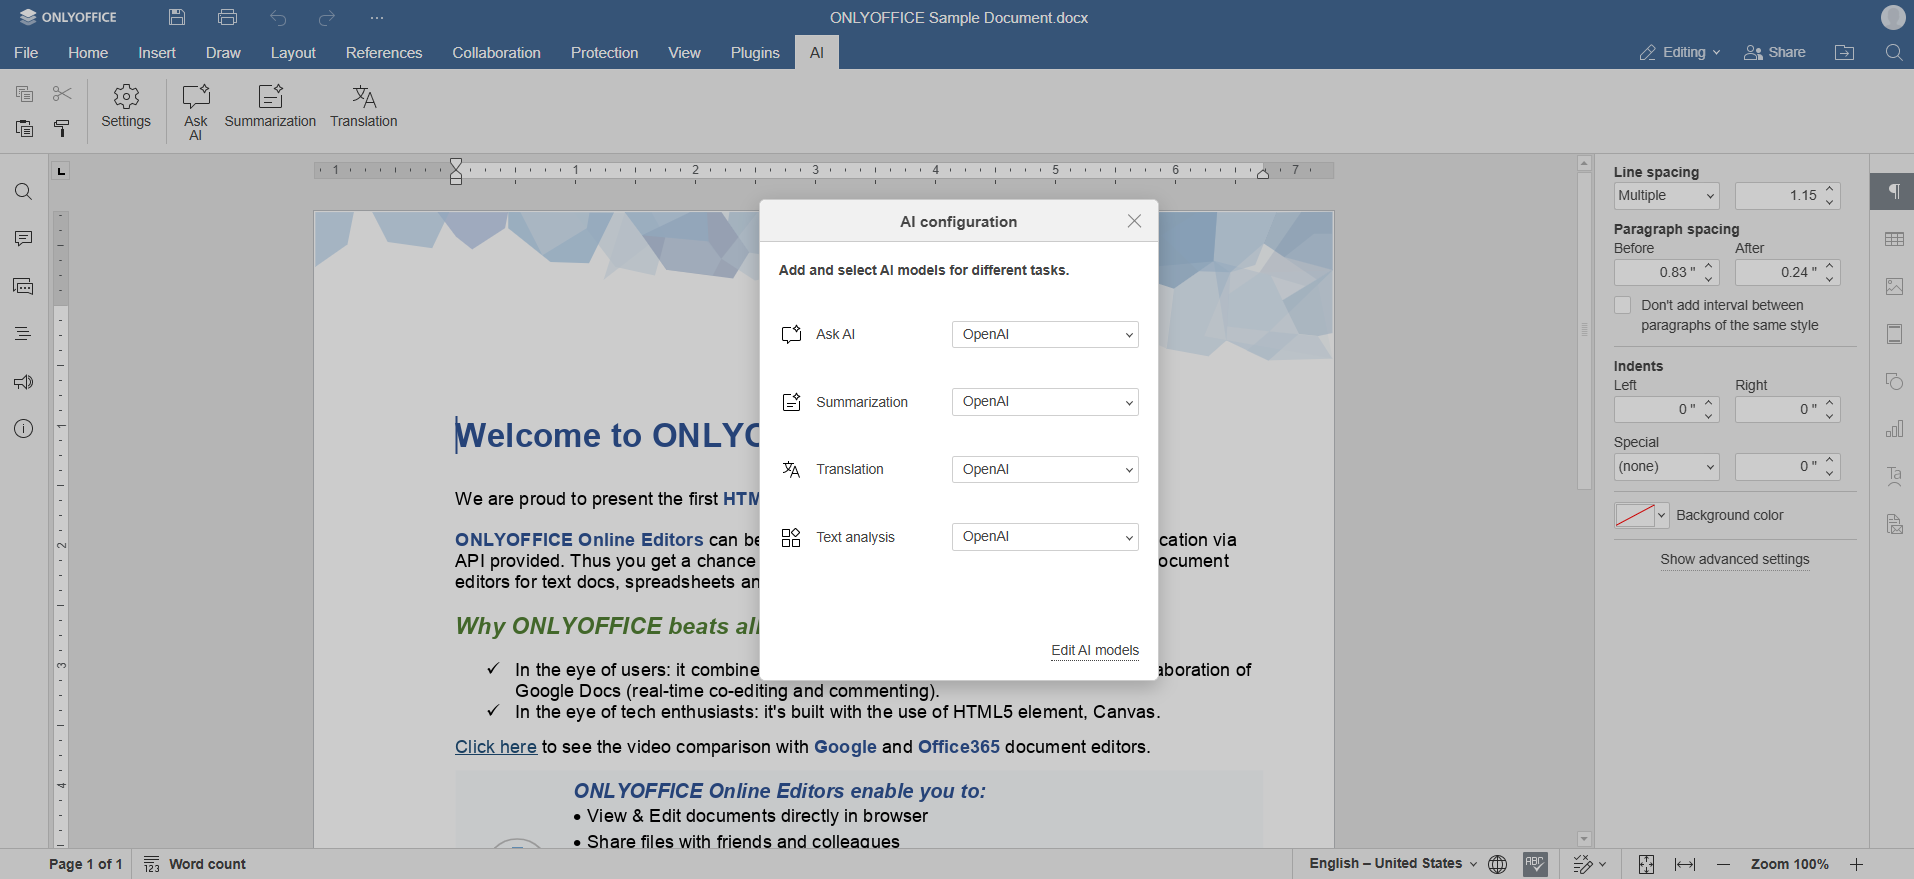
Go to the AI tab, click Settings to open the configuration window.
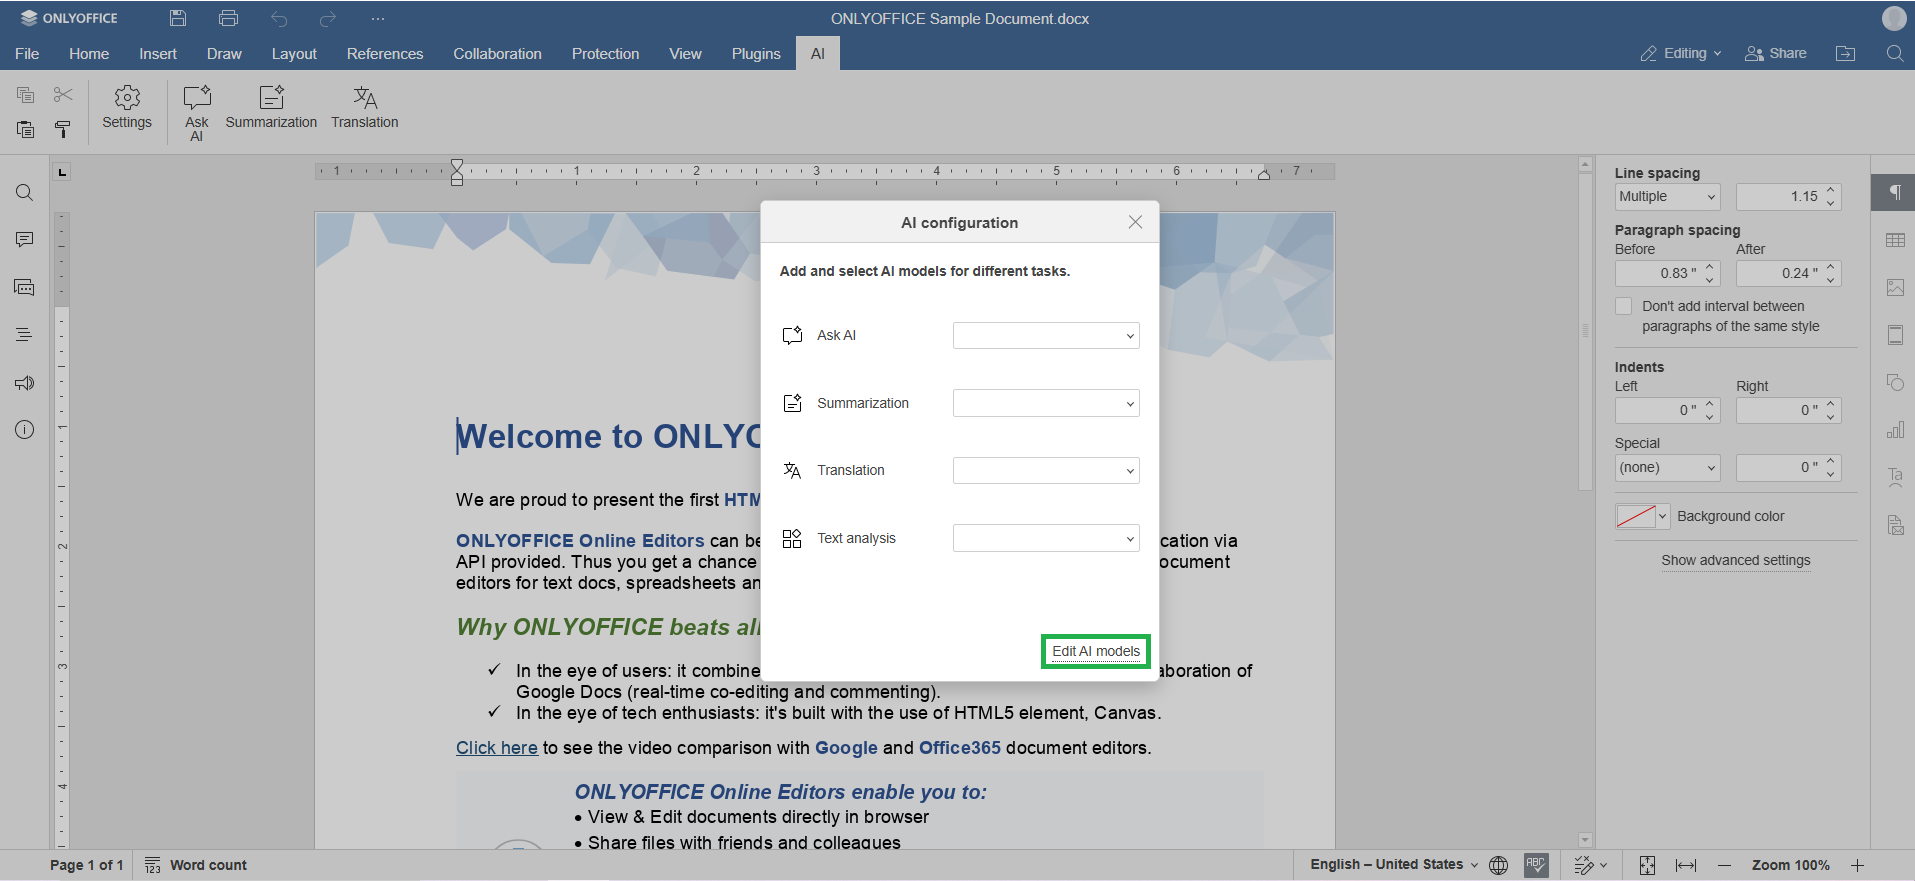
- Select Edit AI models and click Add.
- Choose an AI provider from the list or add new AI models by entering your API keys.
-
In the row of icons, select what the model is used for: Text, Images, Embeddings, Audio Processing, Content Moderation, Realtime Tasks, Coding Help, Visual Analysis.
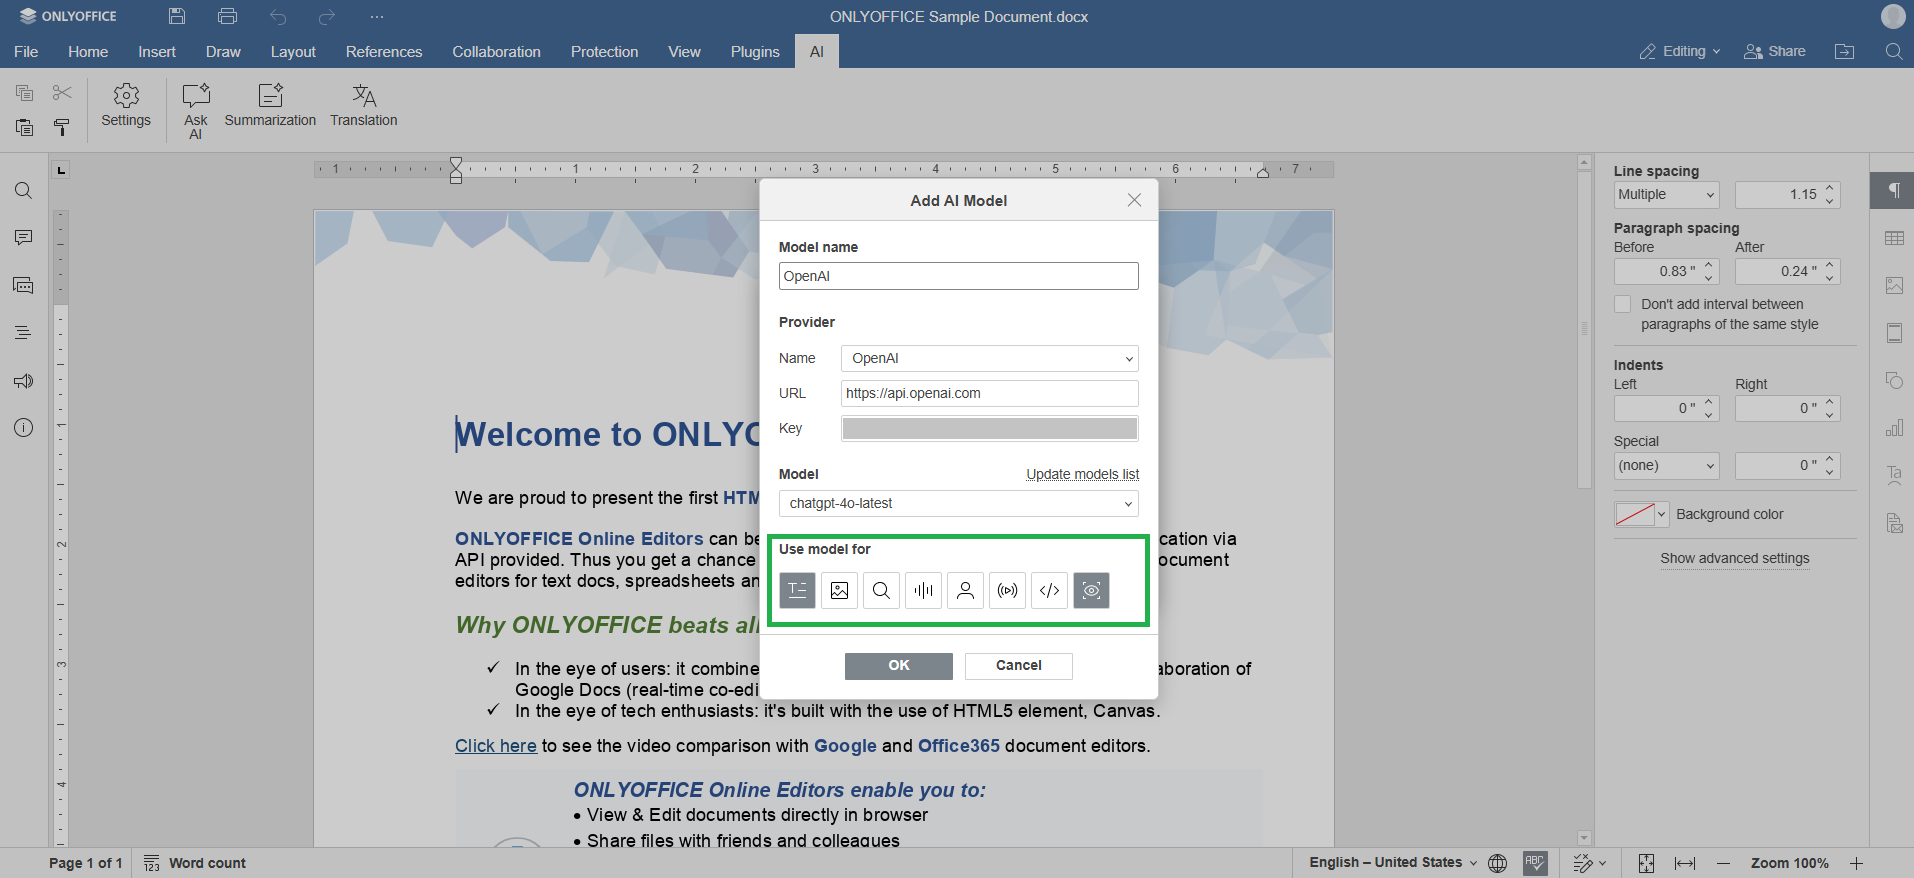
Please note that not all models support all tasks. If the selected model does not support assigned tasks, errors may occur. We strongly recommend not to change the icons settings.
- Click OK to save your settings and complete the connection process.
Now that your AI assistant is connected, set its parameters:
- Go to the AI tab.
- Open the Settings menu.
-
Assign an AI model for tasks, such as ask AI, summarization, translation, or text analysis. If you have connected multiple models, you can select a separate model for each task.
- Start using AI by selecting the corresponding options from the AI tab.
Using AI when working with macros
AI can be of assistance when working with macros. To access the features:
- Go to the View tab and click the Macros button on the top toolbar. The Macros window will open.
-
Click the AI button in the top left corner of the window:
- Create from description - enter your macros' description, and your AI assistant will generate the corresponding macros.
- Convert from VBA - paste your VBA code in the Convert macros from VBA window, and the corresponding macros will be created.
Please note that if you have not configured your AI assistant yet, you will be prompted to do so. Follow steps 1 and 2 of this guide to configure it.
To learn more about macros, please refer to our API Documentation.
Watch video
Check spelling and fix grammar mistakes with AI assistant in ONLYOFFICE
Elevate the quality of your documents with the built-in AI Assistant in ONLYOFFICE. This video demonstrates how to use intelligent proofreading to automatically detect spelling errors, correct grammar mistakes, improve sentence structure, and enhance overall writing clarity—all in real time.