Integrating AI
The AI agent is a contextual assistant available within ONLYOFFICE Desktop through a tab.
- The AI agent allows users to perform common tasks such as:
- Generate and rewrite the text. Create content from scratch or enhance existing text, all without switching between apps — everything is done directly within the Desktop app. Generate summaries, expand ideas, rephrase sentences, or adapt tone and style simply by describing what you need in natural language.
- Format your documents smarter. Apply formatting without searching through menus with an AI agent. You do not need to search for where a certain button or function is located. Just type in your request, and the editor will instantly update the content.
- Analyze and visualize data. Aggregate, sort, and filter information within your spreadsheets, and generate visual representations from selected ranges or entire sheets. Create data-driven diagrams and images for your slides based on simple descriptions, all integrated into your workflow.
The AI agent keeps your conversation history, allowing you to refine results step by step or continue complex requests.
Accessing the AI agent tab
- Launch ONLYOFFICE Desktop.
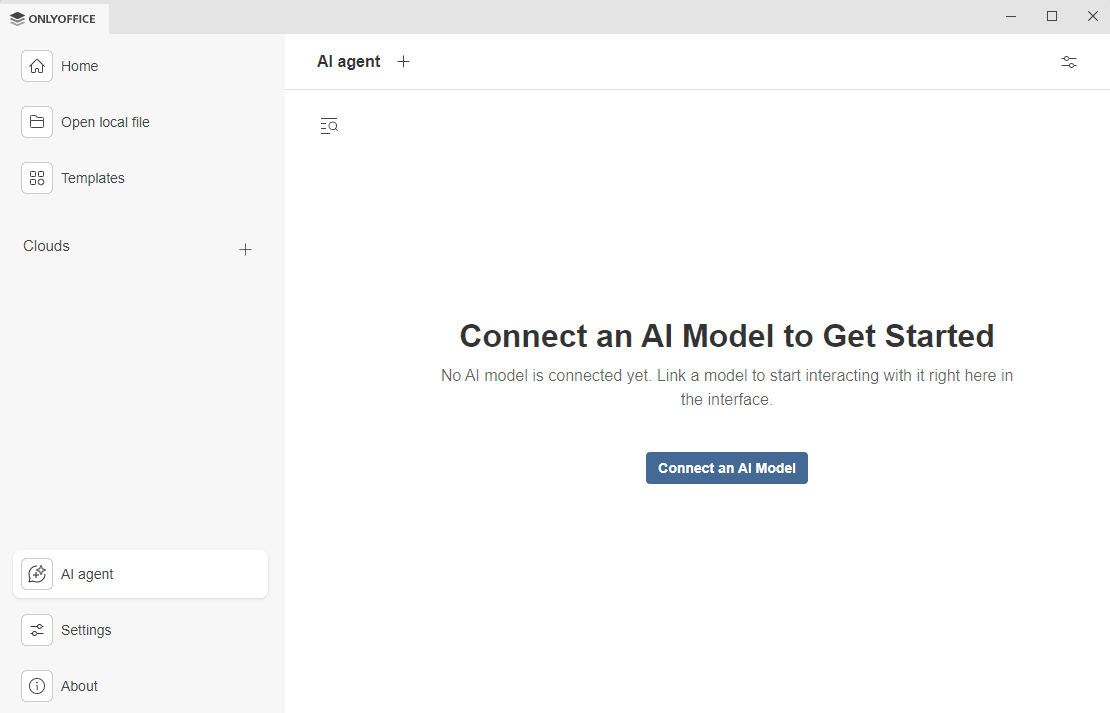
- In the left panel, click the AI agent tab. The first time you open the tab, you will see a message “Connect an AI Model to Get Started”, click the Connect an AI Model button to choose the AI Provider. The AI Agent settings panel opens.
Configuring the AI Agent
The AI agent settings panel consists of three tabs:
- Connection - allows to connect your own AI sources,
- MCP Servers - allows to add and to configure MCP servers and to enable tools that can be invoked by language models,
- Web Search – allows to connect an external web search engine and to leverage a combination of AI chats and real-time access to the Internet for improved outcomes.
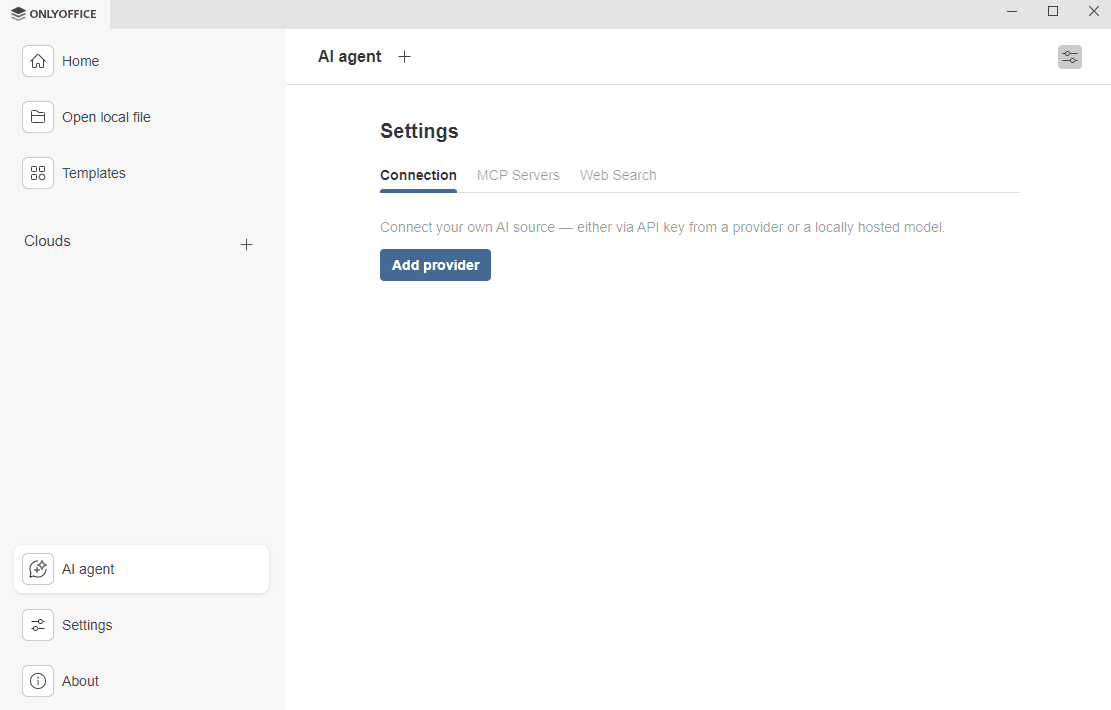
Connection tab
Use this tab to link your own AI provider using the provider’s API key or the locally hosted model for full control over the data privacy.
- Click the Add provider button.
In the AI Provider dialog that appears:

- Choose a provider from the Provider drop-down list. The AI providers available so far are Anthropic, Ollama, OpenAI, TogetherAi, OpenRouter, Google AI, DeepSeek, xAI, LM Studio, and Mistral.
- Type in the Name of the AI source to recognize this provider in the list.
- In the URL field, leave the default endpoint or specify the one required by your provider.
- Enter the API key obtained from your provider account.
- Click the Add provider button when the setup is complete.
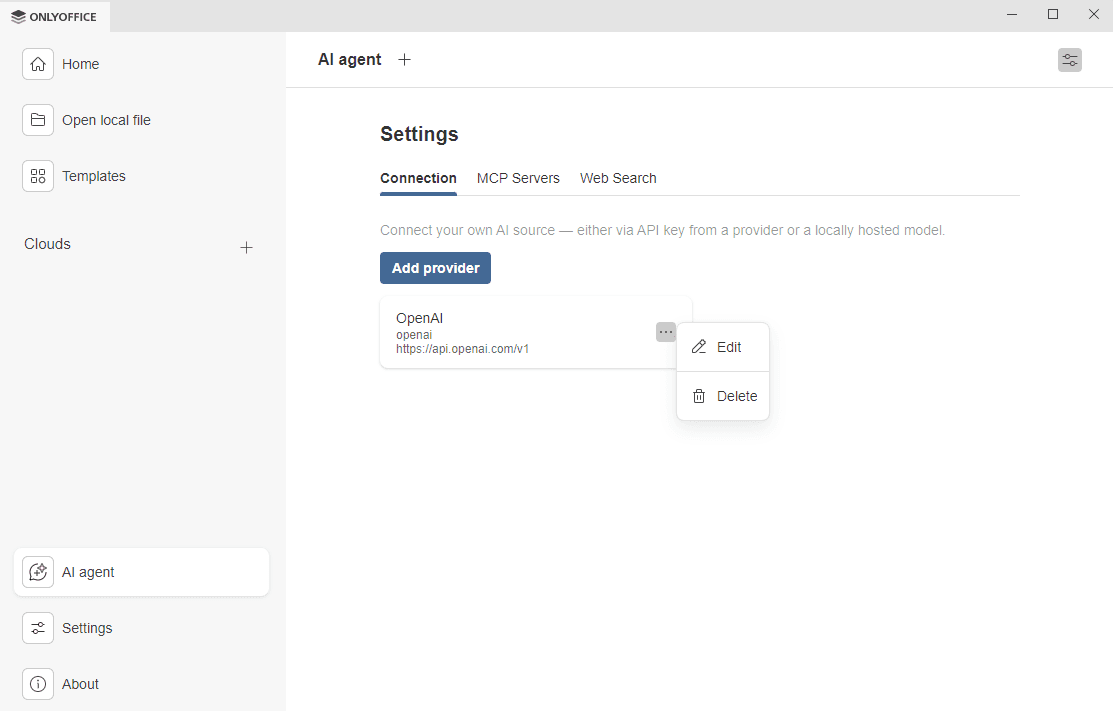
The provider appears in the Connection tab. You can manage it later: Edit the settings or Delete the provider.
MCP Servers tab
Use this tab to add and to configure MCP servers and to enable its tools that extend the AI capabilities beyond your local environment. You can add up to 100 tools. Enable or disable the available tools to meet your needs, or use the  action menu to enable or disable all tools at once.

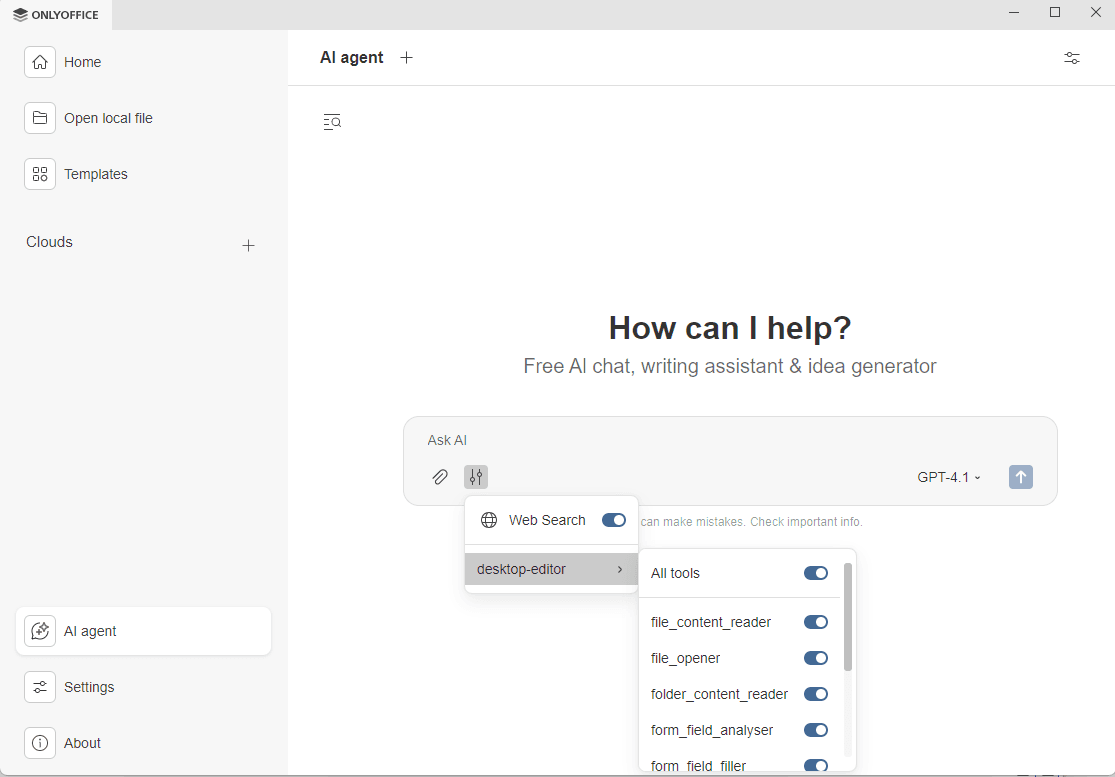
ONLYOFFICE Desktop is supplied with the desktop-editor MCP tools enabled by default. Click the desktop-editor in the Available tools field to expand the list of tools. The default tools include:
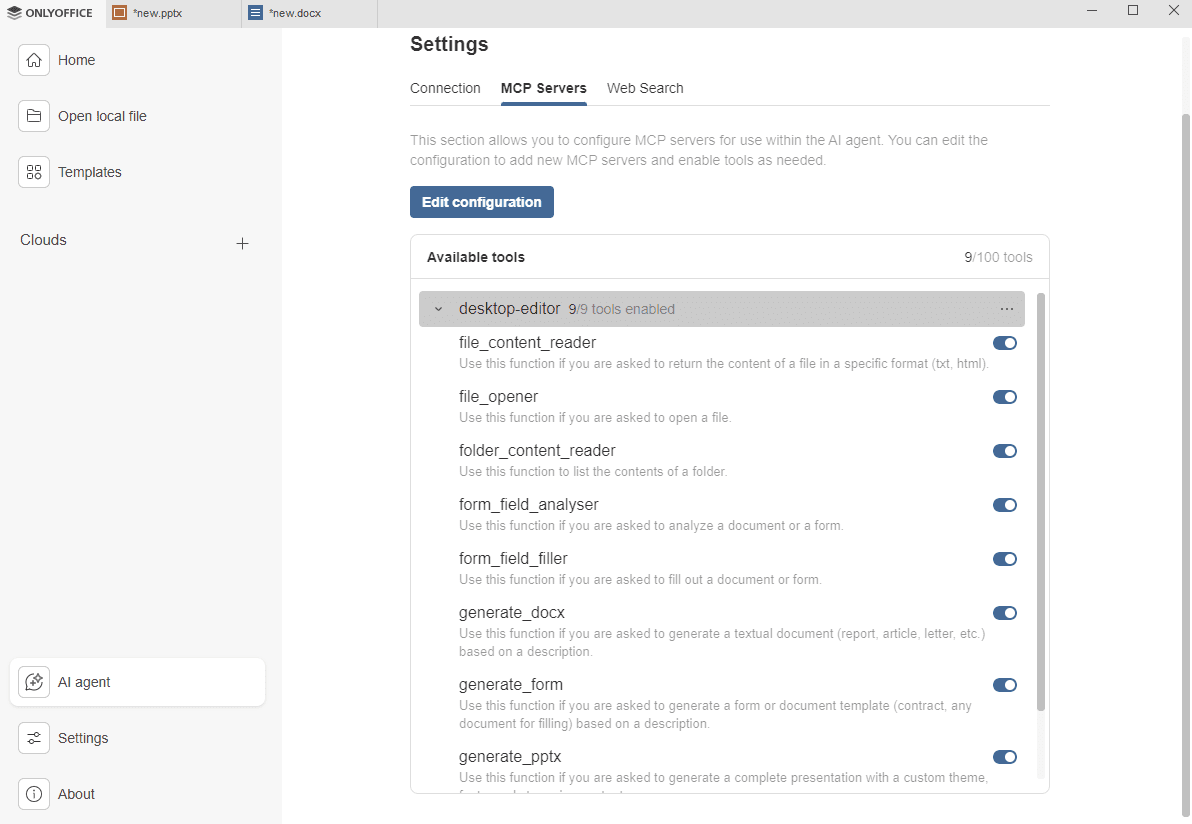
- file_content_reader – returns the content of a file in a specific format (txt, html).
- file_opener - opens a file.
- folder_content_reader - lists the contents of a folder.
- form_field_analyser - analyzes a document or a form.
- form_field_filler - fills out a document or form.
- generate_docx - generates a text document (report, article, letter, etc.) based on a description.
- generate_form - generates a form or document template (contract, any document for filling) based on a description.
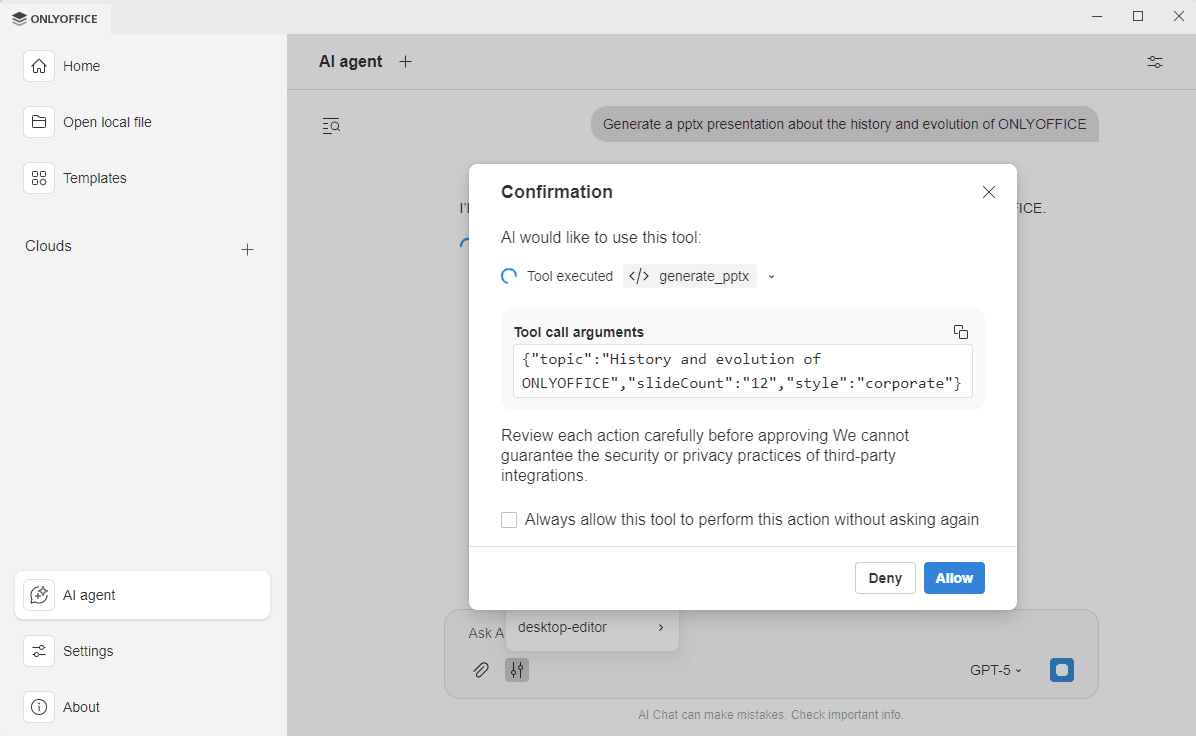
- generate_pptx - generates a complete presentation with a custom theme, fonts, and content.
- recent_file_reader - lists recently used files
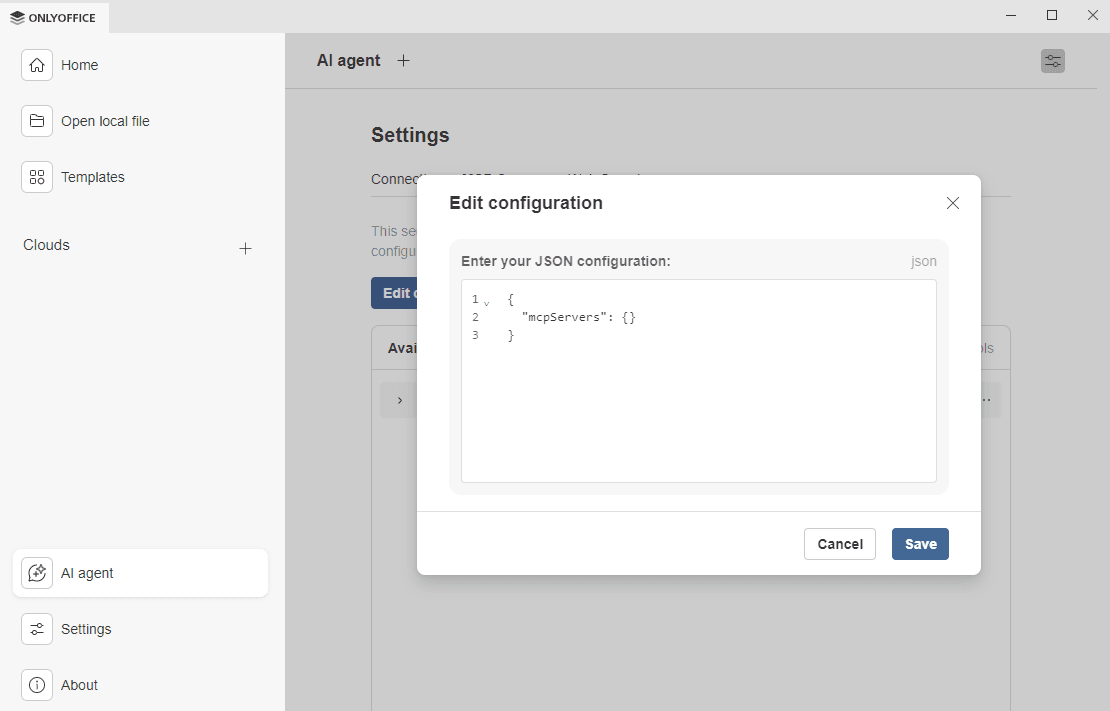
You can add a third-party MCP server and tools.
In the Edit configuration dialog, enter the JSON configuration obtained from the MCP server provider and click Save.
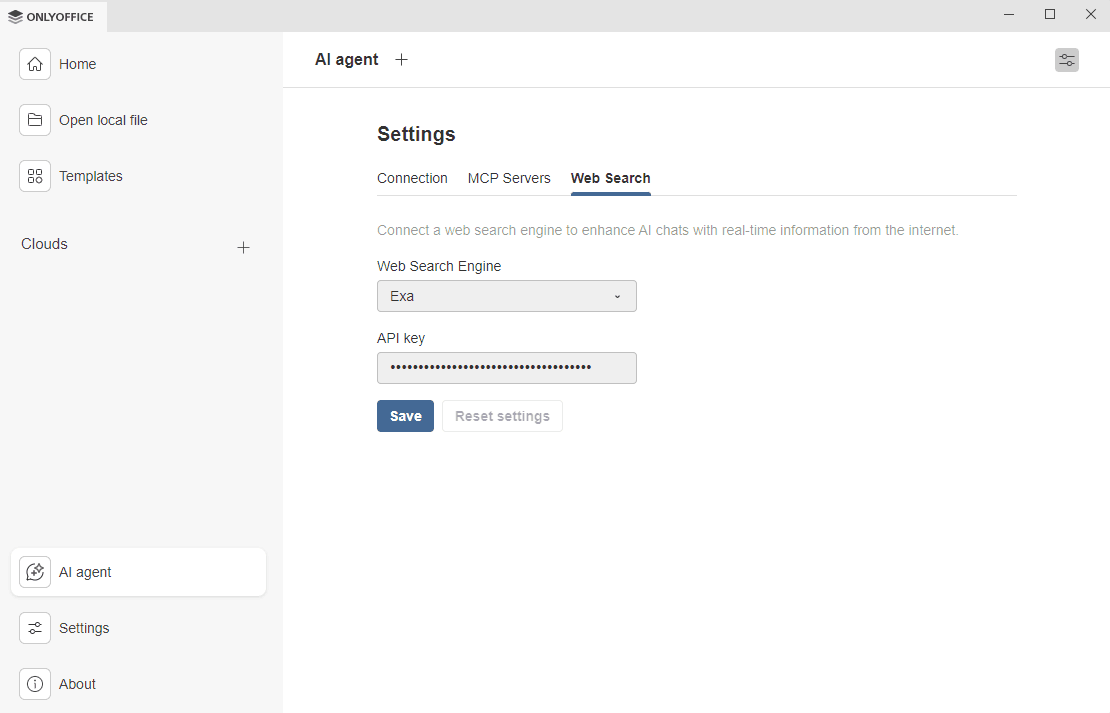
Web Search tab
Use this tab to connect an external web search engine and to expand the AI capabilities, giving it access to real-time data.
- Use the Web Search Engine drop-down to choose a search engine. Exa is the only search engine available so far.
- Go to Exa website to get an API key. Paste the key into the API key field and click Save.
- Use the Reset setting button to edit the web search settings.
Using the AI chat
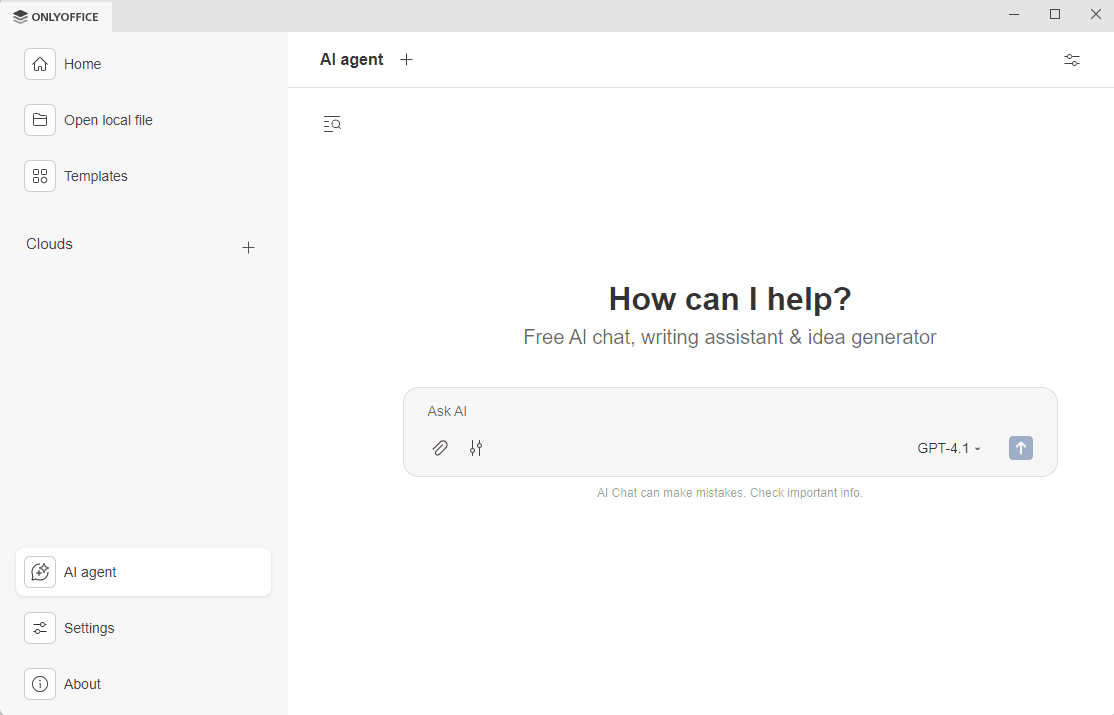
Once at least one model has been added, you can start chatting. The AI agent top toolbar includes three action buttons: New chat, Settings, and Chat history.
- To start a new chat, click the
 icon at the top toolbar of the AI Agent tab. The Ask AI prompt field with action buttons appears. Use these buttons to fine-tune your prompts.
- You can attach local or recent files to your conversation. The AI response will be based on the attached file.
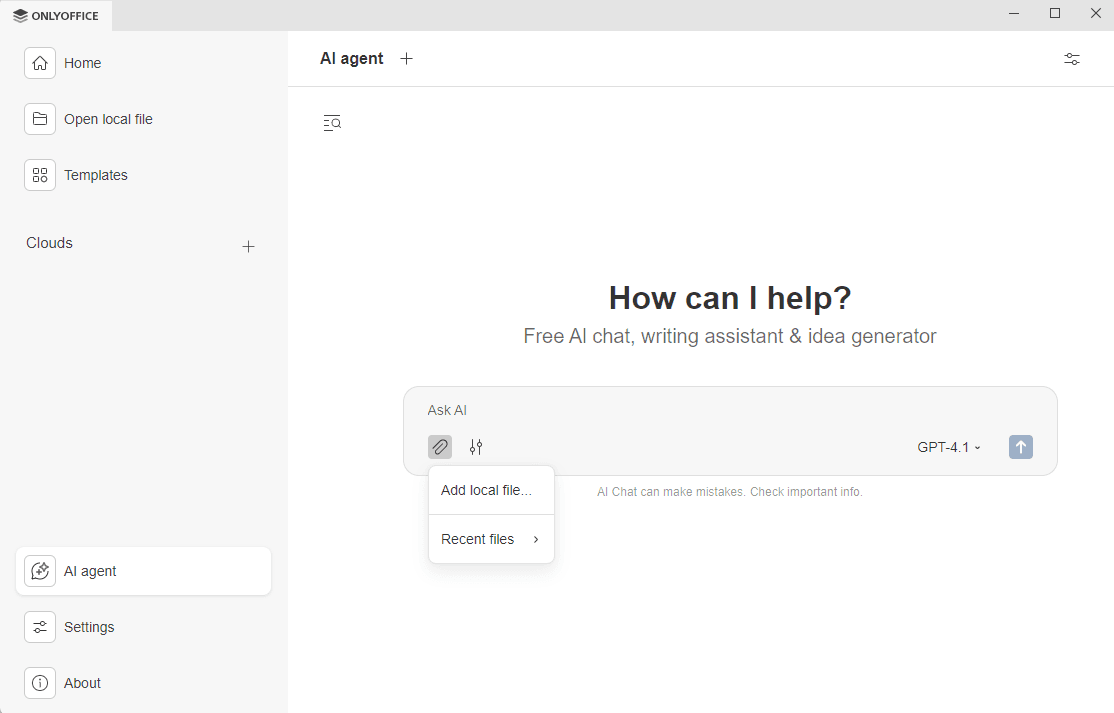
- Enable or disable Web Search and MCP tools.
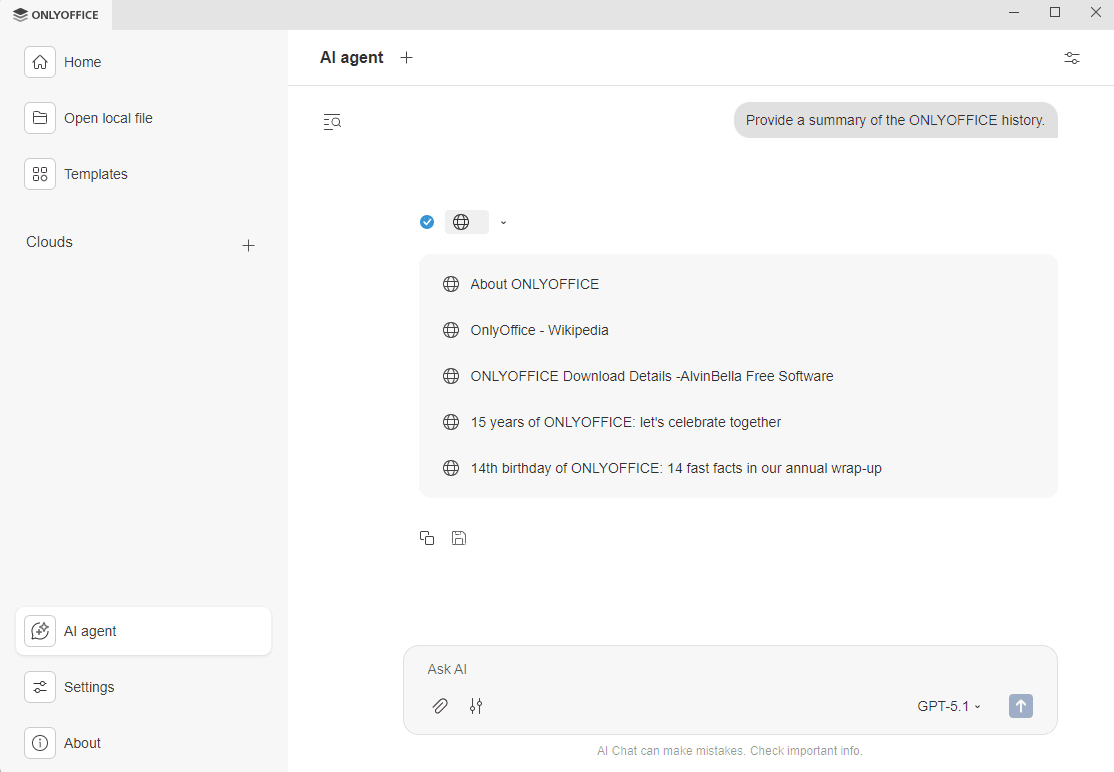
- When you use web search, the chat displays the list of retrieved sources for you to review the links.
- When you use the MCP Server tools, a notice appears asking you to check the tools invoked for privacy compliance since ONLYOFFICE assumes no responsibility for data privacy compliance of the third-party tools and integrations. Check the option Always allow this tool to perform this action without asking again if you don’t want this notice to show up for this tool again.
- When you use web search, the chat displays the list of retrieved sources for you to review the links.
- Choose a model to be used in this conversation.
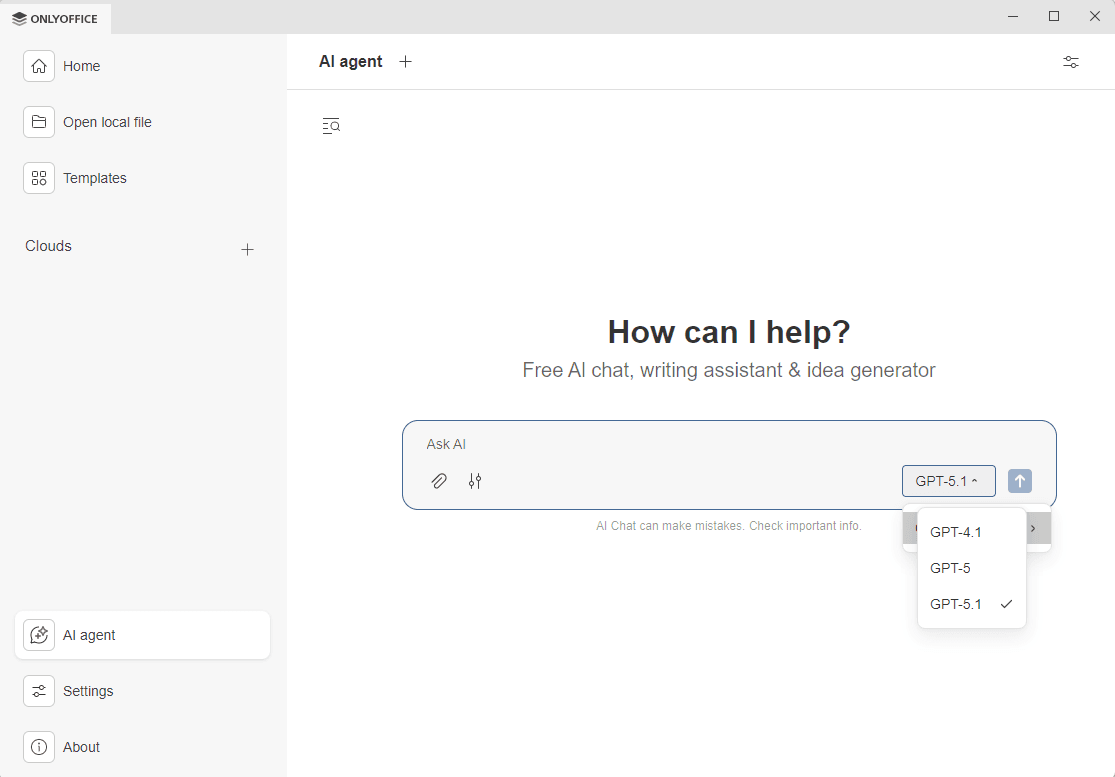
- Click the arrow icon to submit the prompt.
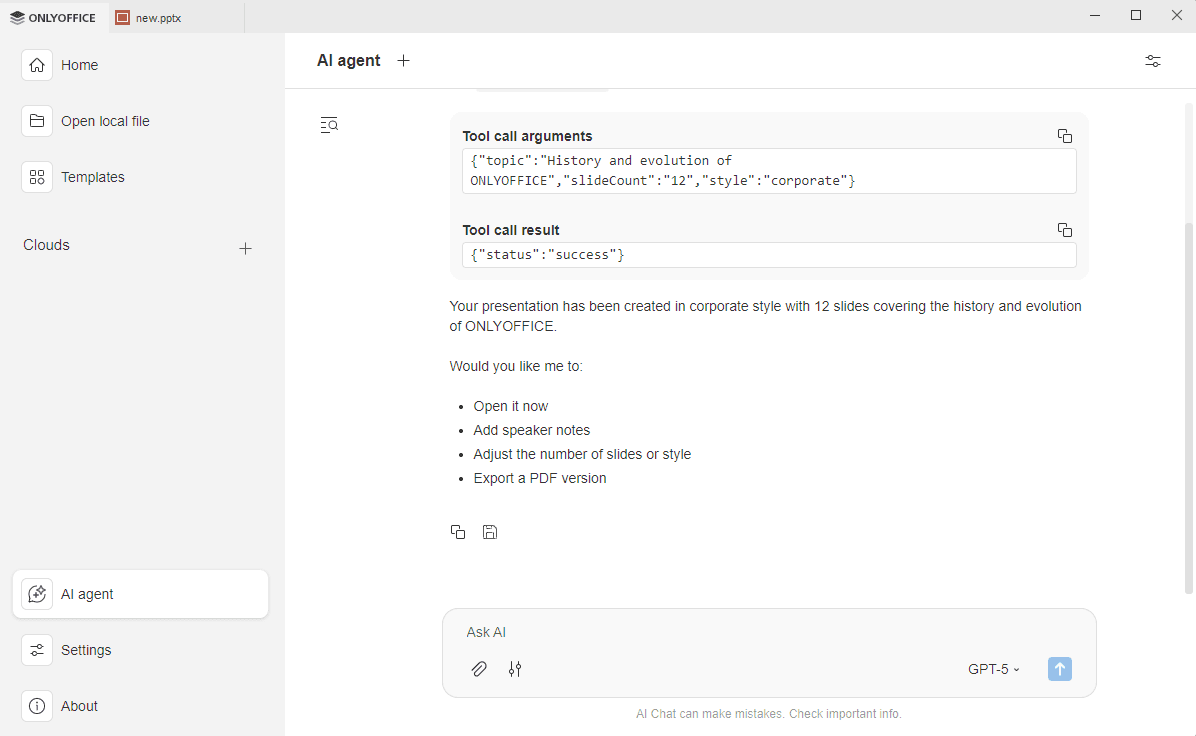
The output appears in chat, you can see the MCP tools used, if any, and the AI chat suggestions. You can copy the conversation results to the clipboard or save it to your computer as a docx file.
Chat history
The AI agent keeps the history of your AI conversations so you can review, save, or remove them.
- Click the Chat history icon
 in the upper left corner of the AI Chat.
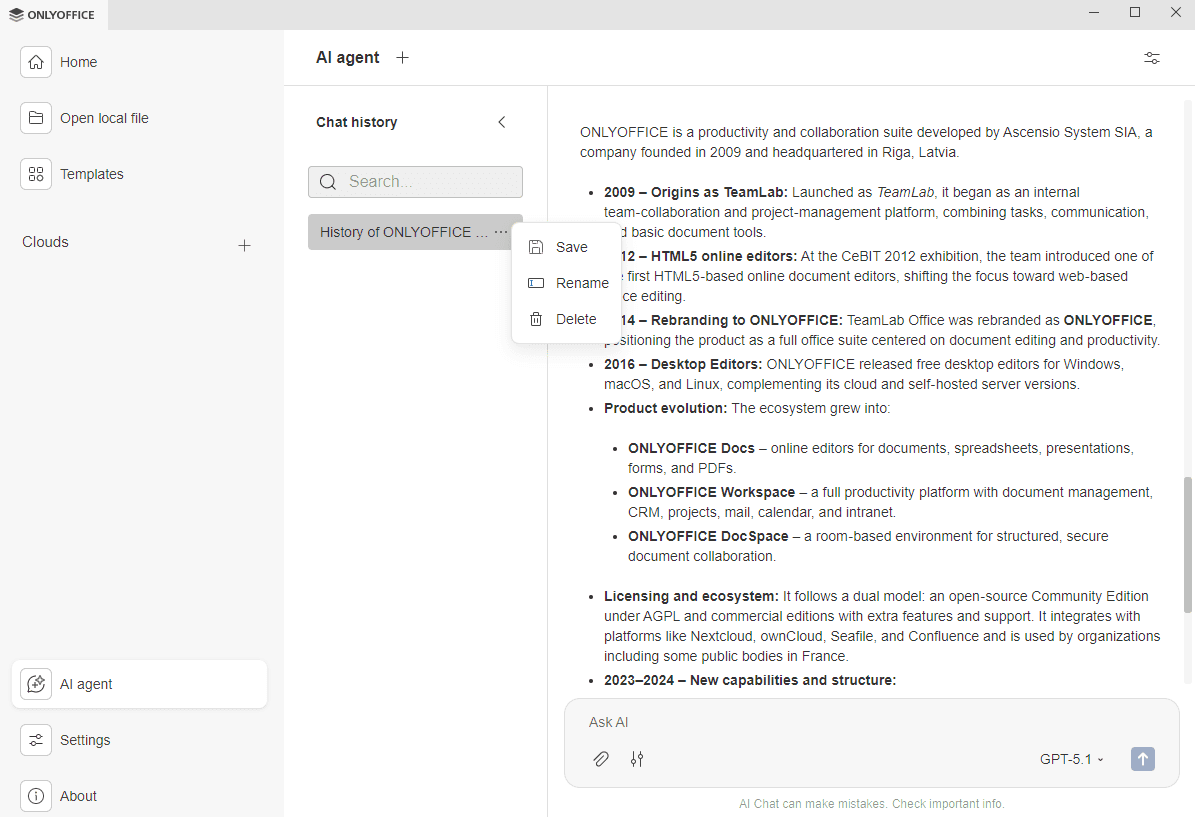
- Use the Search field to find previous conversations by name.
- Click to open the context menu with the following options:
- Save – to save the conversation as a docx file to your computer.
- Rename – to change the conversation title,
- Delete – to remove the chat from history permanently.
When you select a conversation, the full content appears on the right, and you can continue interacting with the AI from where you left off.
Use the arrow ![]() to close the Chat history panel.
to close the Chat history panel.