Inserting shapes
Insert a shape
- Place the cursor where you want the shape to be put.
- Tap the
 icon at the top toolbar to open the new object insertion panel.
 - Tap the
 Shape tab.
 - Select one of the available shapes.
The selected shape will be added. Now you can change its properties and position.
You can edit the properties using the formatting toolbar below.

Adjust the shape settings
- Tap the shape to select it.
- Open the Shape Settings panel by
- tapping the
 icon at the top toolbar, or
 - tapping the Shape option in the pop-up menu.
- tapping the
- Tap the arrow next to the necessary menu item: Style, Wrap, Replace, or Arrange.
The Style section contains the following four menus: Fill, Line, Shadow, Opacity.
- Fill — to fill the inner space of the shape with a solid color, gradient template, custom image, predefined texture, or pattern.
-
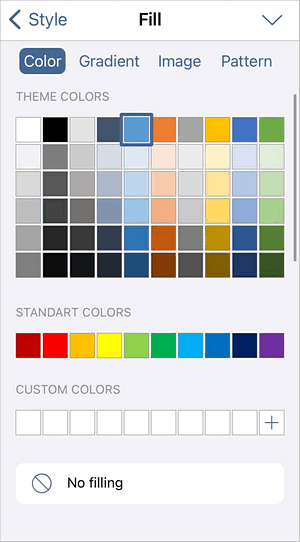
Color — choose one of the available Theme or Standard colors or set your Custom color. If you do not want to use a filling color, choose the No filling
 option.
-
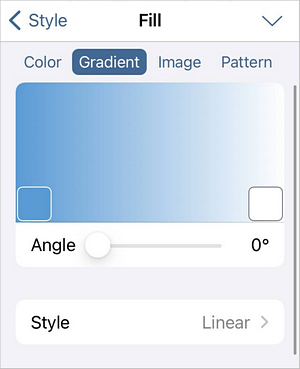
Gradient — choose two colors for a smooth color transition, set the angle via the slider, and choose one of the available color transition styles: Linear or Radial. To add more gradient points, tap and hold at the bottom of the gradient color field or tap and hold the existing gradient color square and choose the Duplicate option in the context menu, then tap on the new color square and set the required color.
-
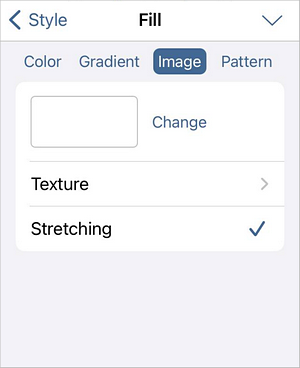
Image — choose the image to fill in the shape.
- Tap the Change option and choose a photo from your library, take a photo, insert an image from Files or delete an image.
- Tap the Texture option and choose one of the available textures.
- Enable or disable the Stretching option to stretch the image/texture to fill in the shape fully or to preserve the original image/texture size respectively.
-
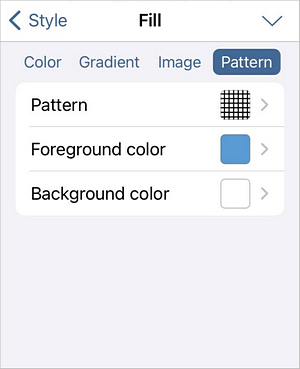
Pattern — choose a pattern to fill in the shape.
- Pattern — tap this option and choose one of the available patterns.
- Foreground color — choose one of the available Theme or Standard colors or set your Custom color for the pattern foreground.
- Background color — choose one of the available Theme or Standard colors or set your Custom color for the pattern background.
-
Color — choose one of the available Theme or Standard colors or set your Custom color. If you do not want to use a filling color, choose the No filling
- Line — to set the border type, color and thickness.
-
Type — choose one of the available border types or the No option to delete a shape border.

-
Color — choose one of the available Theme or Standard colors or set your Custom color for the border.
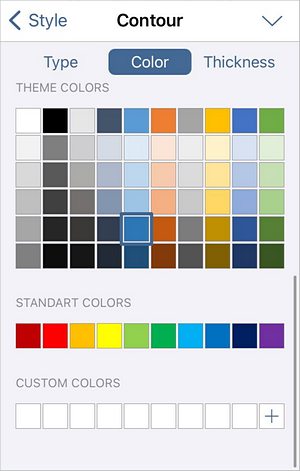
-
Thickness — use the slider to set the border thickness.
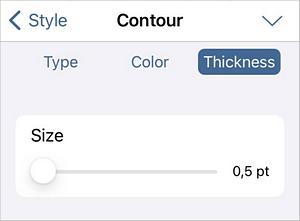
-
Type — choose one of the available border types or the No option to delete a shape border.
- Shadow — enable or disable the switch to have the shape throw a shadow or not respectively.
- Opacity — use the slider to set the shape opacity level.
The Wrap section allows to select a text wrapping style from the available ones and adjust some additional positioning options. To learn more, please refer to the Change text wrapping article.
The Replace section allows to replace the current shape with another one selected from the menu.
The Arrange section allows to set the selected shape position as related to other objects when several objects overlap each other. To learn more, please refer to the Manipulate objects article.
- Fill — to fill the inner space of the shape with a solid color, gradient template, custom image, predefined texture, or pattern.
Add text within the shape
-
Place the insertion point:
- select the shape by tapping it and tap the Edit Text option in the pop-up menu, or
- double-tap the shape.
- Start typing your text.
The text you add in this way becomes a part of the shape (when you move or rotate the shape, the text moves or rotates with it).
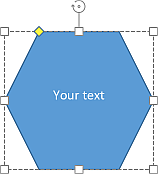
Remove the shape
Select the shape by tapping it and proceed in one of the following ways:
- tap the Delete option in the pop-up menu, or
- open the Shape Settings panel by tapping the icon at the top toolbar, swipe up and tap the Delete Shape button, or
- tap the trash can icon in the menu below.