Creating a chat room
Create a chat room to discuss topics with multiple participants in real time.
Follow the steps below to create a chat room in Talk and start talking instantly.
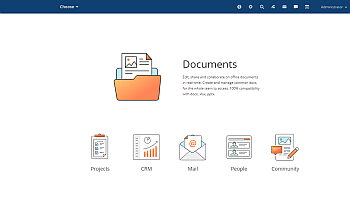
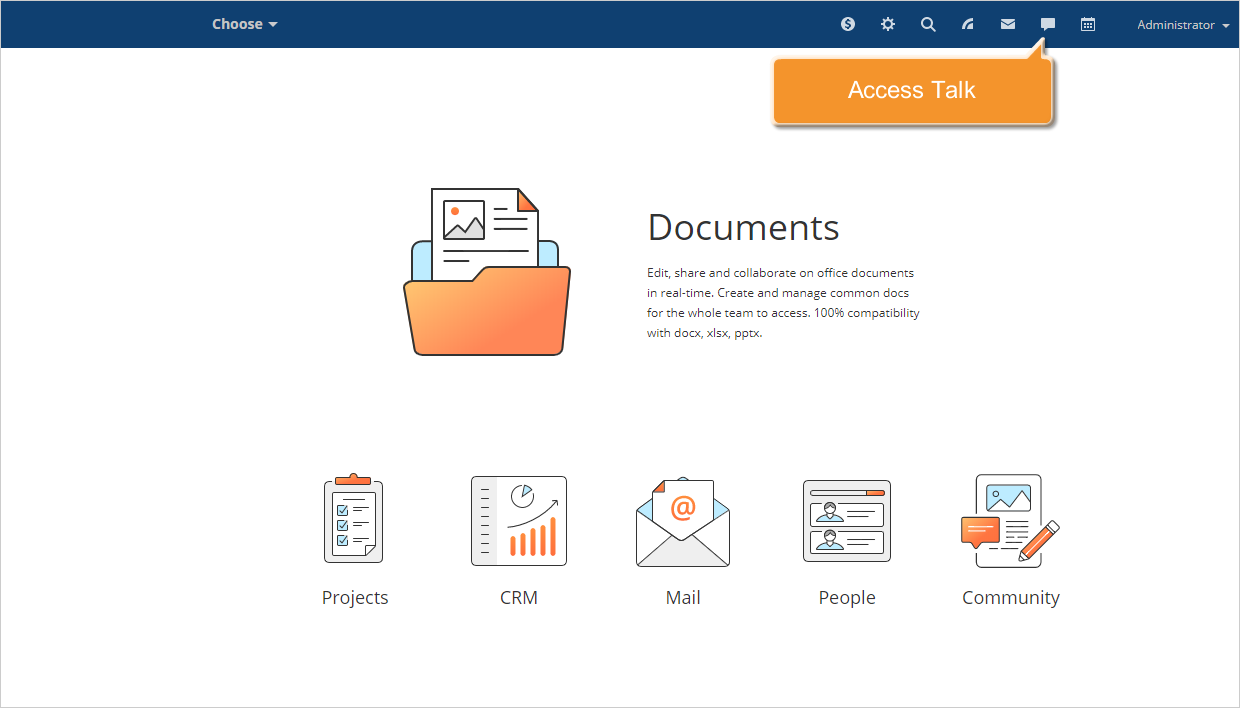
Access the Talk
Sign in to your and click the Talk  icon at the top of any portal page.
Create a recipient list
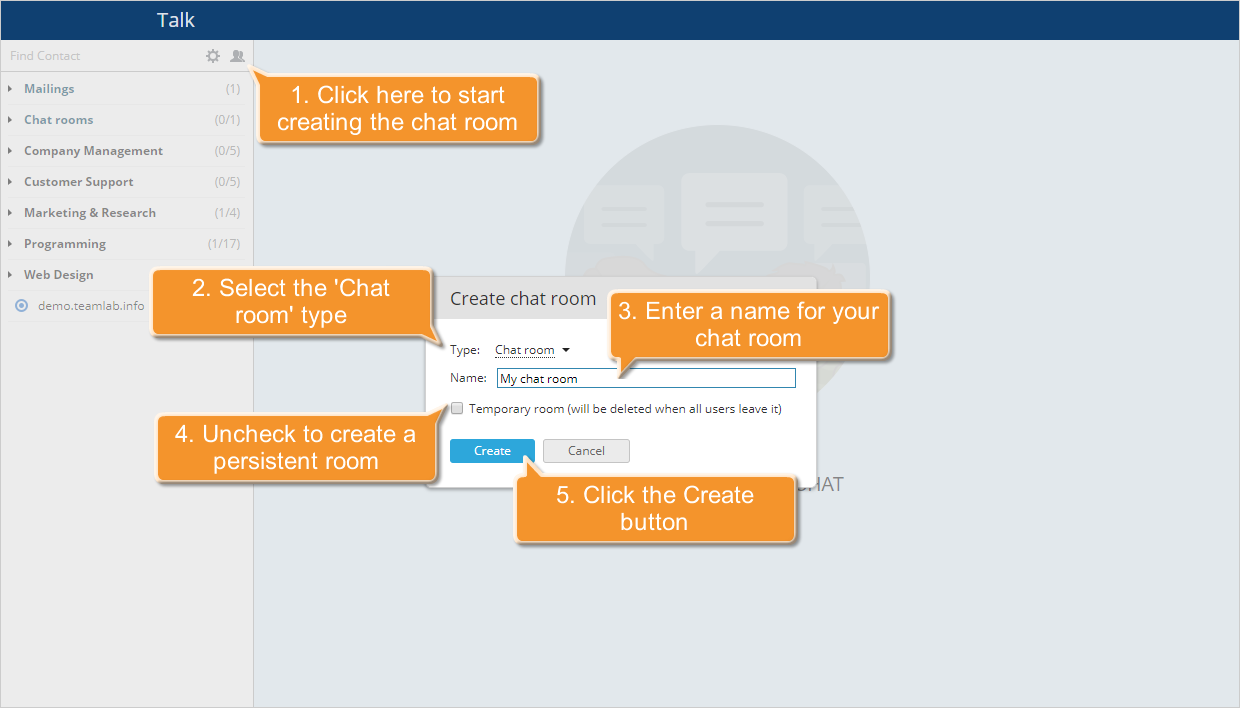
The Talk window will open.
Click the Create chat room  above the contact list on the left. In the window that opens, select Chat room from the Type list. Enter a name for your chat room. To create a persistent room, deselect the Temporary room checkbox and click Create.

Select the user to invite and click the  button to the right of the appropriate name, or drag and drop them to the Talk main area. The invitation will be ssent to the selected user. Users can accept or decline the invitation. Once accepted, the user will appear in the participant list.
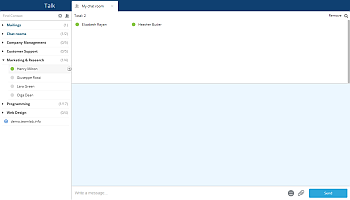
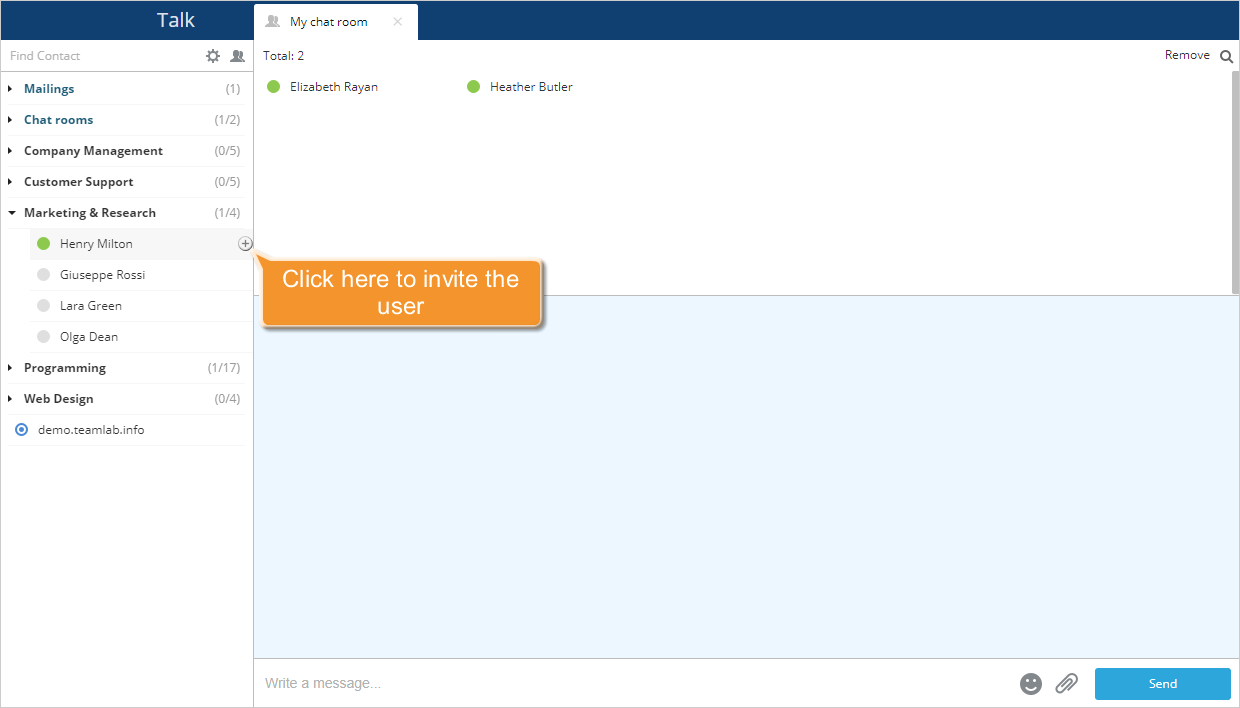
Additional members can be added to the chat room in the same way.
Start your conference
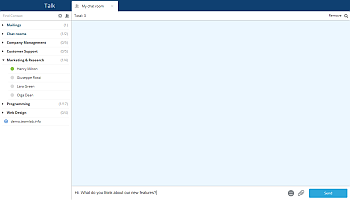
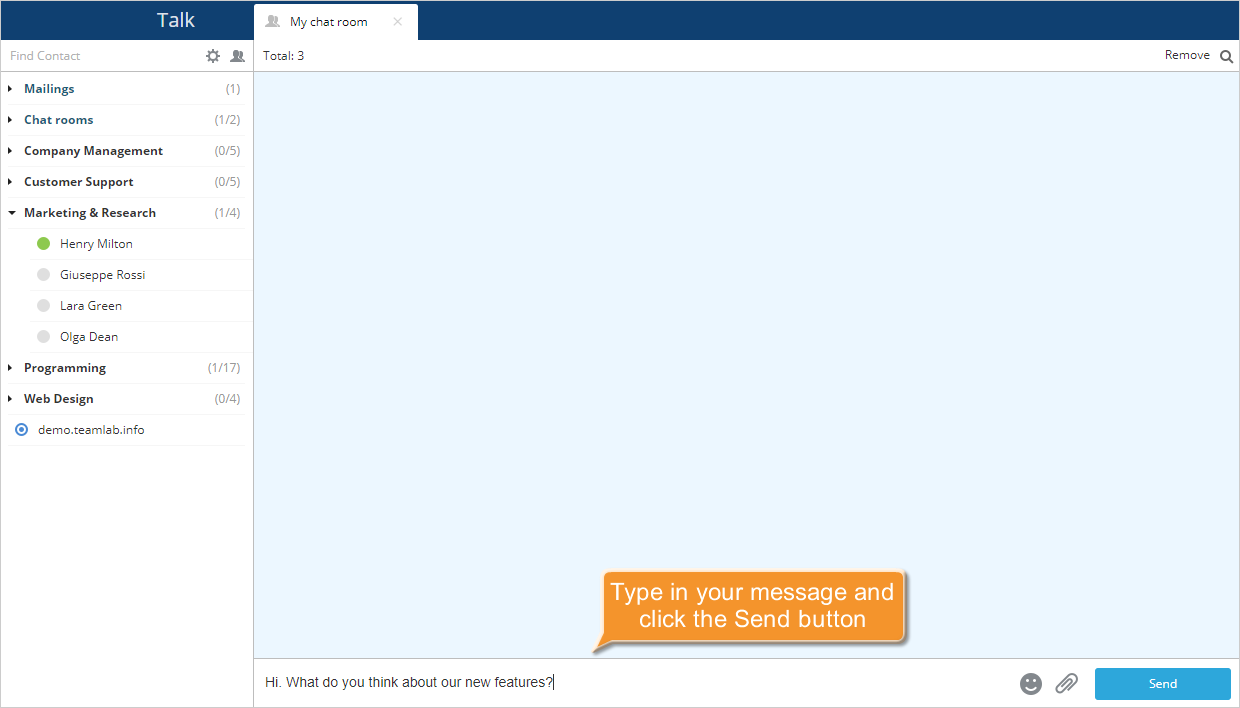
"Once the participant list is complete, type your message and click Send to begin the discussion.
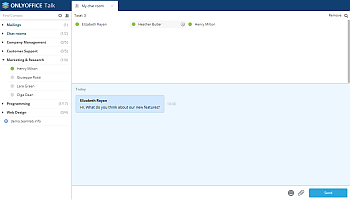
To display all participants, click Total at the top. If you want to delete a user from the chat room, hover over the appropriate name in the participant list click the  icon.
icon.
To search for a certain message in the history, click the Search  icon located in the upper right corner, the search field opens. Enter the search text and press Enter. The found matches will be highlighted in yellow. Use the Previous
  and Next
  buttons to navigate between them.
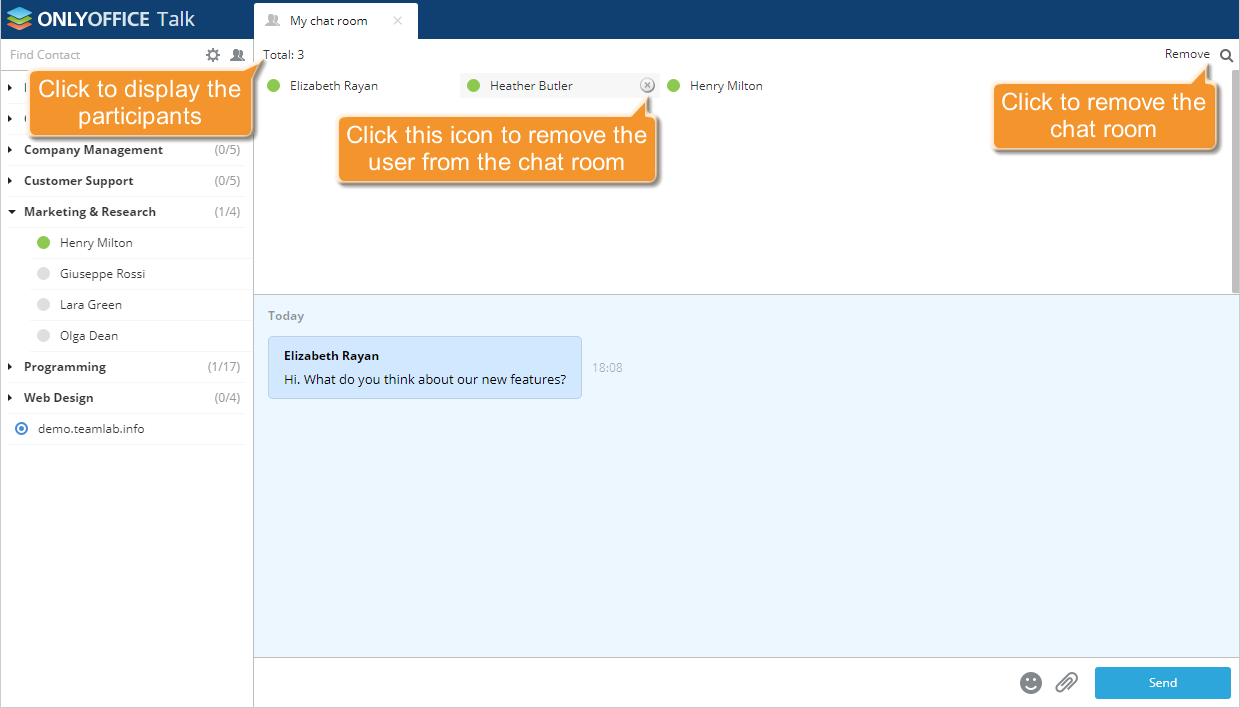
If a temporary room was created, it will be deleted once all users have left. To delete a persistent chat room, select Remove in the upper-right corner.