Installing ONLYOFFICE Workspace Community locally on Windows
Introduction
ONLYOFFICE Workspace Community is a free version of the collaborative system developed to manage documents, projects, customer relationships, and email correspondence, all in one place.
The installation for Windows includes the following components: ONLYOFFICE Community Server, ONLYOFFICE Docs, ONLYOFFICE Talk and ONLYOFFICE Control Panel. This guide explains how to install all ONLYOFFICE Workspace components using the .exe installation file.
Step 1. Download the ONLYOFFICE Workspace Community installation file
To download the ONLYOFFICE Workspace Community installation file, go to the Download page.
Go to the For Windows section and click the Download button.
Wait for the download to complete.
Step 2. Install the prerequisites
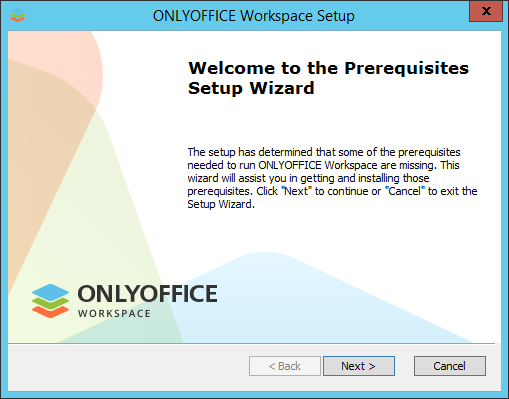
Double-click the .exe file you have just downloaded, the Prerequisites Setup Wizard will launch. It will help you to install some prerequisites required to run ONLYOFFICE Workspace Community. Click the Next > button to continue.
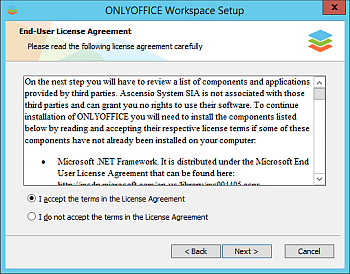
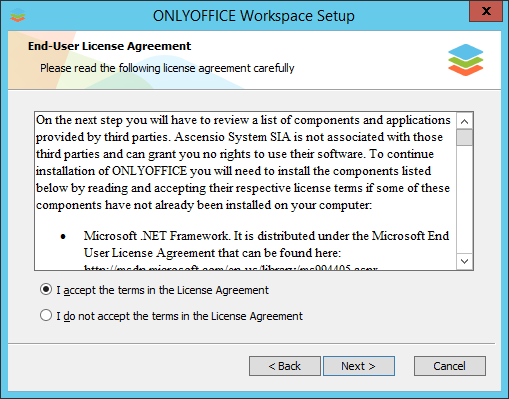
Carefully read the End-User License Agreement for components and applications provided by third parties. Select the I accept the terms in the License Agreement option if you agree with them. Then click the Next > button.
You will be prompted to install the following components:
- .NET Framework 4.8 or higher,
- Visual C++ Redistributable for Visual Studio 2013 x86,
- Visual C++ Redistributable for Visual Studio 2013 x64,
- Visual C++ Redistributable for Visual Studio 2015-2019 x64,
- Visual C++ Redistributable for Visual Studio 2015-2019 x86,
- SharePoint Server 2013 Client Components SDK x64,
- MySQL Connector/ODBC 8.0 x86,
- MySQL Installer Community 8.0 x64,
- MySQL Installer Community 8.0 x64 Runner
- Node.js v.12.18 x86,
- PostgreSQL v.9.5 x64,
- Erlang v.20.3 x64,
- RabbitMQ v.3.7 x64,
- PostgreSQL ODBC Driver x64,
- Python 3.7 x64,
- Redis 3.0 x64,
- Java SE Runtime Environment 8u 171 x64,
- Elasticsearch v.7.4 x64,
- WinCertes v.1.2 x64.
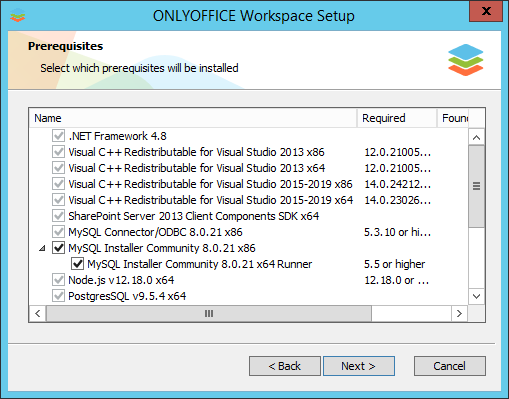
Click Next to install the prerequisite software. This may take several minutes.
Step 3. Install ONLYOFFICE Workspace Community
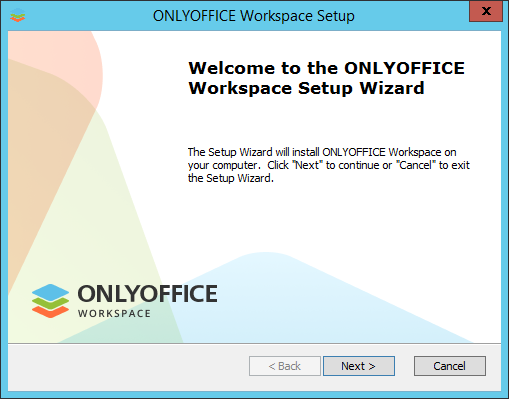
Once all the components are installed, you can proceed to the main installation. The ONLYOFFICE Workspace Setup Wizard will be launched automatically. Click the Next > button to continue.
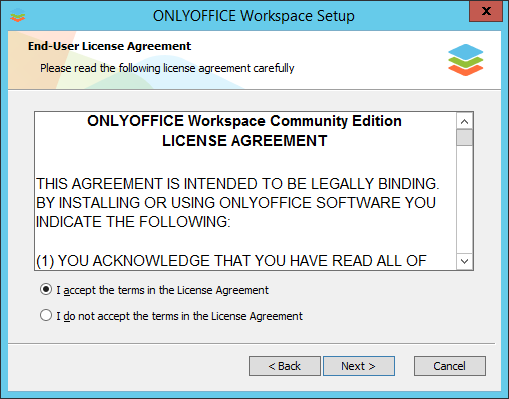
Read the ONLYOFFICE Workspace Community license agreement carefully and select the I accept the terms in the License Agreement option if you agree with them. Then click the Next > button.
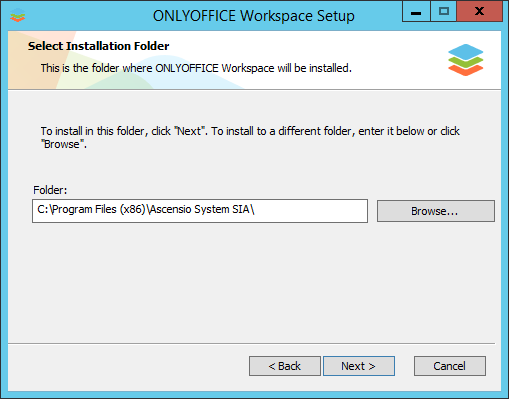
By default, ONLYOFFICE Workspace Community will be installed to the following folder: C:\Program Files (x86)\Ascensio System SIA\ONLYOFFICE Community Edition\. If needed, you can change it by clicking Browse and selecting the appropriate folder. Then click Next >.
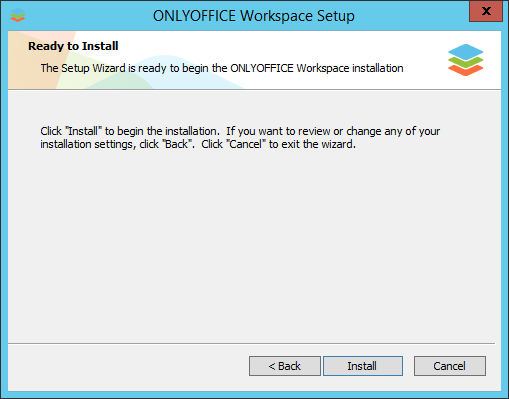
On the next screen, click the Install button to start the installation process. It may take several minutes.
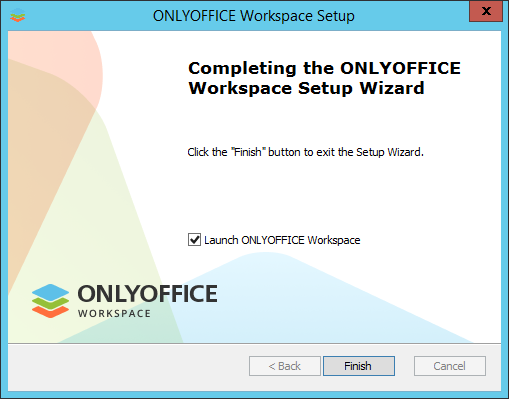
Once the installation is complete, click the Finish button to exit the Setup Wizard and launch ONLYOFFICE Workspace Community.
Step 4. Run ONLYOFFICE Workspace Community
The Portal Setup page will open in your default browser at the http://localhost/wizard.aspx address. Now you need to perform the portal initial setup: specify your password and email and optionally change the portal Language and Time Zone.
- Enter a Password you will use to access your ONLYOFFICE Workspace Community portal the next time and confirm it. By default, the password must be at least 8 but no more than 120 characters long.
For the security reasons, the password setup procedure MUST be performed.
- Specify your email address. The Email Activation message will be sent to the specified email. Follow the link provided in this email to complete your email activation procedure.
- Accept the License Agreement terms by selecting the corresponding checkbox (mandatory). Optionally, select the checkboxes if you want to subscribe to the ONLYOFFICE newsletter and/or agree to send anonymous usage data to improve ONLYOFFICE.
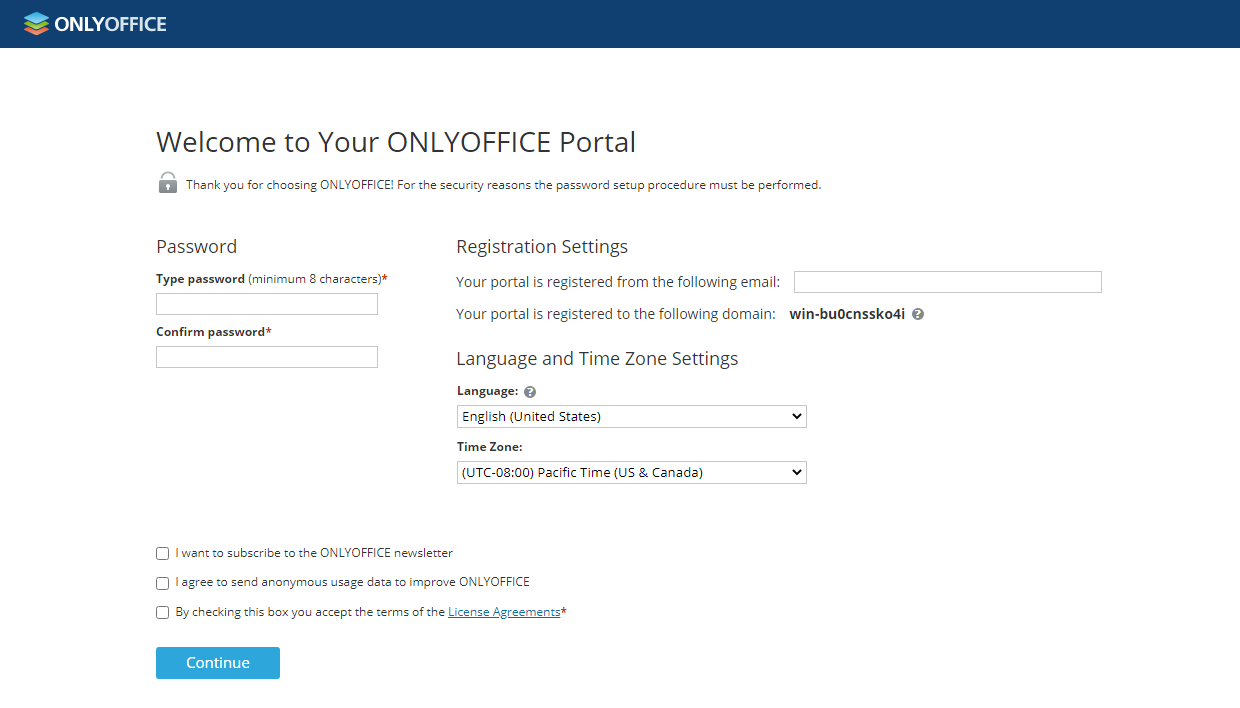
If necessary, you can also:
- view the domain your portal is registered to;
You can later change the domain name on the portal Settings page. For more information, refer to the Configuration section.
- open the Language drop-down list and select the appropriate language to display all portal pages and notification;
- set the time zone that corresponds to your location from the Time Zone drop-down list.
When all the parameters are set, click the Continue button.
Your portal is now ready. Select one of the available modules to start exploring ONLYOFFICE Workspace Community.