Integrating ONLYOFFICE with Box
Connect your Box account to edit documents stored in Box directly from the Documents portal module.
Server version
Step 1. Creating authorization keys
To create the authorization keys required to connect Box to your portal:
- Go to the Box Developers page.
- Sign in to your account.
- Click Create new app.
- On the page that opens, select the Custom app application type and select the User Authentication (OAuth 2.0) method.
- Enter a unique name for your application and click Create App.
- On the Configuration page that opens, enter
https://service.onlyoffice.com/oauth2.aspxin the Redirect URI field of the OAuth 2.0 Redirect URI section. - In the Application Scopes > Content Actions, select the Write all files and folders stored in Box checkbox.
- In the OAuth 2.0 Credentials section, copy or note down the
Client IDandClient secret. - Click Save Changes in the upper right corner of the page.
Step 2. Connecting Box on the portal
To connect Box on your portal:
- Click the
 icon in the upper-right corner to open Settings.
 - Select the Integration tab.
- Open the Third-Party Services page.
- Scroll down to Box and click the switcher to enable it.
- In the Box window that opens, enter the
Client IDandClient secretobtained in the previous step.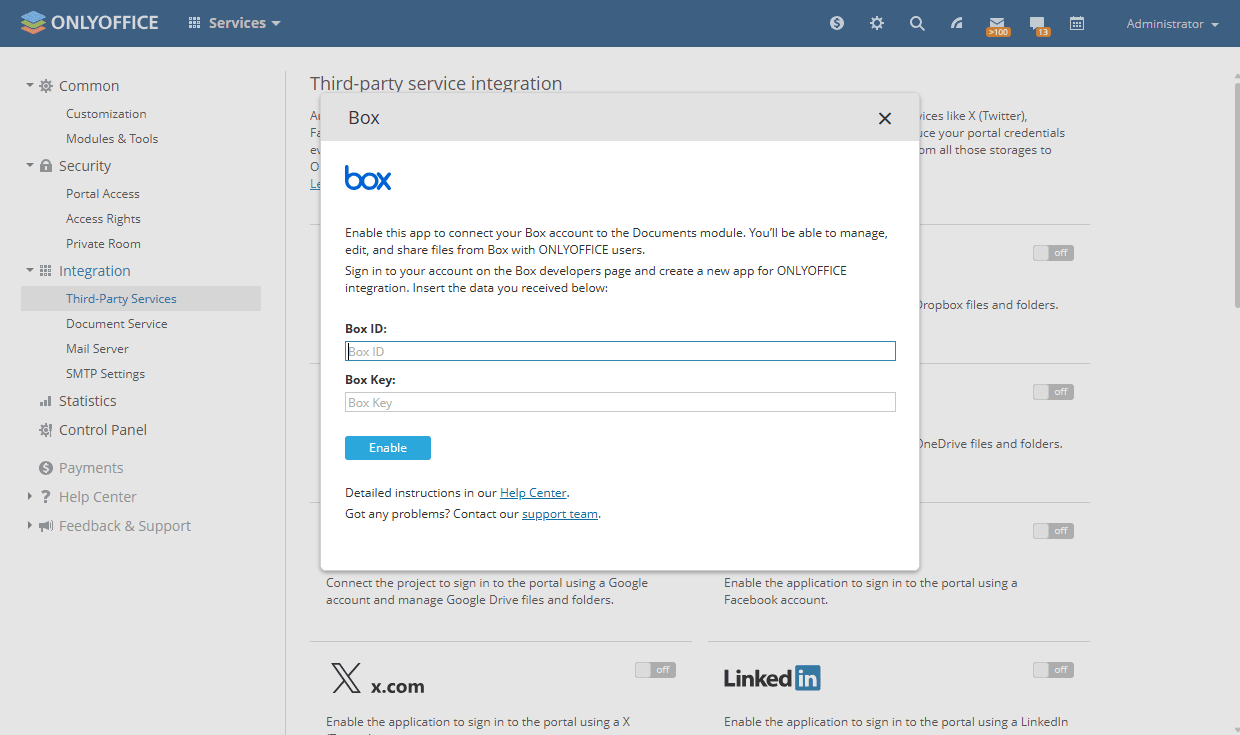
- Click Enable to connect the service.
Cloud version
Connecting your Box account
In the cloud version, authorization key parameters are set up automatically. To connect your Box account to the Documents module:
- In the left sidebar, click the three dots
 under the Connect section and select Other account in the Connecting account window, or go to Settings > Connected clouds and click Connect cloud.
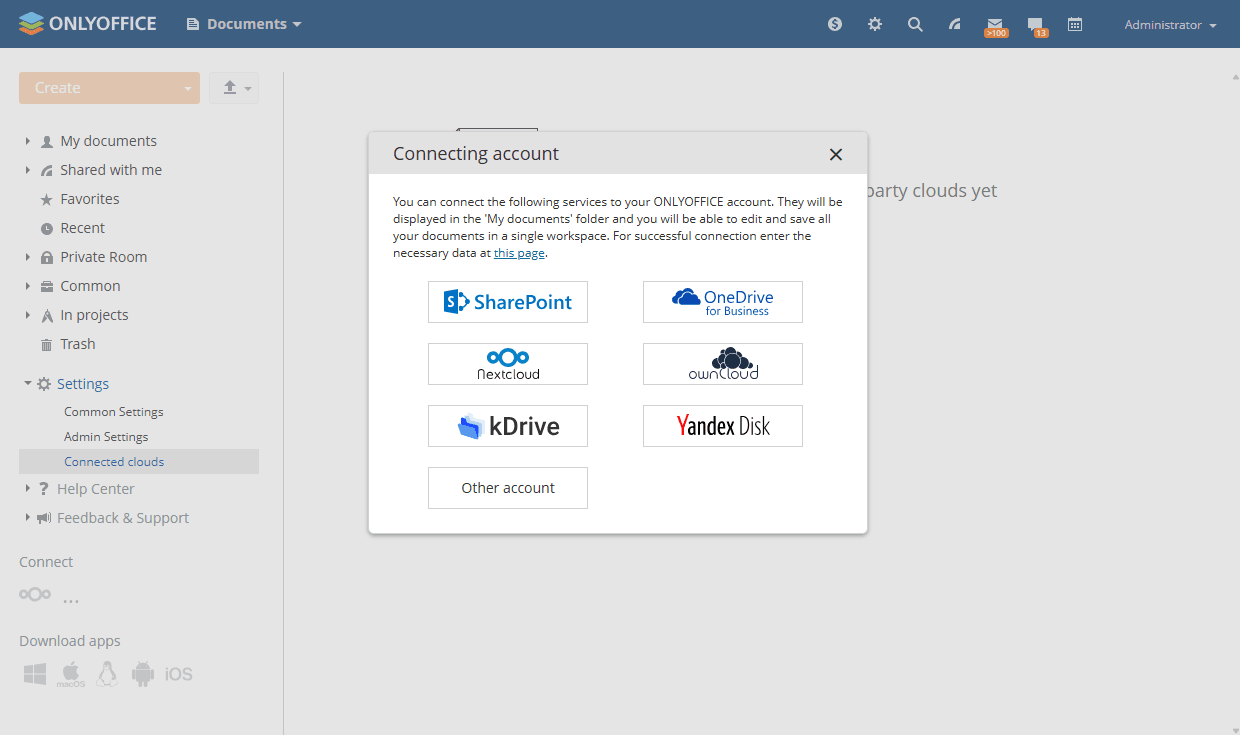
- Enter the connection URL, your user name, and password, then click Save.
The WebDAV URL for your Box account can be found by signing in to Box, clicking the Settings icon in the lower left corner, and copying the URL from the WebDAV field. The URL has the following format:
https://yourdomain.com/remote.php/webdav/. Paste the full URL, including the protocol, into the Connection URL field. - Click the button to grant ONLYOFFICE access to your Box account. Your Box documents will appear in the Documents module as a folder.
- Change the folder name if necessary.
- To make Box documents visible to all portal users, select the Make shared checkbox to place them in the Common Documents folder. If left deselected, the Box account will be visible to you only.
- Click Save.
Article with the tag:
Browse all tags