Installing Desktop Editors Enterprise using Group Policy in Active Directory
Installing Desktop Editors Enterprise using the MSI package
To install Desktop Editors on workstations across a domain, use Active Directory Group Policy as this allows to deploy software automatically on domain computers. Ensure that you create separate deployments for 32-bit and 64-bit systems.
Follow the step-by-step guide below.
- Download the appropriate MSI package (ONLYOFFICEDesktopEnterprise_x86.msi for 32-bit systems and ONLYOFFICEDesktopEnterprise_x64.msi for 64-bit systems).
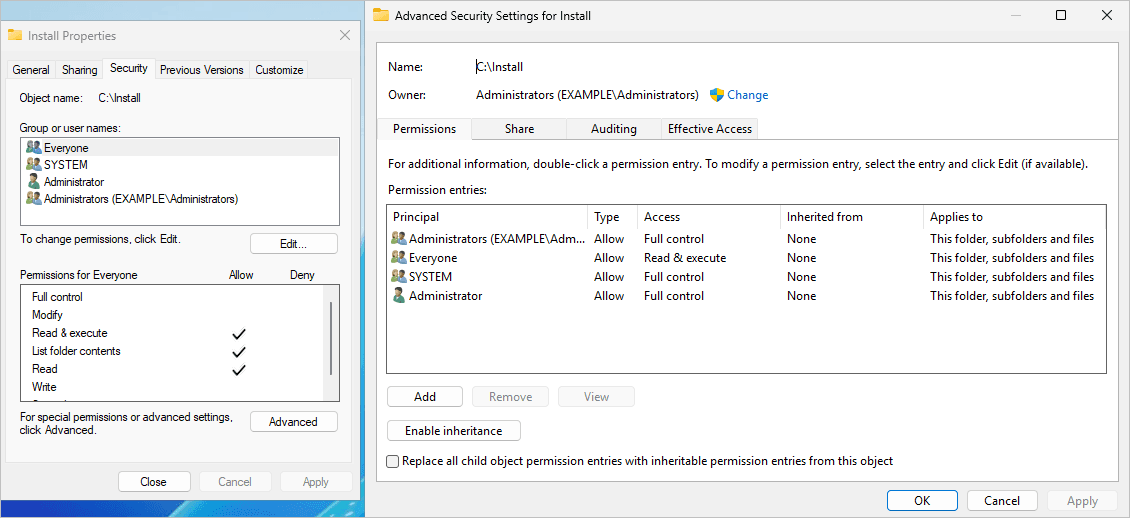
- Place the package in a shared network folder that is accessible from all workstations in the domain.
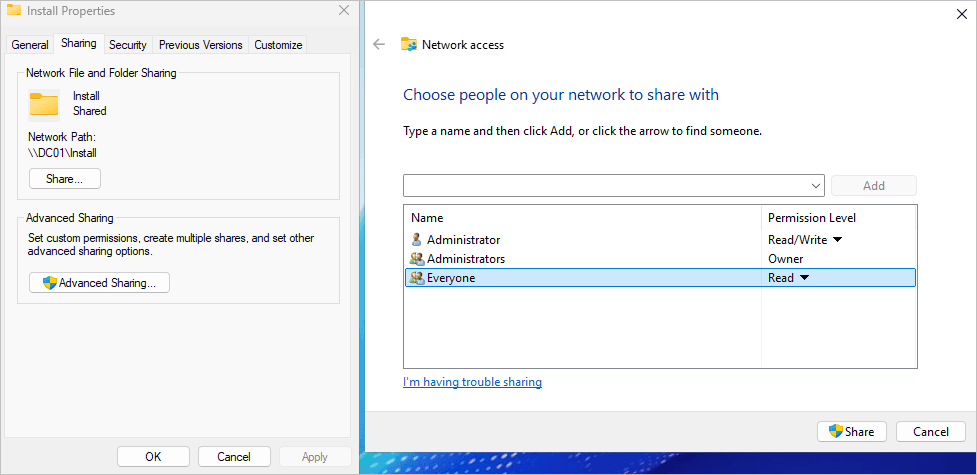
- Grant Read & execute permissions to all users.
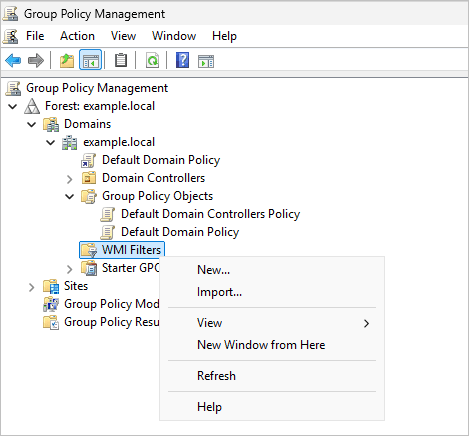
- Launch the Group Policy Management Console (gpmc.msc) under a user account that has permissions to edit Group Policies.
- Navigate to the WMI Filters section and create two filters.
The first filter is for 32-bit systems with the following WMI Query:
SELECT * FROM Win32_OperatingSystem WHERE OSArchitecture LIKE '%32%'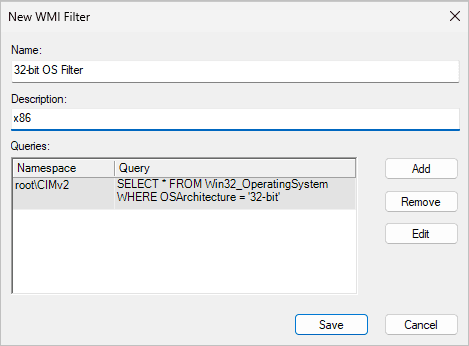
The second filter is for 64-bit systems, with the following WMI Query:
SELECT * FROM Win32_OperatingSystem WHERE OSArchitecture LIKE '%64%'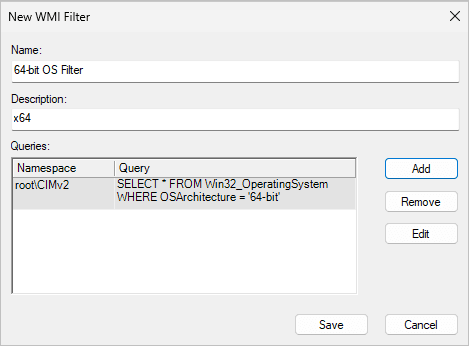
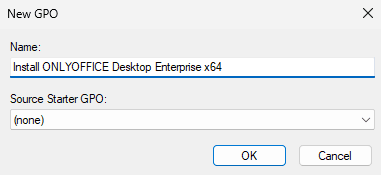
- Create a new Group Policy Object (GPO) for the 32-bit package..
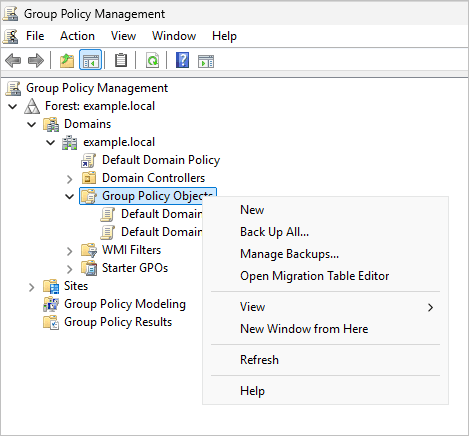
- Enter a name for the policy.

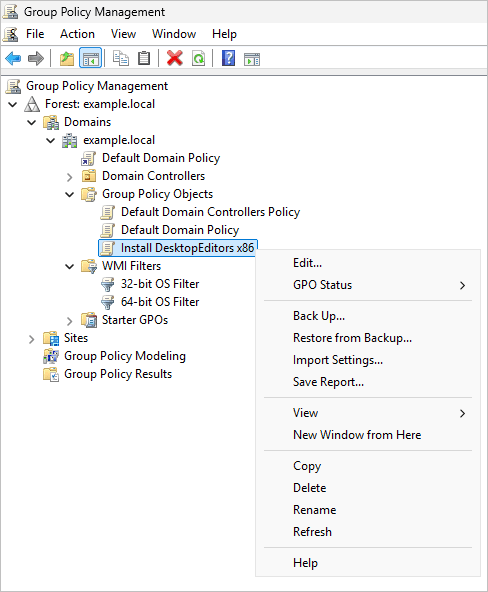
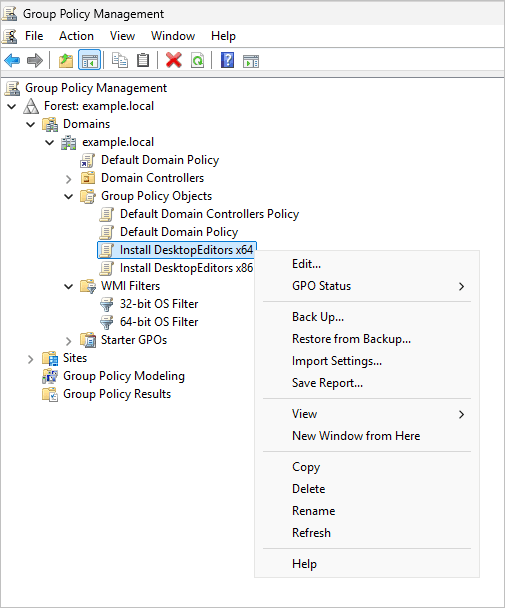
- Right-click the newly created GPO and select Edit.
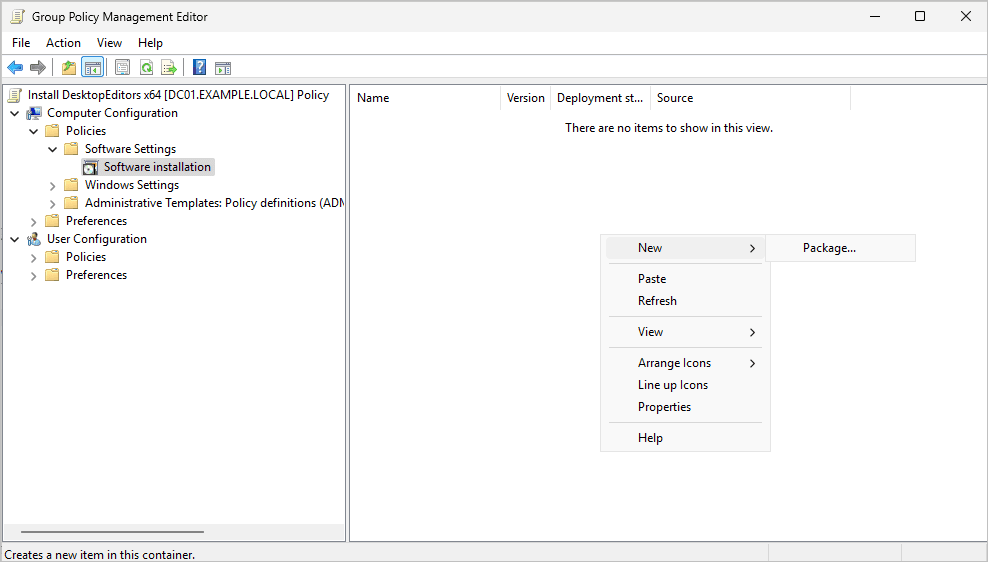
- Navigate to Computer Configuration → Policies → Software Settings → Software Installation. Right-click and select New → Package.
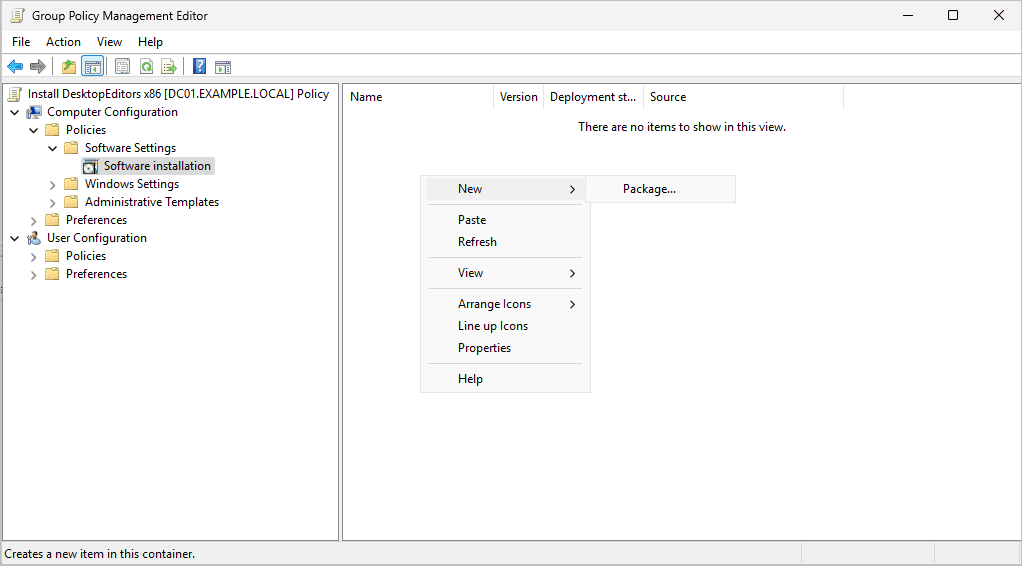
- Specify the path to the ONLYOFFICEDesktopEnterprise_x86.msi file located in the shared network folder.
Note: Use the UNC path (e.g.,
\\ServerName\Share\ONLYOFFICEDesktopEnterprise_x86.msi) instead of a local or mapped drive path to ensure accessibility from all domain computers.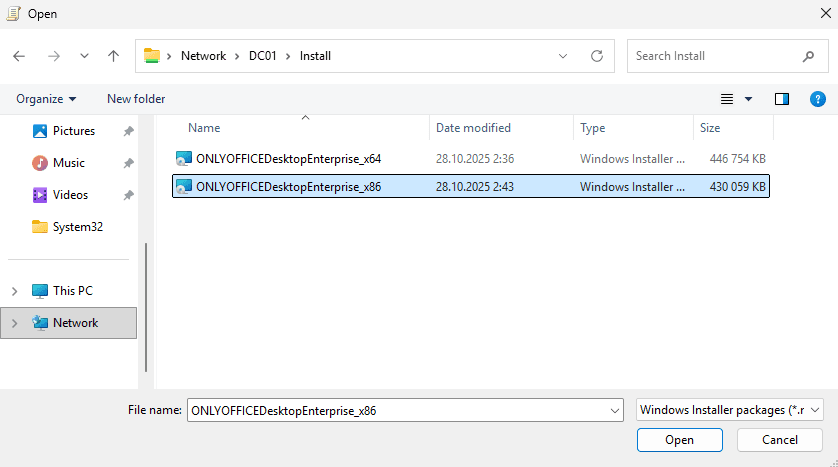
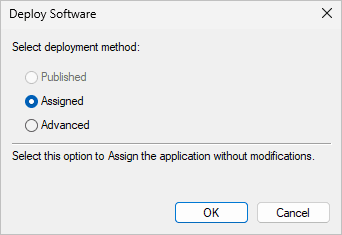
- Choose the Assigned deployment method to ensure that the software is installed automatically during computer startup.
- Click OK and close the Group Policy Management Editor window.
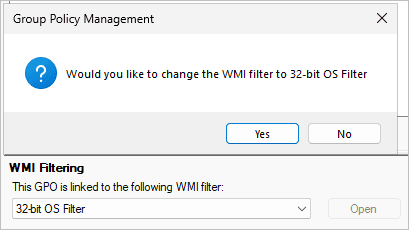
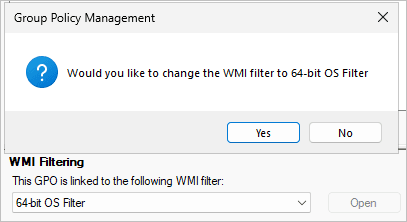
- Link the 32-bit OS WMI Filter to the created GPO. In the Group Policy Management Console, select the GPO, then in the WMI Filtering section, choose the created filter and click Yes to confirm.
- Create a new Group Policy Object (GPO) for the 64-bit package..
- Enter a name for the policy.
- Right-click the newly created GPO and select Edit.
- Navigate to Computer Configuration → Policies → Software Settings → Software Installation. Right-click and select New → Package.
- Specify the path to the ONLYOFFICEDesktopEnterprise_x64.msi file located in the shared network folder.
Note: Use the UNC path (e.g.,
\\ServerName\Share\ONLYOFFICEDesktopEnterprise_x64.msi) instead of a local or mapped drive path to ensure accessibility from all domain computers.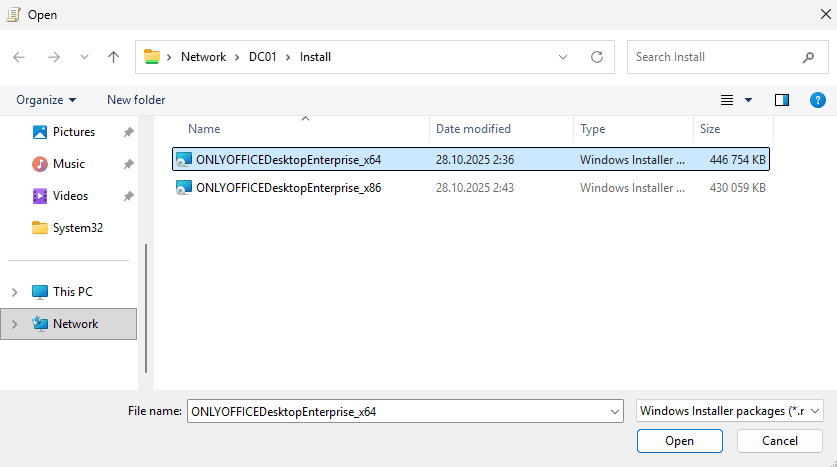
- Choose the Assigned deployment method to ensure that the software is installed automatically during computer startup.
- Click OK and close the Group Policy Management Editor window.
- Link the 64-bit OS WMI Filter to the created GPO. In the Group Policy Management Console, select the GPO, then in the WMI Filtering section, choose the created filter and click Yes to confirm.
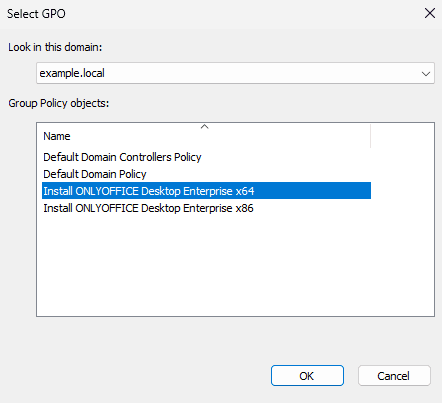
- Link the created GPO to the entire domain or to a specific Organizational Unit (OU) that contains the workstations.
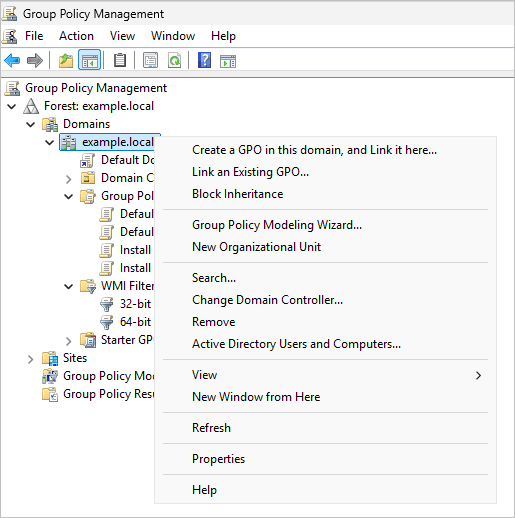
Subject to the system architecture, choose the 32-bit installation package, or the 64-bit installation package to link.
After a certain period of time (depending on your domain configuration), the created policy will be applied to the workstations. You can force the GPO to apply immediately by running the following command on a workstation: gpupdate /force
After the workstation is restarted, the Desktop Editors package will be installed according to the system architecture (32-bit or 64-bit).