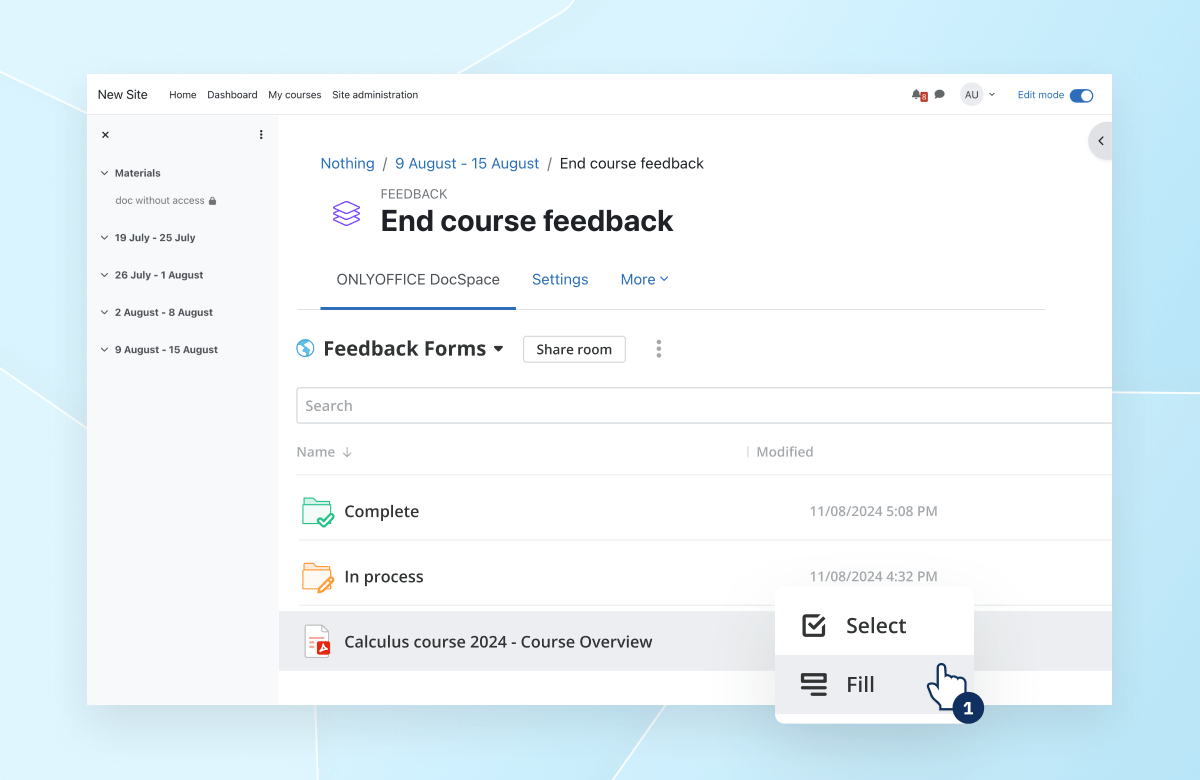
Moodle
About the ONLYOFFICE Apps and Moodle integration
ONLYOFFICE provides an official connector to seamlessly integrate ONLYOFFICE Apps with Moodle, enabling users to link rooms as activities for enhanced collaboration. You can download the ONLYOFFICE connector from the Moodle plugin library or the GitHub page.
Main features
- Displaying Apps rooms within the Moodle course.
What's new in version 2.0.0
Added
- New API key admin setting
- Option to unlink Apps users
- Option to disconnect Apps
- Custom templates Apps item not found
Changed
- Removed Apps login admin setting
- Removed Apps password admin setting
- Moodle users can now log in to Apps with any email address that exists in the portal
The full change log is available here.
Connecting ONLYOFFICE Apps to Moodle
Requirements
Installing the ONLYOFFICE Apps connector for Moodle
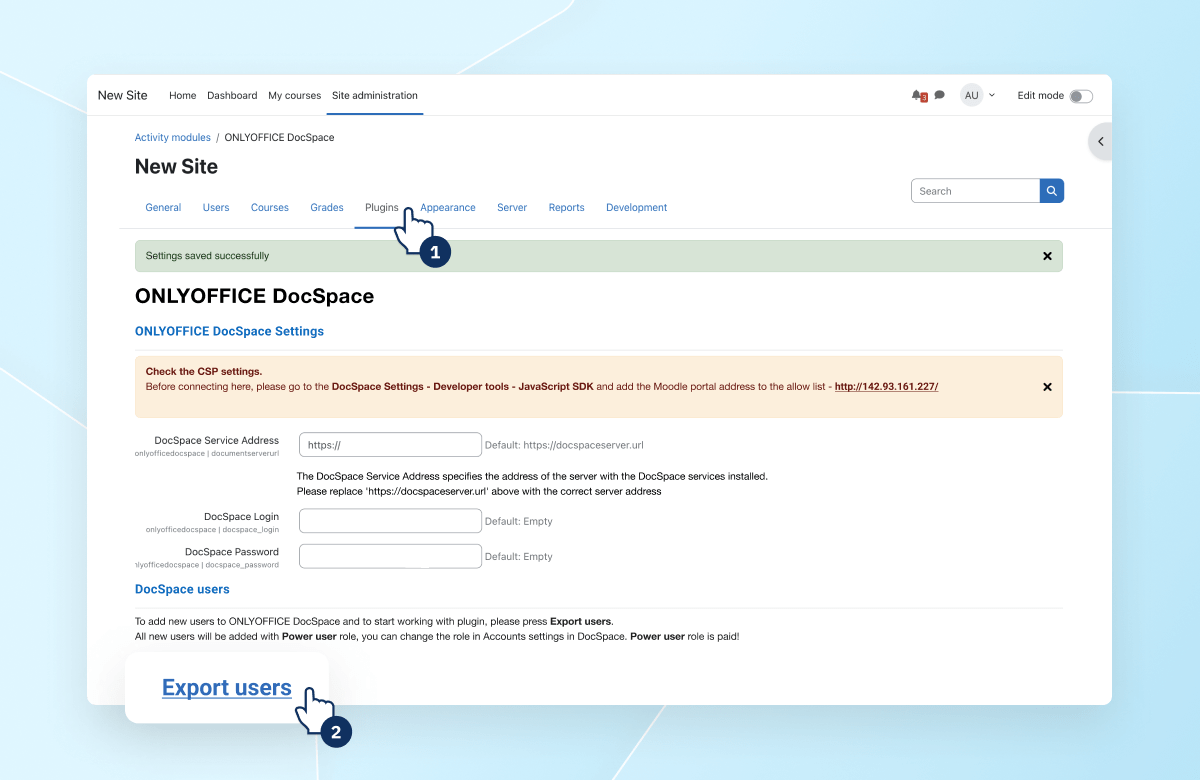
Moodle admins can install the plugin following the usual Moodle plugin installation steps. Once installed, the plugin appears on the Site Administration ; Plugins page.
Start using ONLYOFFICE Apps within Moodle
General settings
At first, go to your ONLYOFFICE Apps > Developer Tools > JavaScript SDK. Add the address of your Moodle in the section Enter the address of DocSpace to embed.
In Moodle, go to Site Administration > Plugins > Activity Modules > ONLYOFFICE DocSpace. On the ONLYOFFICE Apps Settings page, enter the DocSpace URL, as well as the Apps admin login and password.
For more details on working with ONLYOFFICE Apps, please refer to our guides.
Users export
To start working, you need to export users from Moodle to Apps. To do this, click the Export Users button on the settings page. A page with the list of users will open. This list includes Moodle users with the roles Teacher, Manager, Course Creator. If a user with such credentials (email) already exists in Apps, synchronizing authorization will not occur.
To add a Moodle user to Apps, select the checkbox and click the Invite to DocSpace button. The selected users will be added to Apps.
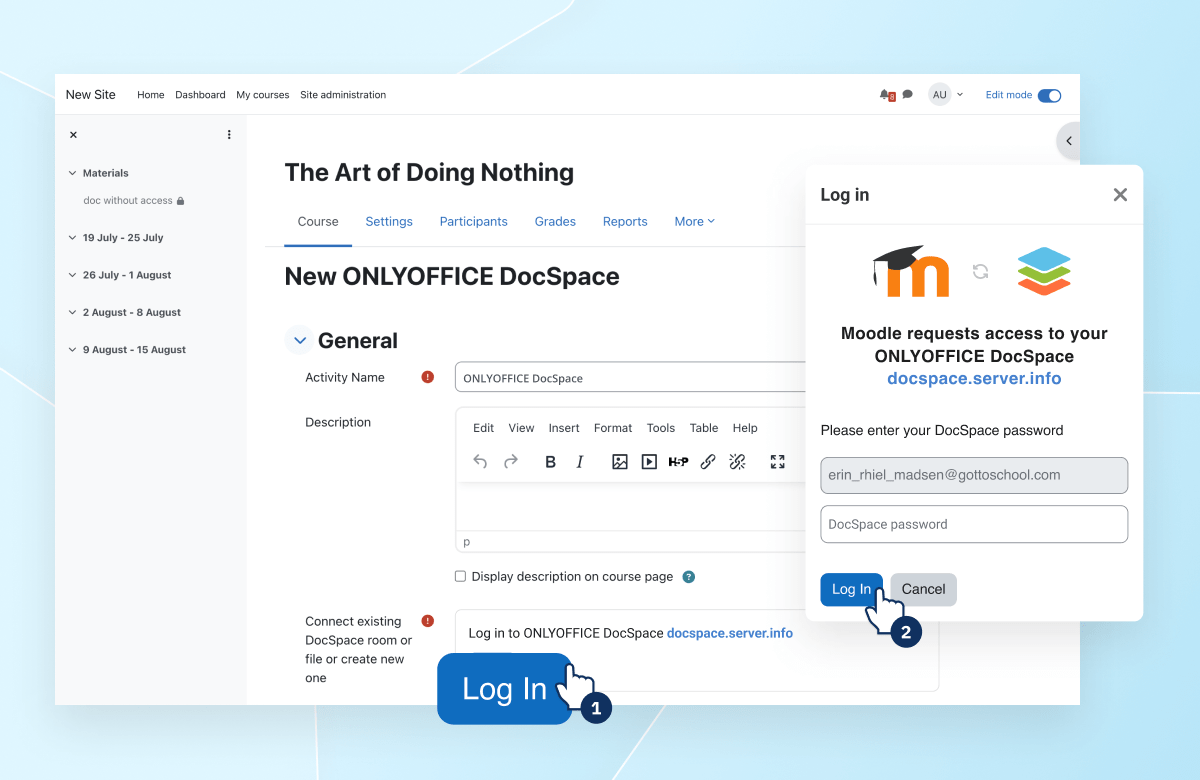
In the DocSpace User Status column, you can track whether a Moodle user has been added to Apps or not:
- Green checkmark: a Moodle user with the specified email has been added to Apps. Synchronization was successful.
- Empty value: there is no Moodle user with the specified email in Apps. You can invite them.
- Hourglass: there is a user in Apps with the specified email, but there was a synchronization issue. When logging into the Apps plugin for the first time, the user will need to provide an Apps login and password to complete synchronization.
Plugin usage
The plugin adds a new type of ONLYOFFICE Apps activity when creating a course in Moodle.
Adding a new ONLYOFFICE Apps activity
The plugin adds a new type of ONLYOFFICE Apps activity when creating a course in Moodle.
- On the course page, enable the Edit Mode. Click Add an activity or resource.
- In the pop-up window, select ONLYOFFICE Apps.
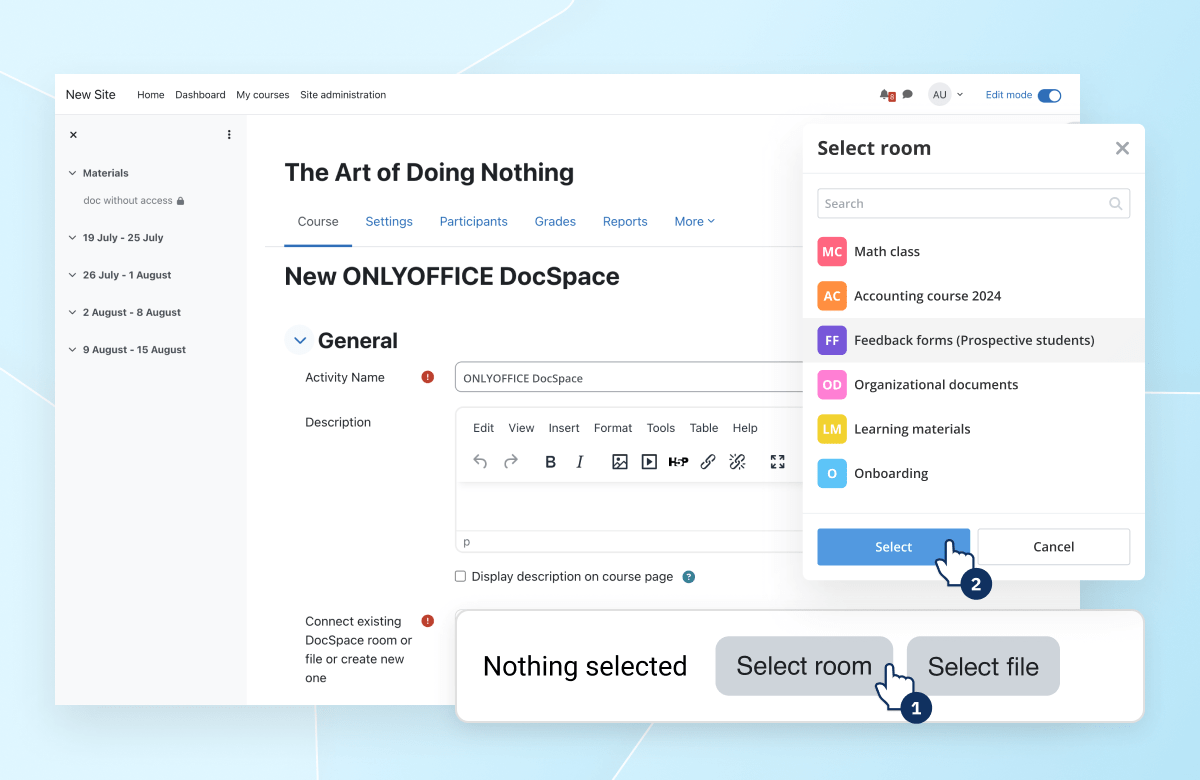
- Specify the Activity name. In the Connect existing DocSpace room field, click the Select room button.
- In the room selector, select the needed room (for now, only public rooms can be connected).
- Click the Save button. The created activity will appear on the course page.
Working with the created Apps activity
To access the room for file editing, the following conditions must be met:
- Moodle user is successfully synchronized with Apps.
- The user has been added to the Apps room with the corresponding rights.
All other users have access to the Apps room for viewing. This way, e.g., teachers can share the learning materials with students.