ONLYOFFICE
Introduction
After you have installed ONLYOFFICE Desktop Editors on your computer, you can easily connect the application to your existing ONLYOFFICE Apps workspace or create a new one so that you can use all the product capabilities:
You can also connect Desktop Editors to ONLYOFFICE Apps server versions.
- collaborative features, such as collaborative editing, reviewing, commenting, and communicating via the built-in chat,
- online features, such as Mail Merge in the Document Editor.
An Internet connection is required for creating or connecting a workspace, as well as for real-time co-editing and using online features.
Step 1. Create a new cloud
If you do not have a workspace yet, launch Desktop Editors and follow the steps below:
-
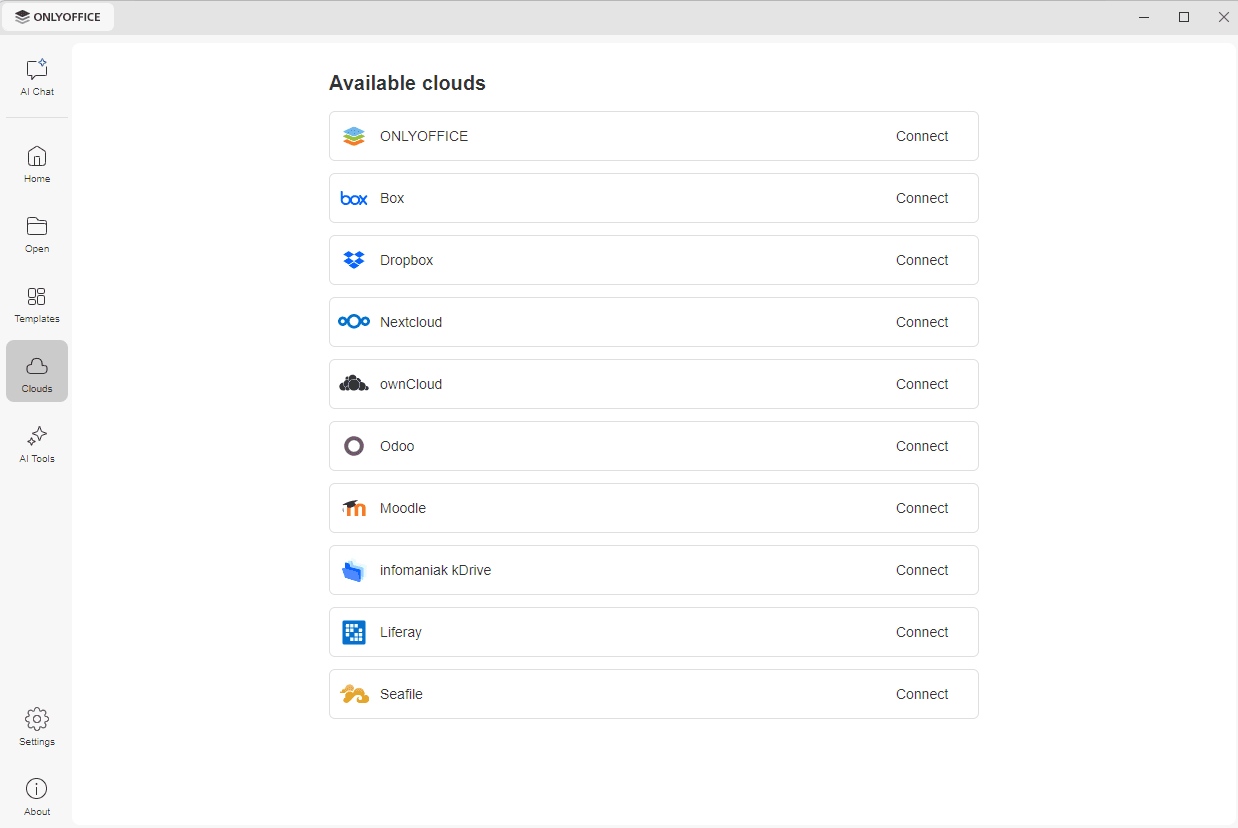
Click the Clouds tab on the left navigation panel. The list of the available cloud services opens.
-
Find ONLYOFFICE in the Available clouds list and click the Connect link on the right.
-
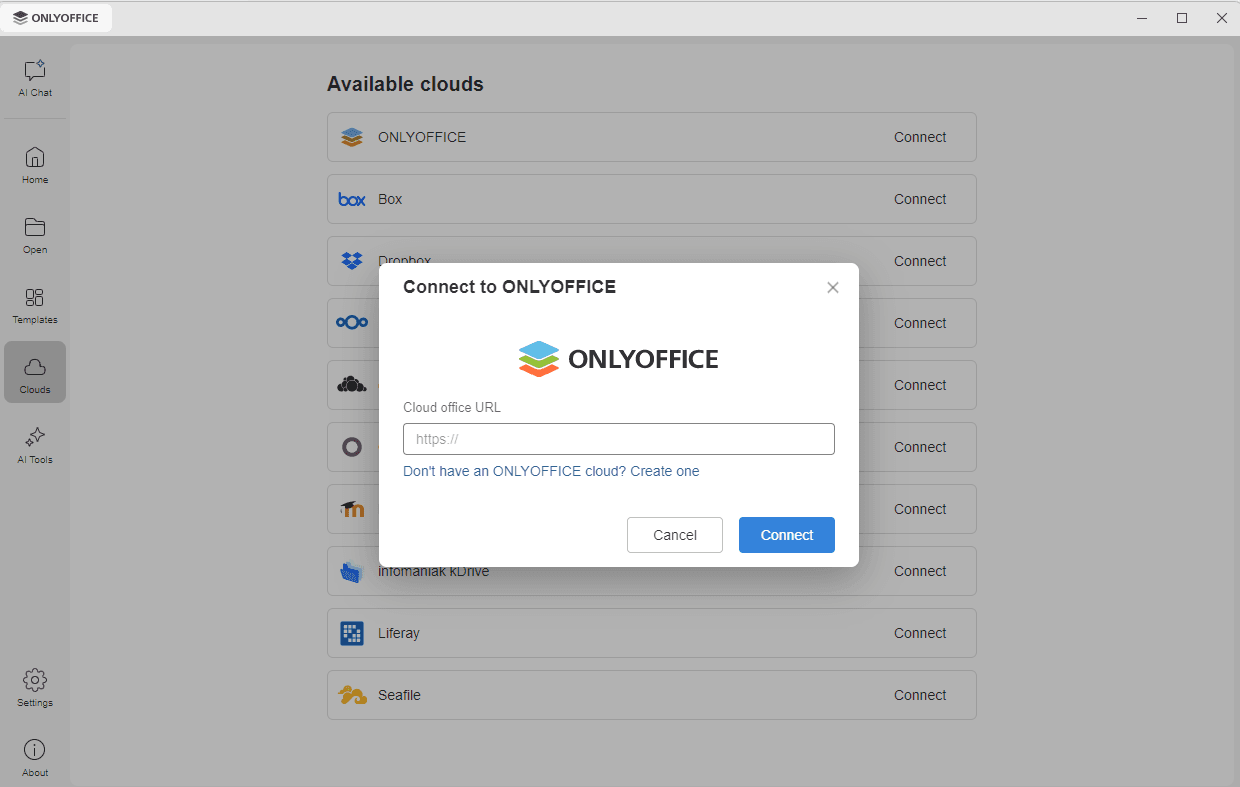
The Connect to ONLYOFFICE window opens. Click the Don't have an ONLYOFFICE cloud? Create one link below the Cloud office URL field.
The cloud version signup form will open in a new tab of the Desktop Editors interface. Go through several easy steps to fill in all the fields of the registration form.
You have two sign-up options:
- Continue with Google – use your Google credentials to create an ONLYOFFICE Apps account. Review ONLYOFFICE's Privacy Policy and Terms of Service and click the Continue button to give your consent.
- Sign up with email – enter your email address and click the Continue with Email button. By clicking this button, you accept the Terms and Conditions and the Privacy Statement. You will receive a confirmation email, click Log in to ONLYOFFICE Apps and you will be redirected to the portal setup page to complete your account activation. The link is valid for 60 minutes and can only be used once.
You can also sign in to an existing account using the Log in link in the upper right corner of the registration form.
The Rooms app will open in a new tab of the Desktop Editors interface. You can proceed to Step 3.
Step 2. Connect to an existing cloud
To connect Desktop Editors to your existing ONLYOFFICE Apps workspace, follow the steps below:
-
Click the Clouds tab on the left navigation panel. The list of the available cloud services opens.
-
Find ONLYOFFICE in the Available clouds list and click the Connect link on the right.
-
The Connect to ONLYOFFICE window opens. In the Cloud office URL field, enter your ONLYOFFICE cloud address in the form portalname.onlyoffice.com or https://portalname.onlyoffice.com. Click the Connect button.
-
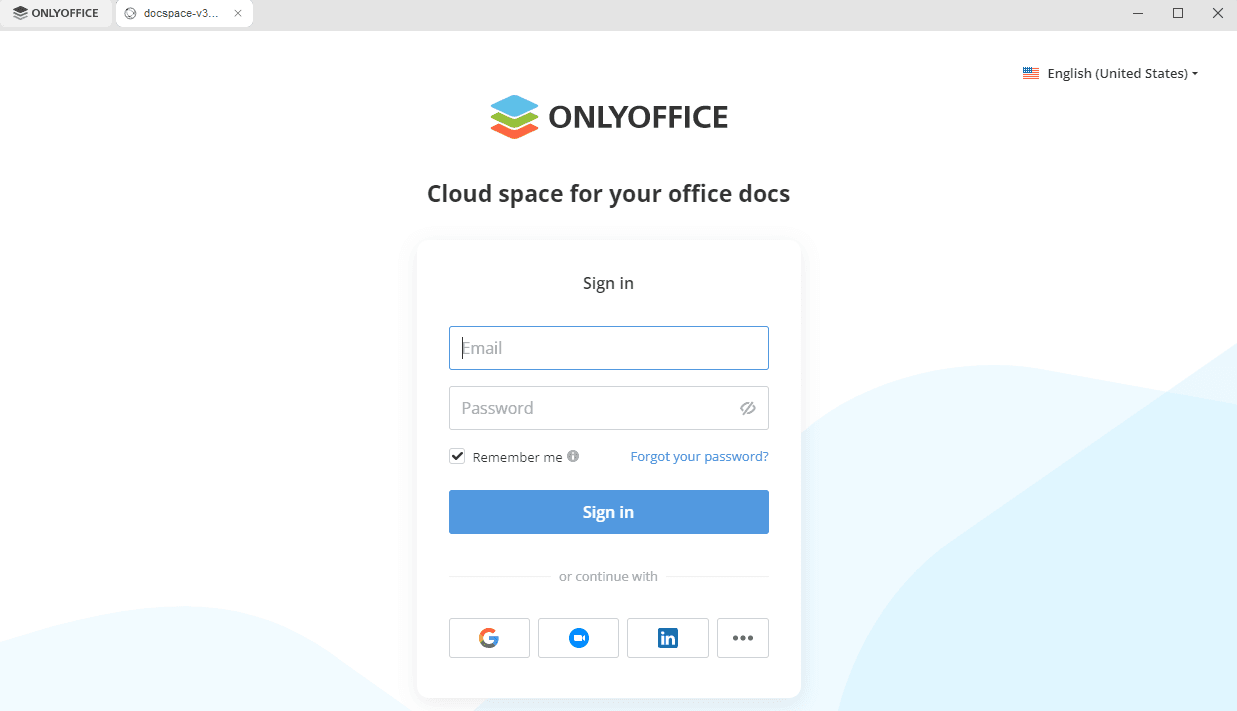
The ONLYOFFICE cloud sign-in page opens in a new tab of the Desktop Editors interface. Specify the email and the password you use to access your account and click the Sign In button. You can also use one of the third-party accounts listed under or continue with, such as Google or LinkedIn. Leave the Remember me box checked to stay signed in.
If the two-factor authentication is enabled in your cloud office, a new window opens where you should enter the verification code generated by your authenticator app.
Your workspace will open in the same tab.
Step 3. Manage documents in your workspace
Once you connect Desktop Editors to your workspace, you can create rooms, manage your documents, create or upload new ones, and view and edit them together with other users.
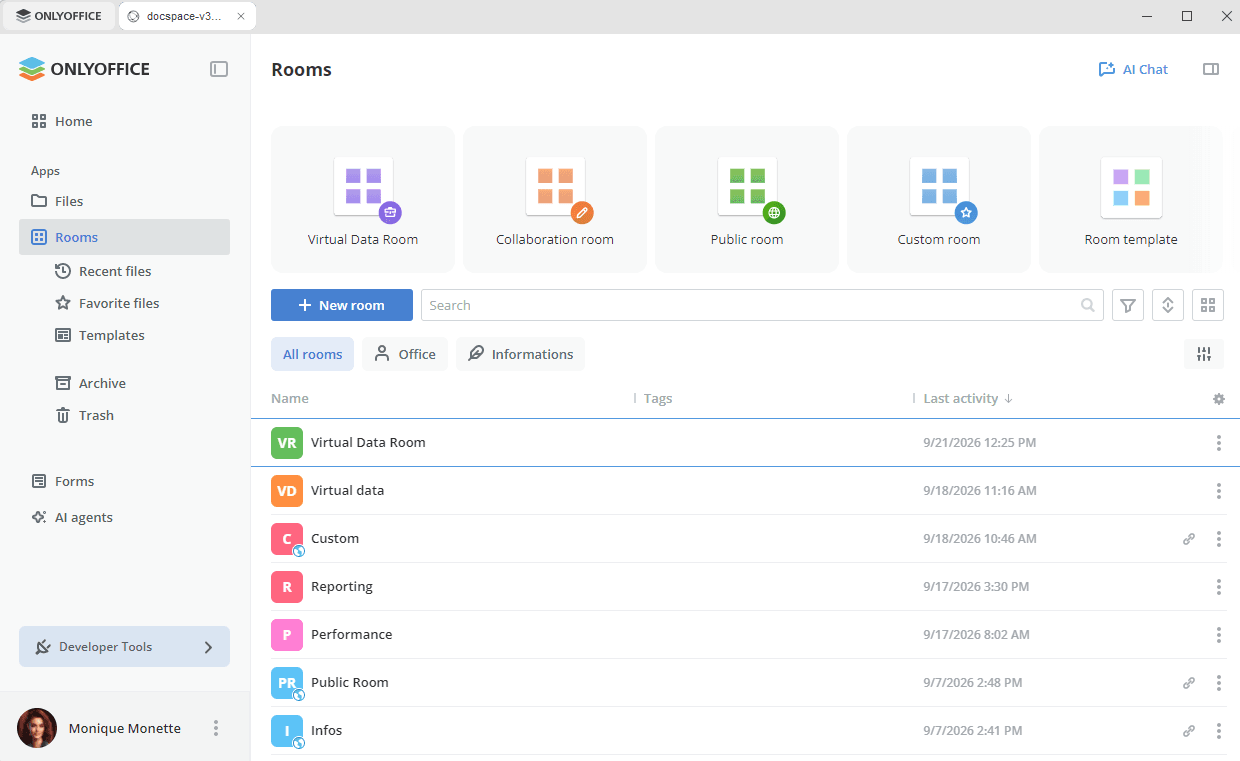
- Create rooms – in the Rooms app, create rooms with flexible settings for any purpose and edit them. Choose one of the available collaboration room types, depending on your goals, invite users, and assign permission levels to them.
- Create and manage documents – create new documents, spreadsheets, presentations, and forms for personal use in the Files app, or share these files with other users of a certain room. Participants of the room will be able to perform actions depending on their access level.
- Edit documents – use the versatile document editing capabilities provided by ONLYOFFICE Online Editors.
- Edit profile – edit your personal data, including name, email, password, language, photo, customization, and get access to security features.
Step 4. Manage your connected accounts
Click the ONLYOFFICE tab in the upper left corner of the window to return to the main program window. The connected cloud accounts appear in the Connected clouds section at the top of the Clouds tab. Hover the mouse over a connected cloud and click the three dots  on the right to access the cloud context menu options:
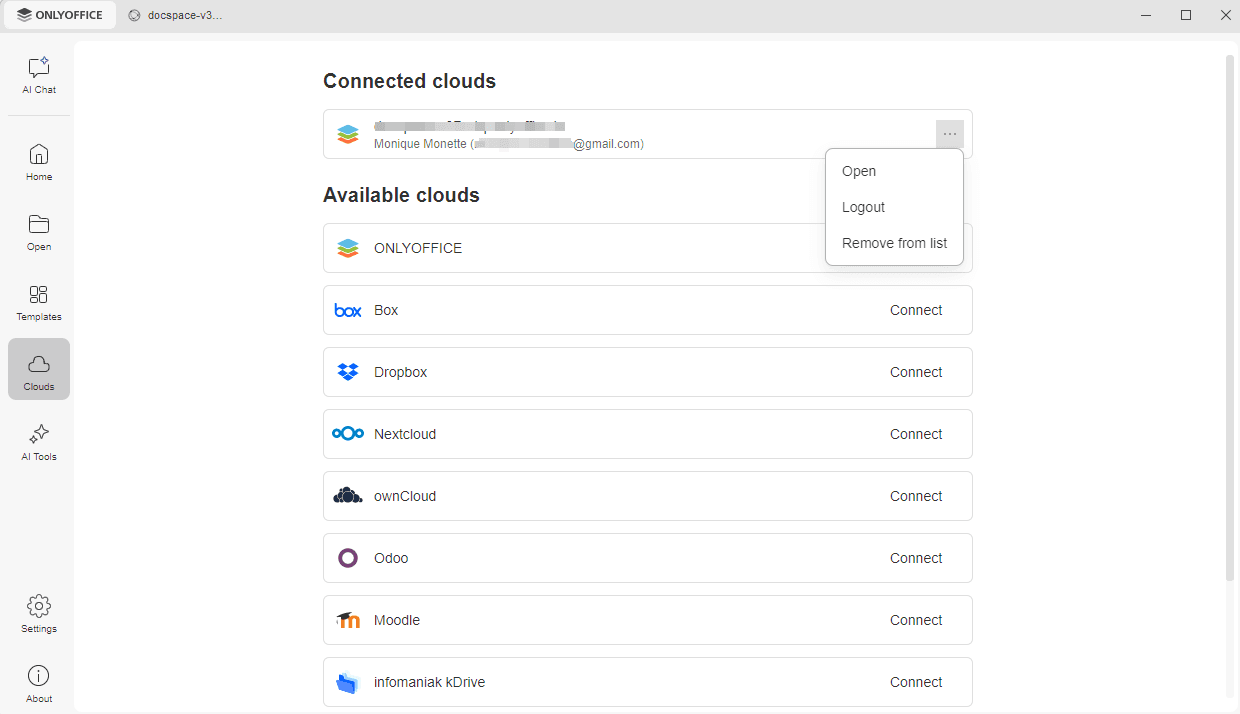
- Open – to switch to the corresponding cloud office tab if you are already logged in to this account, or to open the Connect to ONLYOFFICE window if you are not currently logged in (in such a case, you will need to enter your credentials).
- Logout – to exit from your account. The connected account still appears in the Connected clouds section, but you have to log in again next time to access your workspace.
- Remove from list – to disconnect the selected account and remove it from the list.
To add more accounts or clouds, use the Available clouds list below on the Clouds tab.